3. Remote Desktop Installation and Connection
3.1 VNC Installation and Connection
3.1.1 Preparation
Hardware
Prepare a computer. If you are using desktop computer, wireless network card is required.The network card should support 5G band.
Install VNC
VNC is a graphical remote desktop control software. Through connecting your computer to the WiFi generated by Raspberry Pi, you can control Raspberry Pi. Installation of VNC is as below.
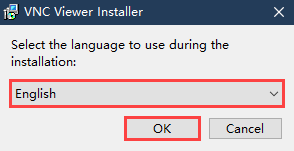
(1) Double-click the installation program “VNC-Viewer-6.17.731-Windows” in the same directory as this section. Select the installation language as “English” and lick “OK”.
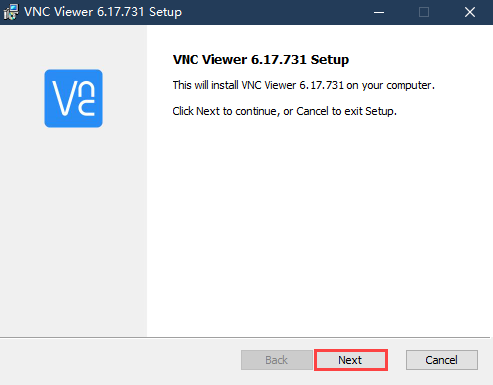
(2) Click “Next”.
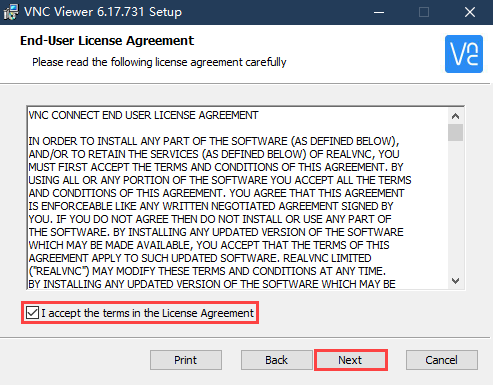
(3) Tick “I accept the terms in the License Agreement”. Then click “Next”.
(4) Remain default location where the software is installed. Click “Next” to proceed next interface. Then directly click “Install”.

(5) When the installation completes, click “Finish”.

(6) Click  to open VNC.
Start Robot
Start Robot When LED1 on expansion board starts flickering and buzzer emits one beep, robot boots up successfully.
3.1.2 Connect to Robot
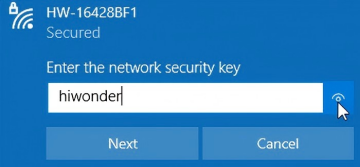
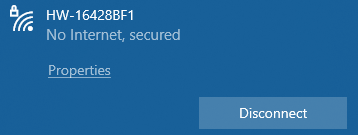
(1) After turning Robot on successfully, the default mode is AP direct connection mode. Robot generates a WiFi starting with HW. Connect your computer to this WiFi.

(2) Input password. The password is “hiwonder”.
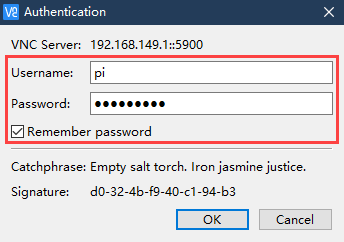
(3) After connection, open VNC Viewer. Input the default IP address of Raspberry Pi, 192.168.149.1, and then press Enter. If you receive security warning, select “Continue”.

(4) Input username and password. (Username: pi Password: raspberrypi). Click “OK” to enter Raspberry Pi desktop.
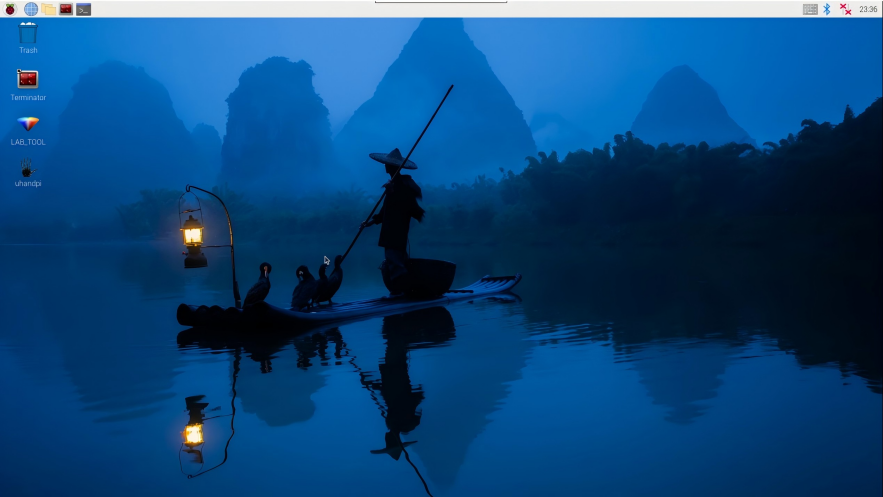
(5) The desktop is as pictured. If black screen occurs or only cursor leaves on the screen, restart Raspberry Pi.
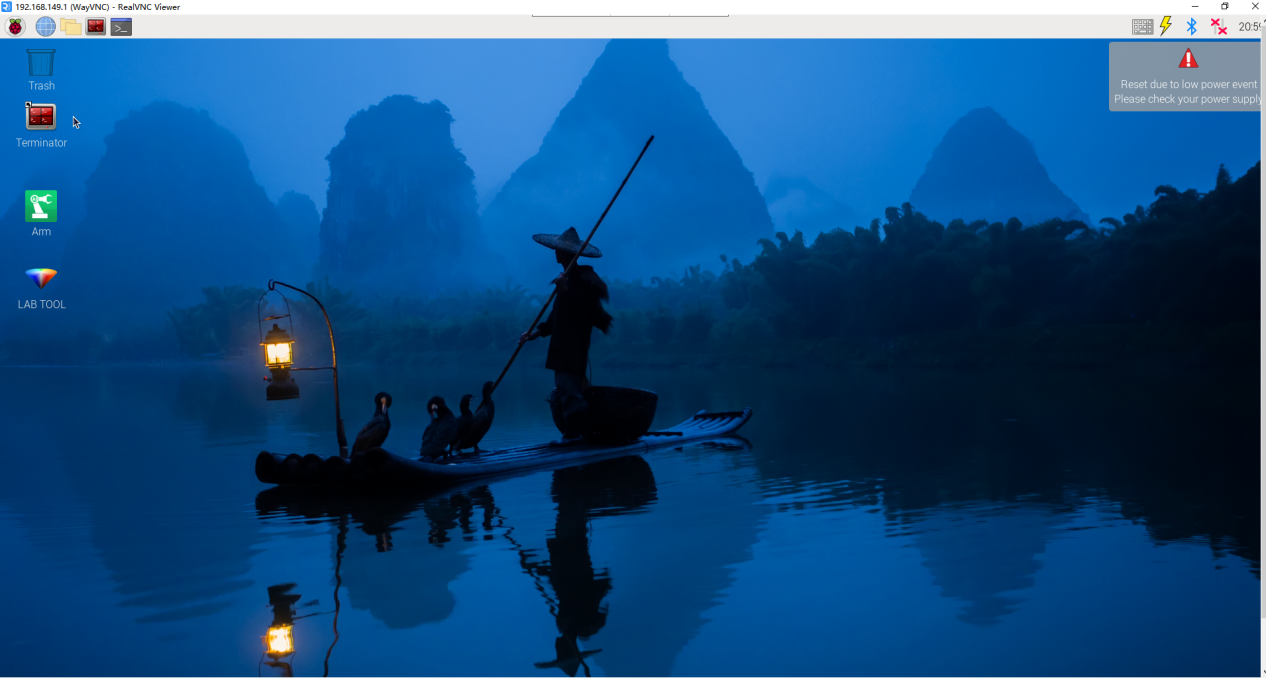
3.1.3 Introduction to Desktop
The desktop is as pictured after connecting Robot through VNC successfully.
The following table demonstrates common functions:
| Icon | Function |
 |
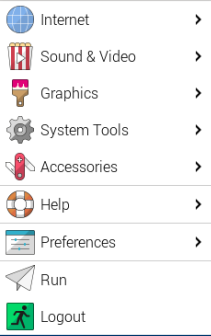
Application menu. Click to select different applications.
|
 |
Browser. |
 |
File manager. |
 |
LX terminal. Click to input command line in the opened interface. |
 |
Trash. You can find the files deleted here. |
 |
PC software. You can adjust pan tilt and adjust color threshold on it. |
 |
Full screen or exit full screen.。 |
 |
Exit full screen. |
 |
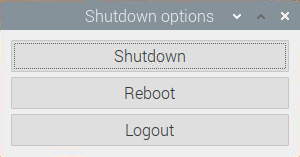
Shut down, reboot and logout
|
3.2 System Content
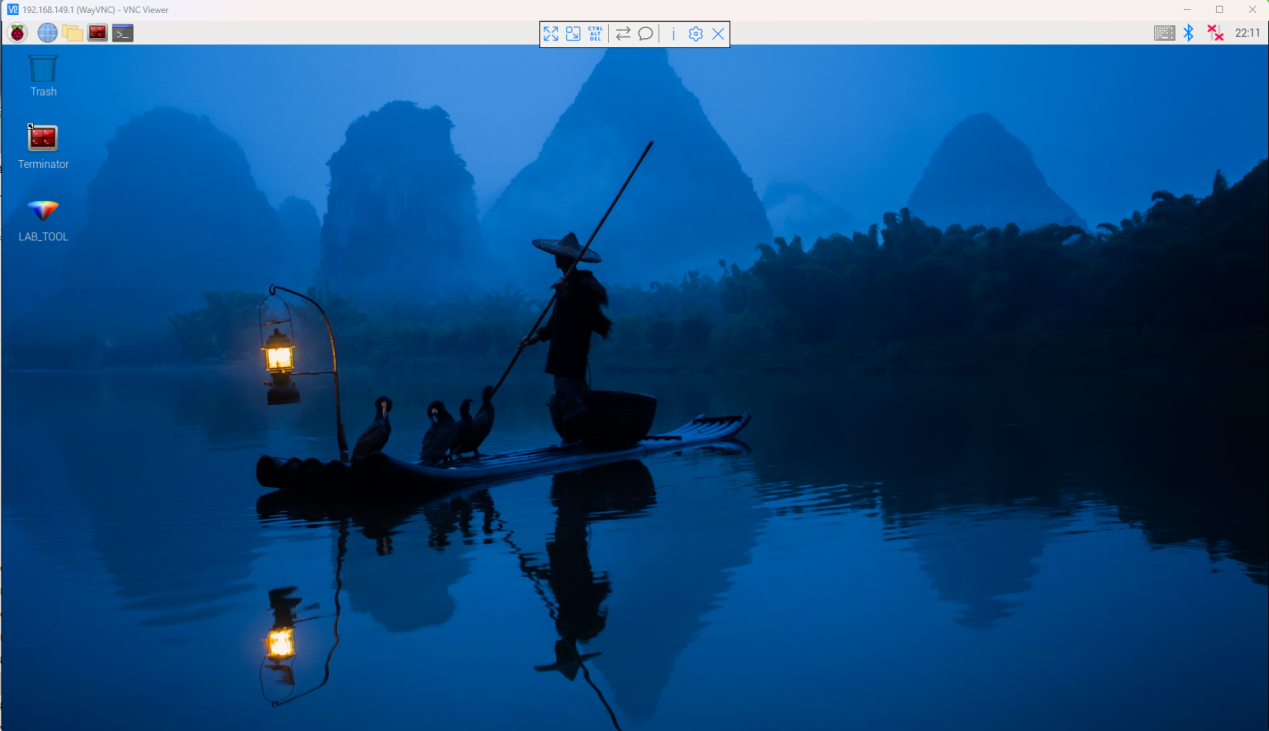
3.2.1 Desktop Layout
After connecting to VNC, the system desktop is as pictured:
(1) Double-click this icon  and click Execution.
This tool is used to adjust color threshold parameters and debug the pan-tilt servo.
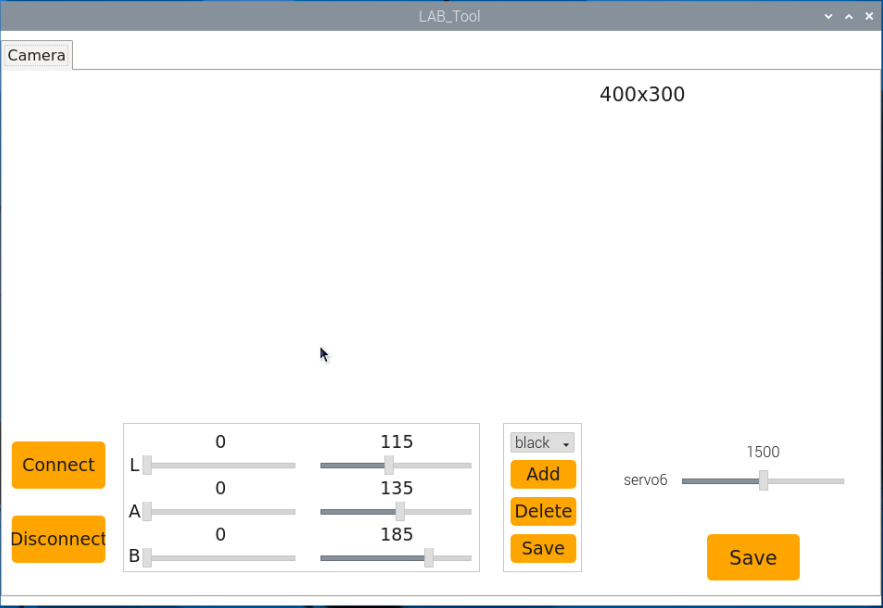
(2) Click “Connect” to display the real-time image transmitted by the current camera. Then you can click “Disconnect” to close the camera.
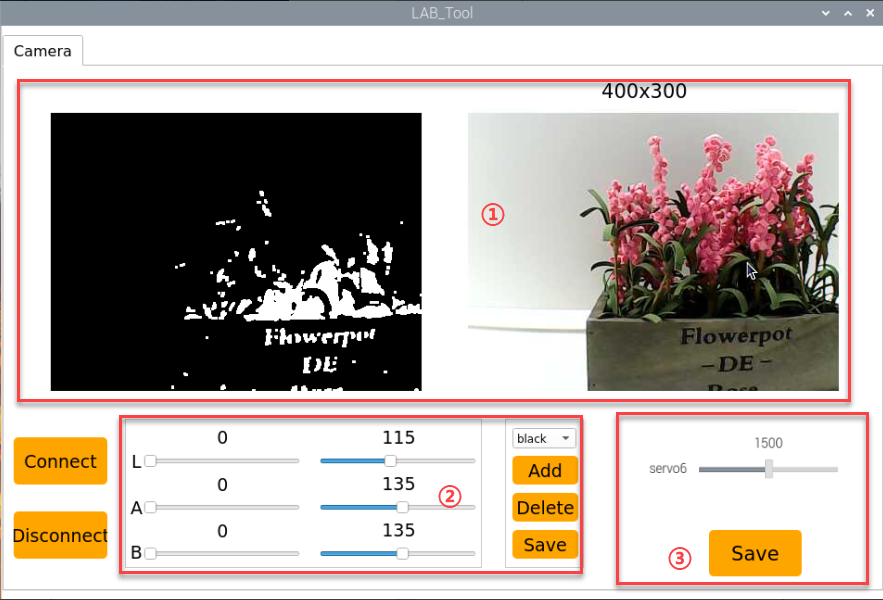
(3) The tool interface can be divided into three parts as follows:
| No. | Name | Function |
|---|---|---|
| ① | Camera feedback area | Used to display the transmitted image, with the processed image on the left and the original image on the right. |
| ② | Adjust color threshold parameters button | Used for adjusting color thresholds, selecting the colors to be adjusted for recognition, adding or removing color categories, and saving the effects. |
| ③ | Servo control area | Used to adjust the initial position of the sixth servo of the pan-tilt and save the modified values. |
You can go to “Quick User Experience\2.3 Adjust Color Threshold” to learn the specific usage method of tool and the color threshold parameter.
3.2.2 Program Structure Instruction
(1) Press “Ctrl+Alt+T” to open the command line terminal. And input “ls” command to list all the current files. Take following contents as example.

| Content | Function |
|---|---|
| hiwonder-toolbox | WiFi management tool |
| uhandpi | Program source code for all game modes and associated functions. |
| uhandpi_software | Color threshold debugging tool and palm-sized PC. |
(2) Next, enter the game and program source content. Then input the following command.
cd uhandpi/
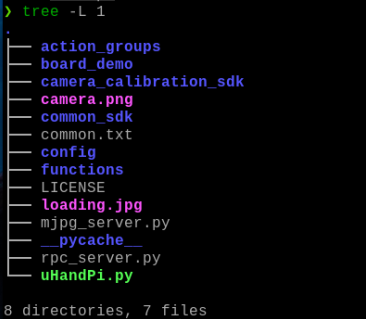
(3) After that, input “tree-L1” command. List all folders and files in the directory in the form of a tree diagram. We mainly need to understand several directories indicated by the red box in the diagram.
| Content/File | Instruction |
|---|---|
| action_groups | Action group files storage path |
| action_groups | Expansion board related routine |
| camera_calibration_sdk | Camera underlying file and calibration files |
| common_sdk | Underlying driver library |
| common.txt | Detect and game command |
| config | Color threshold and servo deviation configuration file |
| mjpg_server.py | Video stream program |
| rpc_server.py | Rpc communication service program |
| uHandPi.py | APP service starting file |
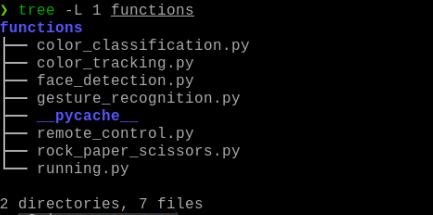
(4) Input the command below, and open the directory containing the AI vision game program directly through the tree diagram.
tree -l 1 functions
| Content/File | Instruction |
|---|---|
| color_classification.py | Color sorting program |
| color_tracking.py | Color tracking program |
| face_detection.py | Face detection program |
| gesture_recognition.py | Gesture recognition program |
| remote_control.py | APP remote control image transmission program |
| rock_paper_scissors.py | Rock-scissors-paper program |
| running.py | APP calling program |