3. Environment Setup and Installation
Note
This tutorial uses Ubuntu as the reference environment.
This chapter sets up the basic environment required to run OpenClaw.
Prepare the development environment, with Node.js used as the main runtime in this course.
Install OpenClaw.
Configure an API Key, or use a local Ollama model.
Run the first Hello World test.
For Windows systems, WSL2 with Ubuntu is the recommended environment for running OpenClaw, which helps avoid issues caused by differences between operating systems.
The installation process is built around one core idea. OpenClaw is a self-hosted AI assistant framework, and its core component is the Gateway. The Gateway routes messages from different Channels to the corresponding Agent, while also maintaining the conversation context in the Session. By the end of this chapter, the Gateway will be running, and the model provider will be configured, allowing the first conversation to return a valid response.
3.1 Prerequisites
Prepare the following items before starting.
A computer
A stable network connection for installation and model calls
A text editor, with VS Code recommended
Git, optional, for managing custom Skills or configuration files
3.2 Choosing the Runtime Environment: Python or Node.js
The OpenClaw CLI and core runtime are mainly based on the Node.js ecosystem. The runtime can be selected based on the setup goal.
For a basic OpenClaw setup, only Node.js is required.
For auxiliary scripts, such as file parsing or report export, Python can also be installed.
No coding is required in this chapter, so Node.js is sufficient for the basic setup.
3.3 Installing Node.js
Check the installed version
If Node.js has already been installed, check the current version first.
node -v
npm -v

If the installed version is too old, upgrade with nvm.
Step 1: Install nvm (Recommended)
Install nvm:
curl -o- https://raw.githubusercontent.com/nvm-sh/nvm/v0.40.1/install.sh | bash

Activate the environment variables.
source ~/.bashrc

Step 2: Install and Use Node 22 or Later
Install Node 22.
nvm install 22

Switch to Node 22.
nvm use 22

Set Node 22 as the default version.
nvm alias default 22

3.4 Installing OpenClaw
Run the following command in Ubuntu to install OpenClaw.
npm install -g openclaw@2026.3.24

Check the installed version.
openclaw --version

If the openclaw command cannot be found, the PATH environment variable is usually not configured correctly. Add the npm bin directory to PATH if needed.
3.5 Configuring the API Key
Step 1: Run the Onboarding Wizard
openclaw onboard
Select Yes.

Click QuickStart.

Click Reset.

Click Config Only to complete configuration without running the full setup flow.

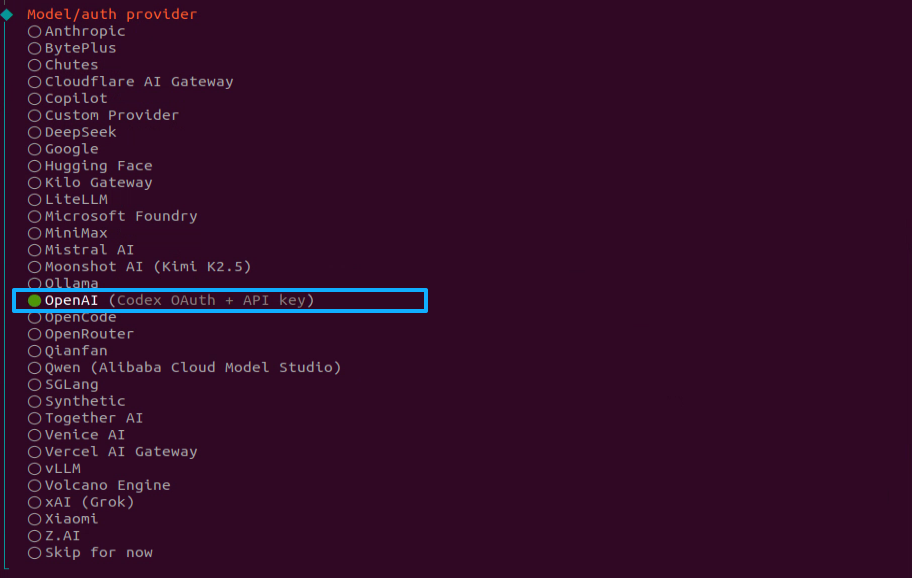
The following steps use OpenAI as an example. Create an API Key on the OpenAI API Platform in advance. This key will be used during the OpenClaw model provider setup.
Note
OpenAI models are accessed through the OpenAI API, which is billed by token usage. Billing must be enabled in the OpenAI account before connecting it to OpenClaw.
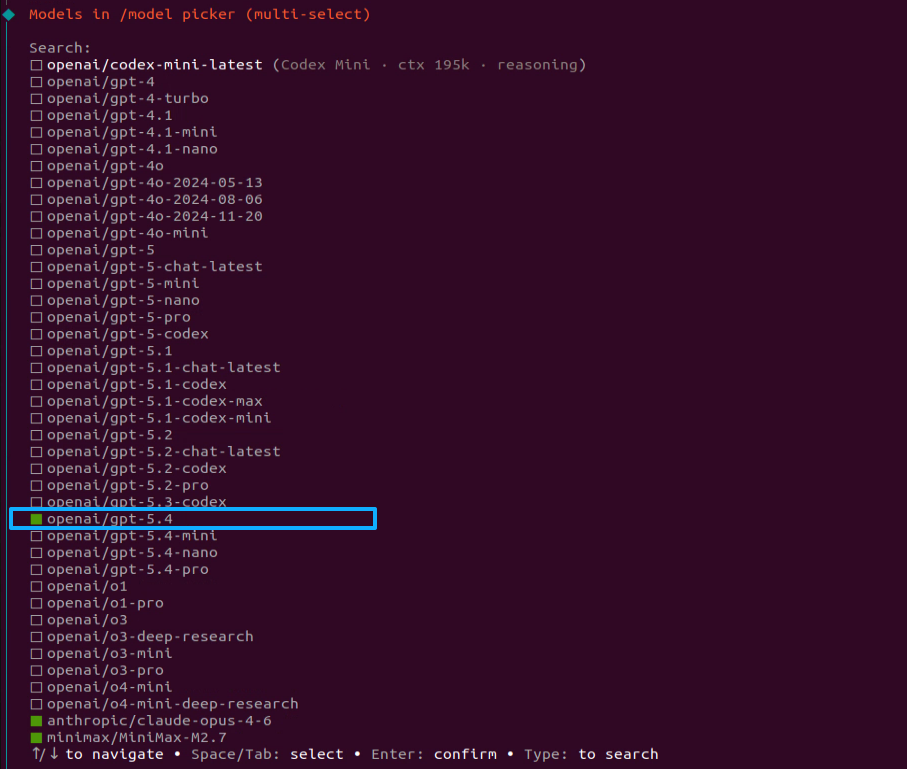
Enter the API Key generated on the OpenAI platform.

Select the target model.
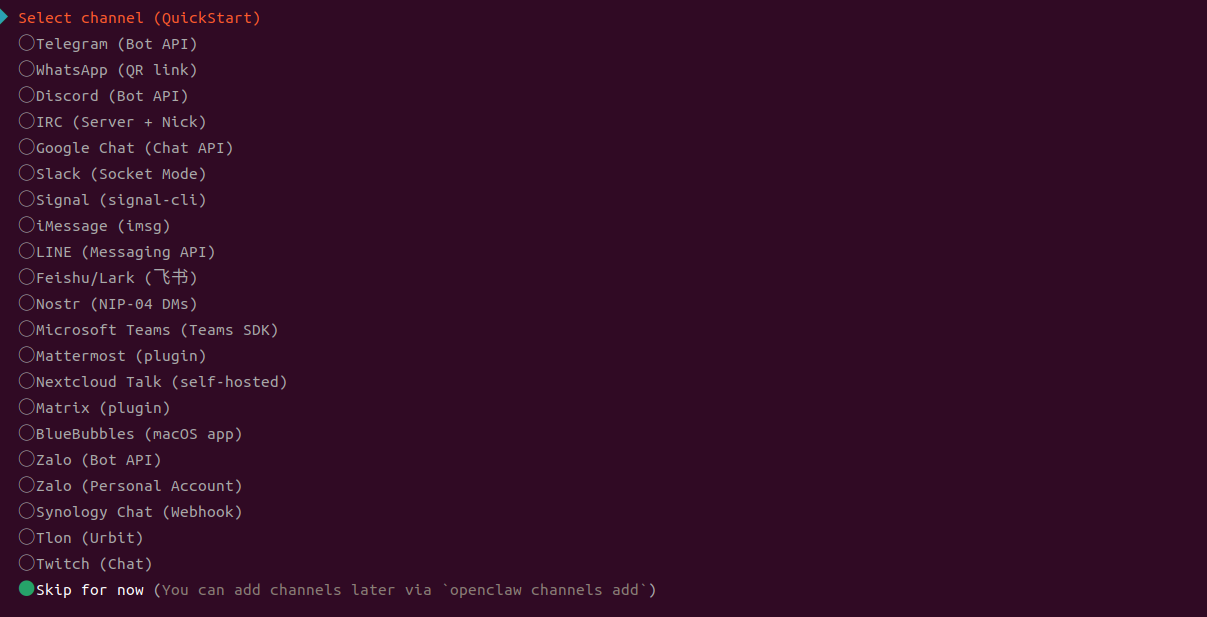
Skip the message channel setup for now. Channel configuration will be covered later.
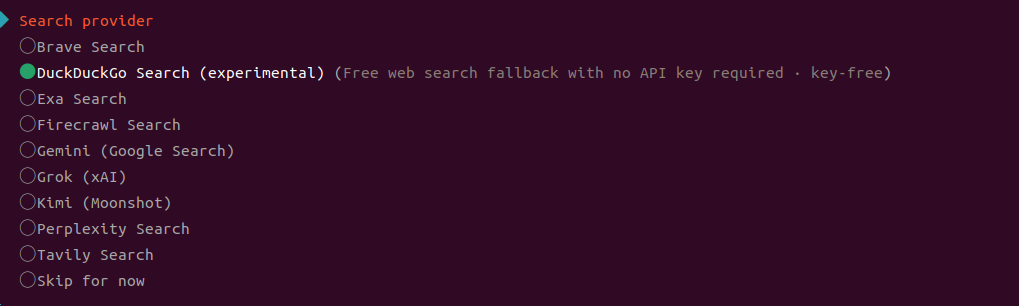
Leave the Search provider unconfigured for now.
Skip Skills for now. Required Skills can be installed later as needed.

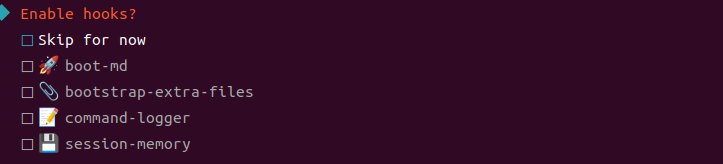
For hooks, select Skip for now, press Space, then press Enter.
Select Restart, then wait while the Gateway is installed and started.


Either the TUI interface or the Web UI can be used. This section uses TUI as the example.


The basic OpenClaw configuration is now complete.
Note
After the wizard is complete,
~/.openclaw/is usually created in the home directory, withopenclaw.jsoninside.Before editing
openclaw.json, create a backup copy if needed. For example,openclaw.json.bak.
3.6 Local Ollama Setup (Optional)
A local large model can be used instead of a cloud API Key.
Install Ollama.
curl -fsSL https://ollama.com/install.sh | sh

Pull the required model, such as a Llama model. Use the actual model name required by the setup.
ollama pull llama3.2

Start Ollama locally.
ollama run llama3.2

In the OpenClaw wizard, select local or Ollama as the model provider if the option is available.
Configuration fields may vary slightly between OpenClaw versions. Use the options shown in the openclaw onboard interface as the reference.
3.7 Running the First Hello World Test
Step 1: Start the Gateway
openclaw gateway start

Step 2: Send a Message to the Default Agent
In most cases, the default Agent ID is main. If the ID is different, run openclaw agents list --json to check it.
openclaw agent --agent main --session-id hello-001 --message "Hello! Please give a brief self-introduction."

Step 3: Open TUI to View the Interaction
openclaw tui
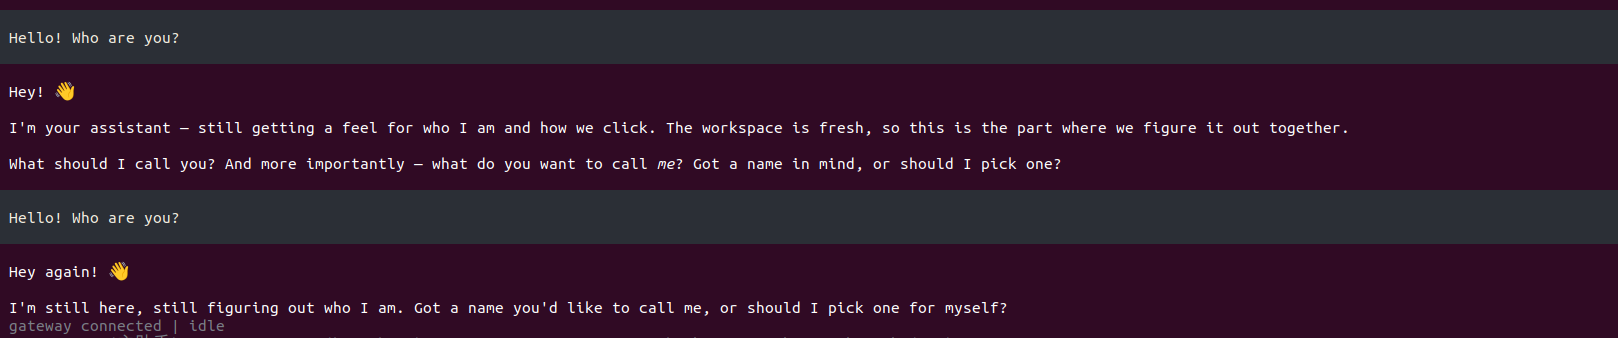
If a response appears, the environment setup and model call are working correctly.
At this point, the first part of the core loop is complete.
The Gateway is running.
A message has entered a Session.
The Agent has generated a model response and returned it.
This is the foundation for building a complete OpenClaw setup with Channel integration, multi-Agent coordination, and Skill extensions.
3.8 Recommended First-Time Verification
After the Hello World test runs successfully, perform a global check with the following steps. This helps avoid a false positive where only a single message happens to work.
Step 1: Confirm That the Gateway Is Running
openclaw gateway status
Step 2: Check Overall Health
openclaw doctor
If the command supports --deep, run the following command as well.
openclaw doctor --deep
Step 3: Open the Web Dashboard
openclaw dashboard
Open the following address in a browser. This address usually points to the local machine.
http://127.0.0.1:18789/
If the port is different, use the value of gateway.port in openclaw.json.
Step 4: Verify Session Continuity with the Same
session-id
If Session is working properly, the second message will continue from the context of the first message.
openclaw agent --agent main --session-id hello-001 --message "Summarize what OpenClaw is in one sentence."
openclaw agent --agent main --session-id hello-001 --message "Make the summary more beginner-friendly and list the next step."
3.9 Common Issues and Basic Checks
1.
openclawcommand not found
The global installation path is usually not added to PATH. First, run the following command.
npm config get prefix
Then check whether the corresponding bin directory is included in PATH.
2. Gateway fails to start after
openclaw onboardis complete
Avoid changing configuration files before checking the basic status and logs. Check in the following order.
Run
openclaw doctor.Run the Gateway in the foreground to view detailed errors. If the current version supports
run --verbose, use that mode.
For example:
openclaw doctor
Record the key error lines. The following chapters will explain how to troubleshoot based on the actual error.
3. The Dashboard cannot be opened, or the port cannot be accessed
Check the following two items first.
Whether
openclaw gateway statusshows that the Gateway is running.Whether
gateway.porthas been changed, and whether the firewall allows this port when access is from a local network.