7. Touch Control Course
7.1 Touch Detection
7.1.1 Experiment Overview
This section explores the touch functionality of the LCD screen on the K230 development board through programming.
7.1.2 Preparation
Module Connection
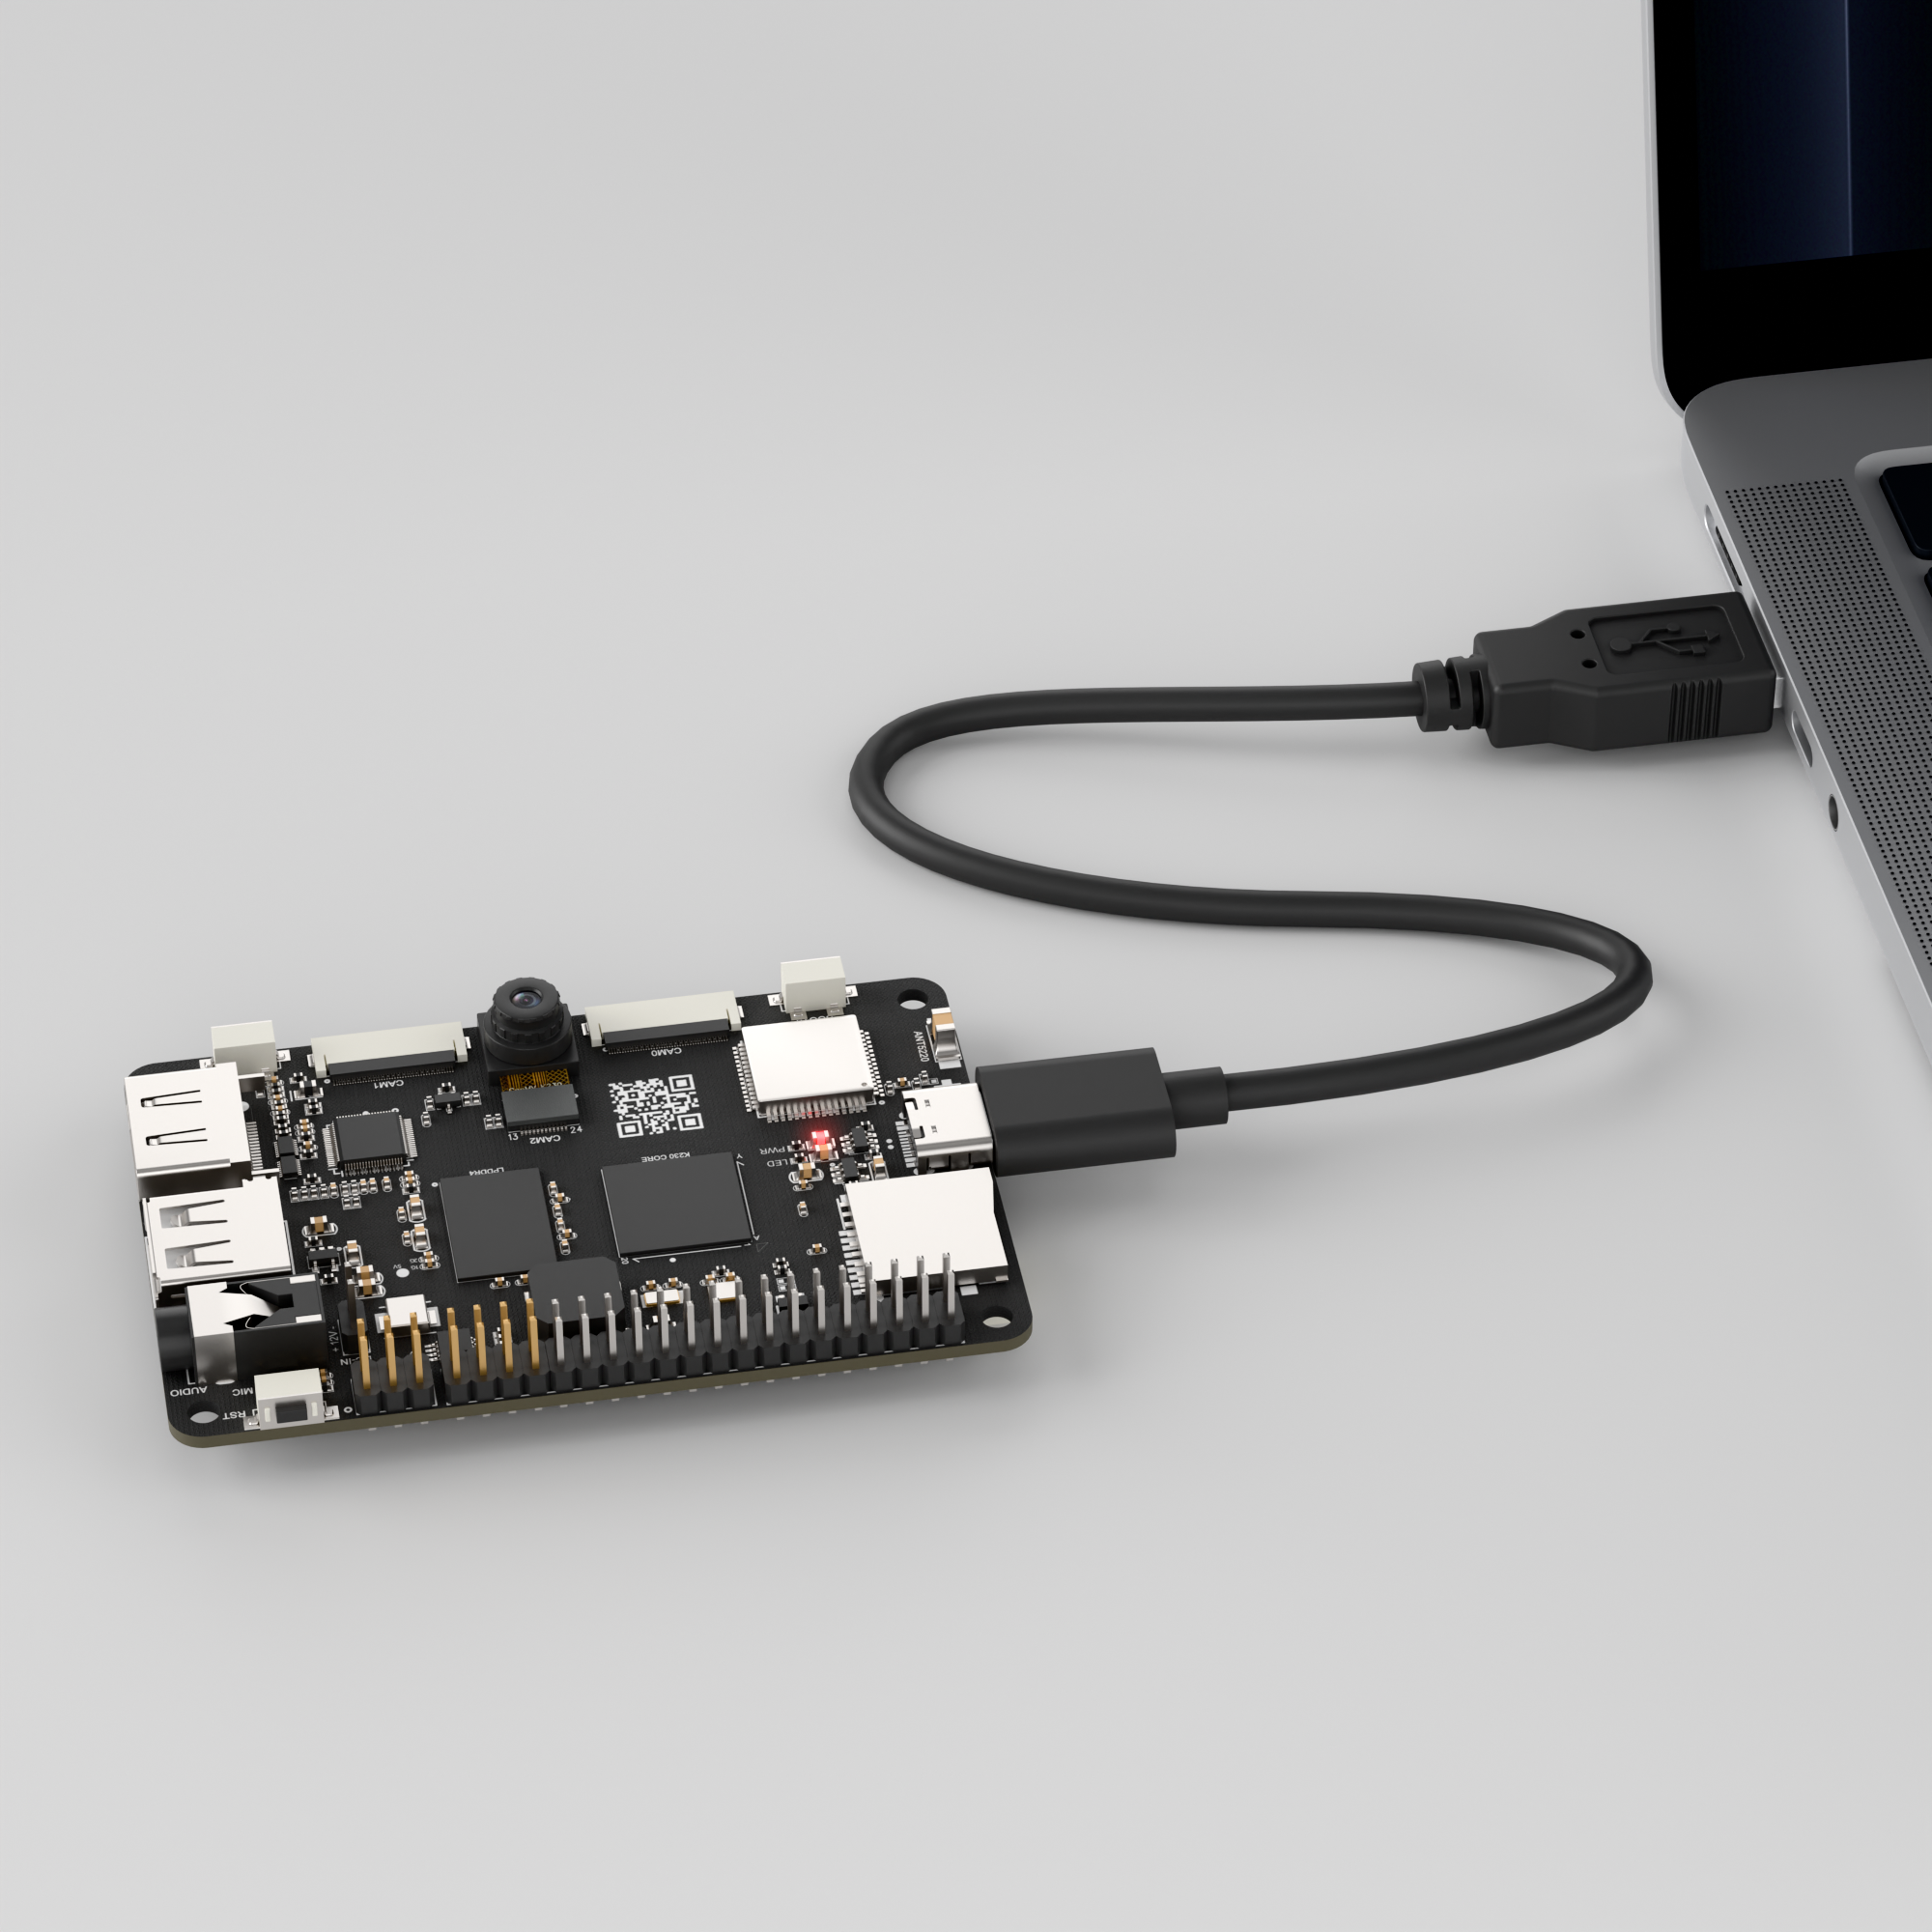
Connect the K230 development board to your PC using a Type-C data cable, as shown below:

Double-click to open CanMV IDE K230.

Click the connection button in the lower left corner.

Upon successful connection, the icon in the lower left corner of CanMV IDE will change to the following:
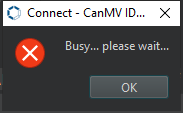
If the connection takes more than 10 seconds, it indicates a connection failure. Click the Cancel button, and a pop-up window will appear. Click OK and recheck the connection.
Note
Connection Failure Causes and Solutions:
Cable is not a data cable: Some Type-C cables are charging-only cables without data transfer capability. Please use a Type-C cable with data transfer functionality. The factory-supplied cable is a Type-C data cable.
Other K230 firmware was flashed: Re-flash the factory firmware, then reconnect.
7.1.3 Program Execution and Download
The K230 program supports two operation modes: online execution and offline execution.
Online Execution:
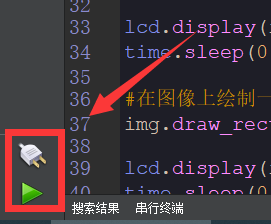
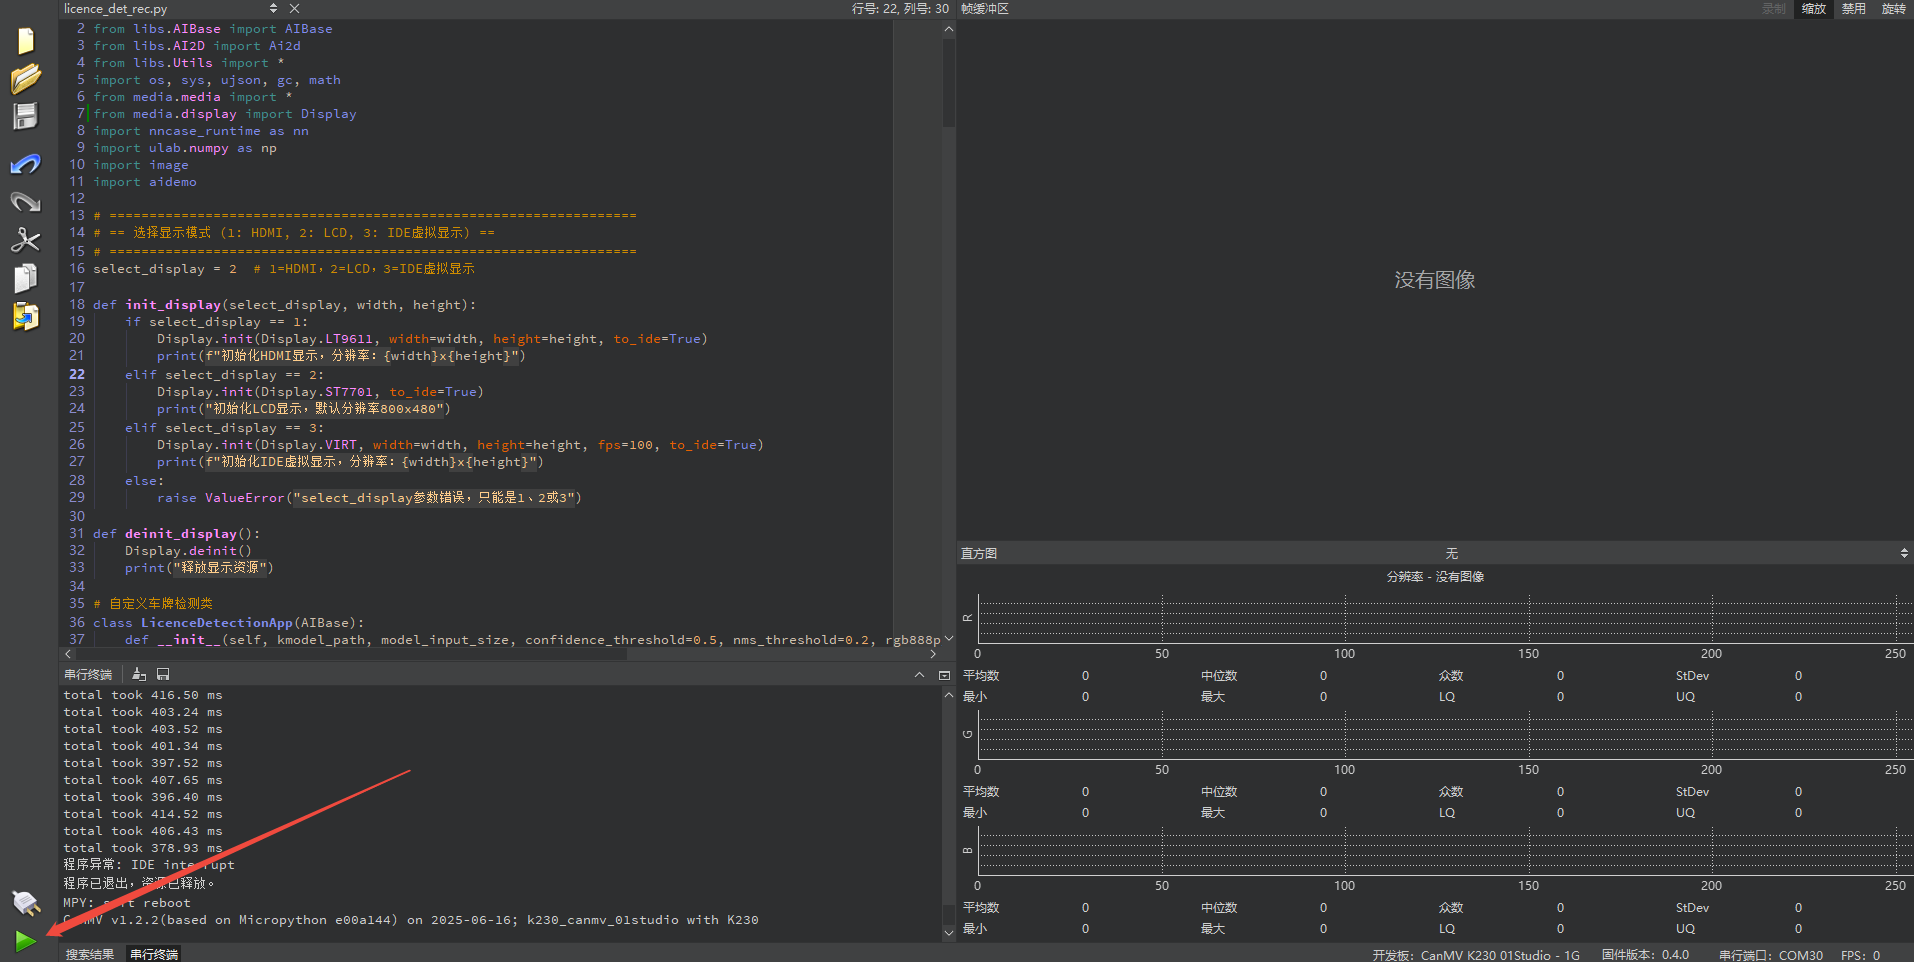
After connecting, drag the program touch.py into the CanMV IDE K230 code editor area, then click the run button  in the lower left corner to run the program online, as shown below:
Note
Programs run using this method will be lost after disconnecting or powering off, and will not be saved on the development board.
Offline Execution:
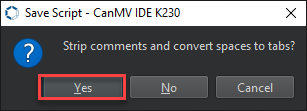
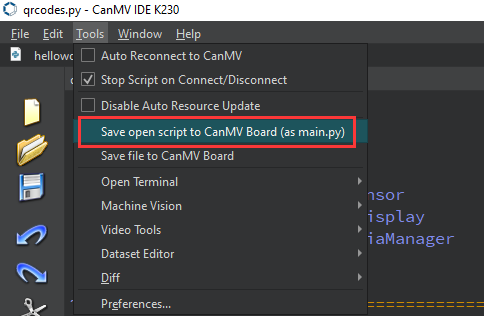
After connecting, drag the program touch.py into the CanMV IDE K230 code editor area, click Tools in the toolbar, and select Save open script to CanMV Board (as main.py), as shown below:

Click Yes.
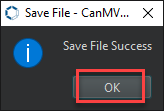
Once the file is written, click OK to confirm and complete saving the MicroPython file to the K230 development board.

With this method, the K230 development board will automatically run the MicroPython file upon power-up without connection, enabling offline execution.
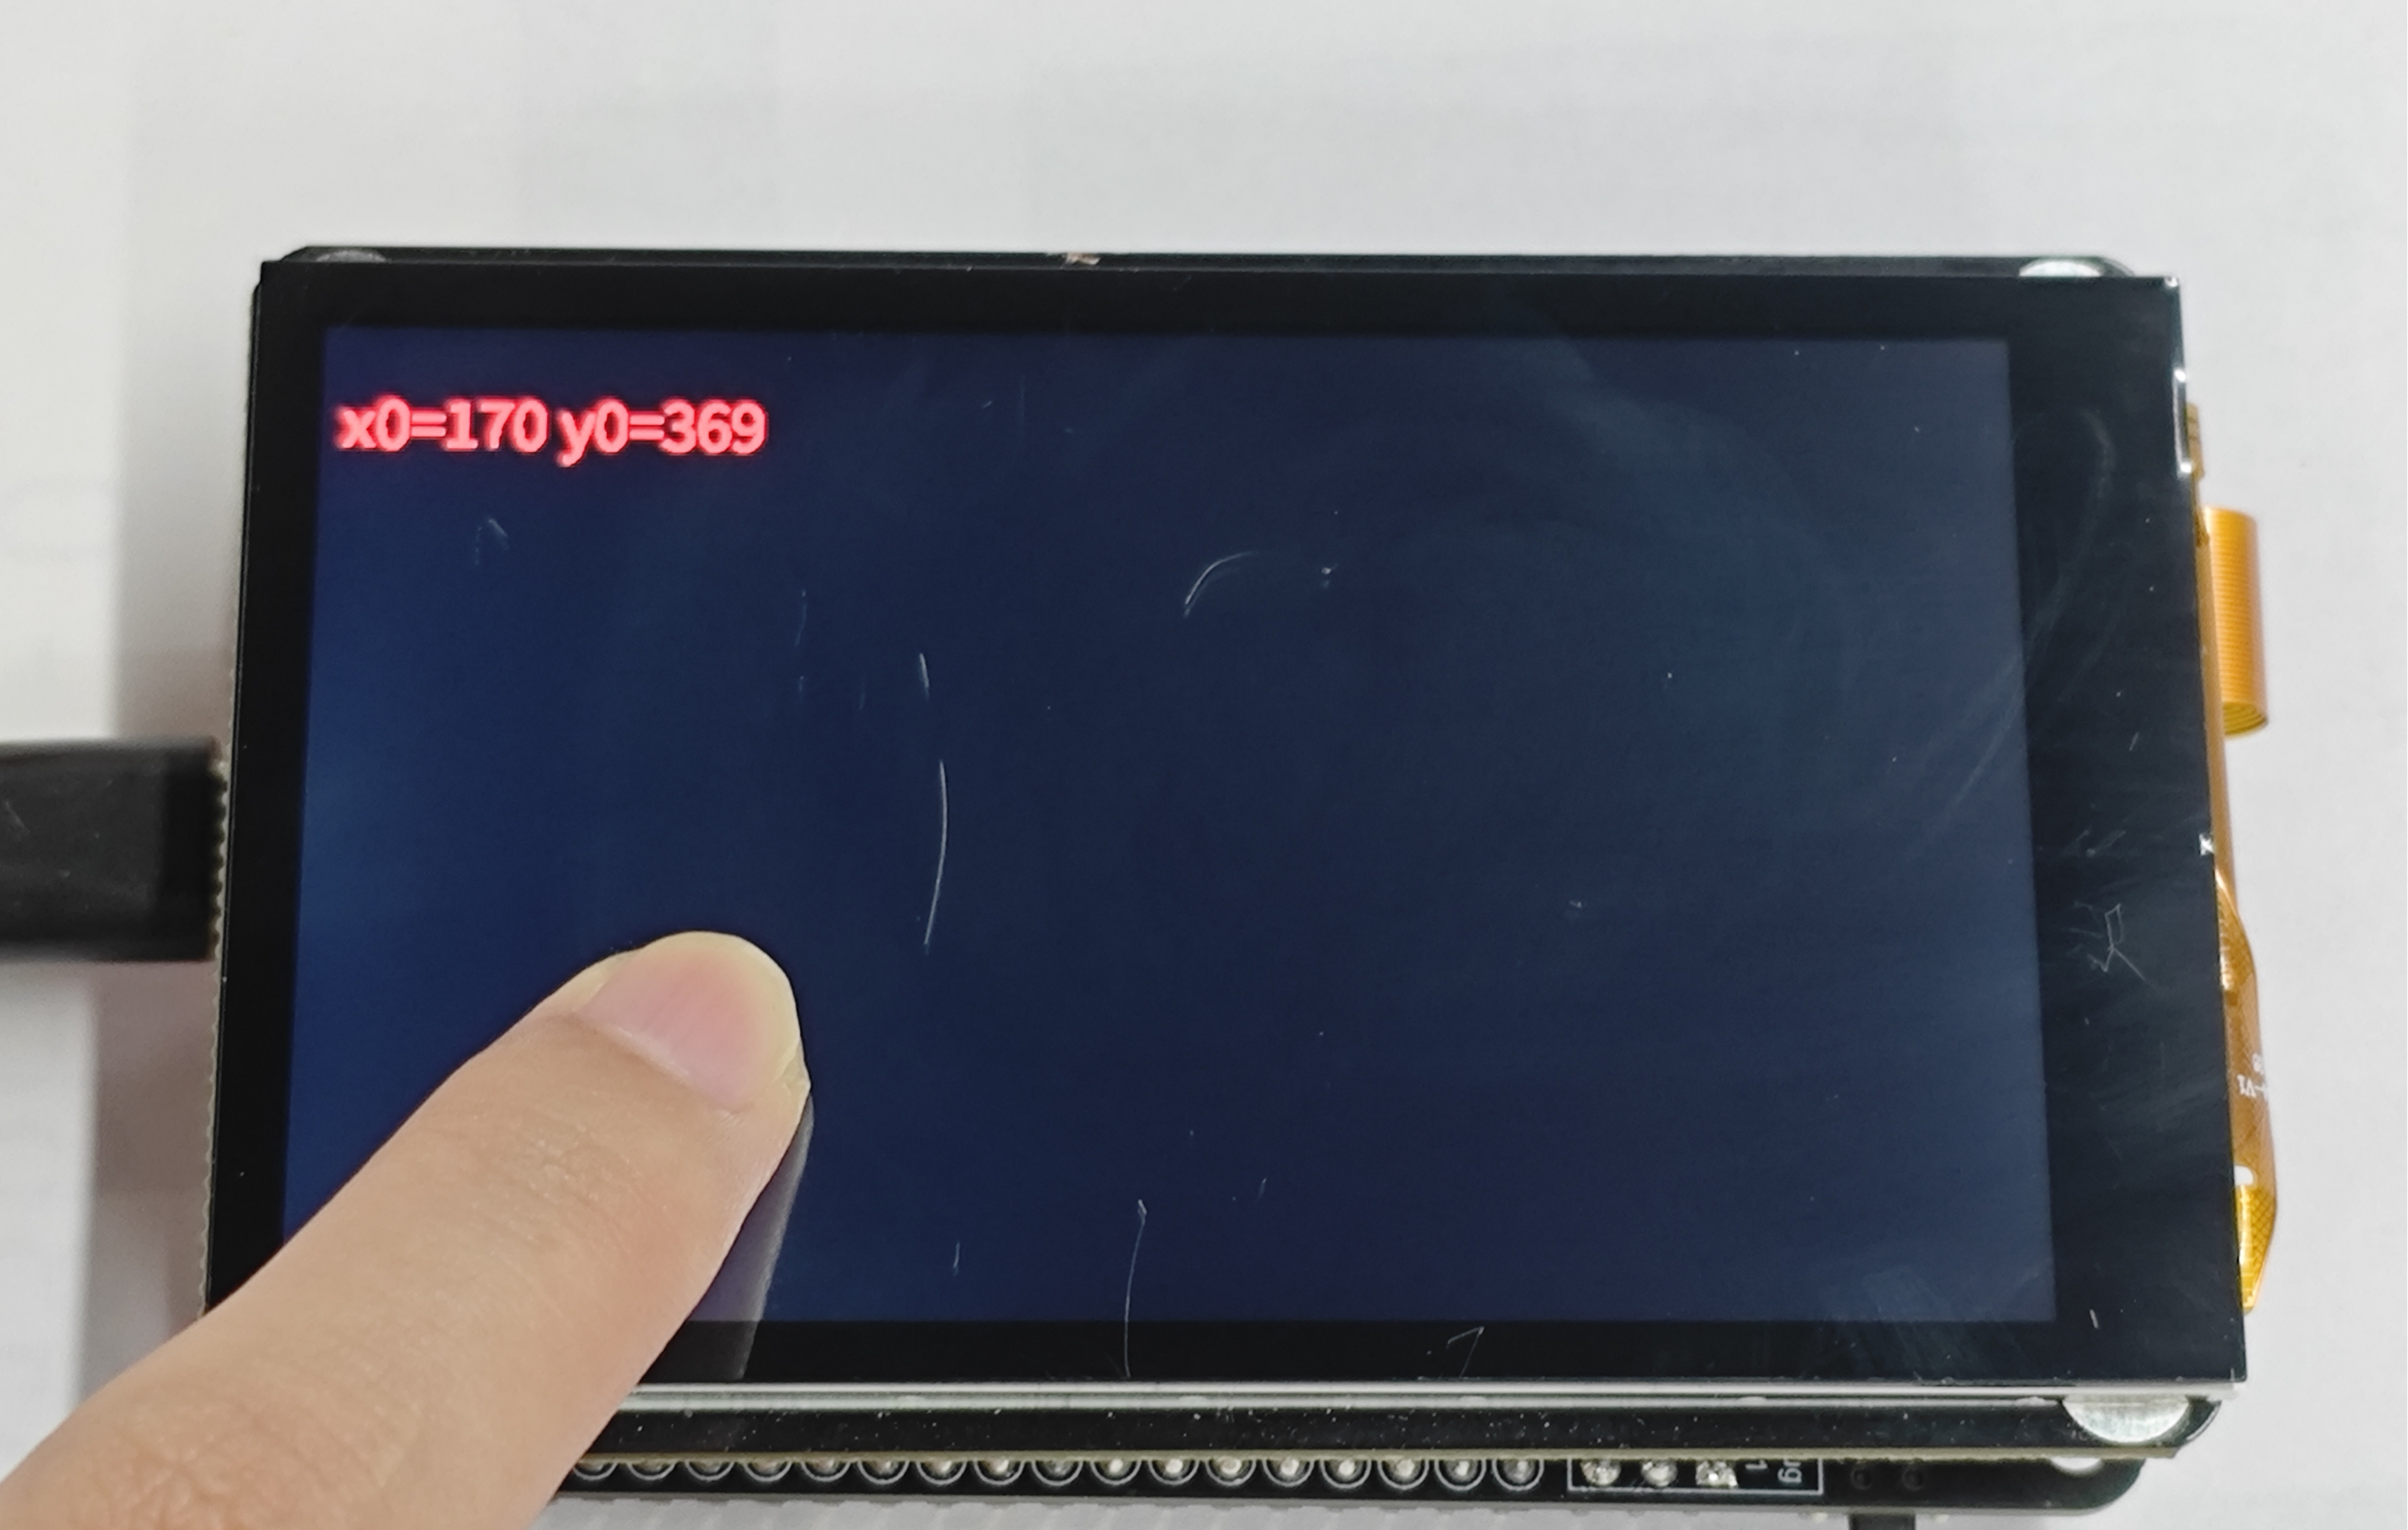
7.1.4 Program Outcome
When you touch the LCD screen on the K230 development board with your finger, the corresponding touch coordinates appear on the LCD screen, and the IDE simultaneously prints the coordinates.
7.1.5 Program Analysis
Import Required Libraries
from machine import TOUCH
import time
from media.display import Display
from media.media import MediaManager
import image
Initialization
# Initialize display (example in LCD mode)
DISPLAY_WIDTH = 800
DISPLAY_HEIGHT = 480

Display.init(Display.ST7701, width=DISPLAY_WIDTH, height=DISPLAY_HEIGHT, to_ide=False)
MediaManager.init()

# Canvas
img = image.Image(DISPLAY_WIDTH, DISPLAY_HEIGHT, image.RGB565)
red = (255, 0, 0)

# Instantiate TOUCH device 0
tp = TOUCH(0)
DISPLAY_WIDTH,DISPLAY_HEIGHTinitialize the display resolution.Display.init()initializes the display mode, defining the display screen as LCD.
Create Canvas
# Canvas
img = image.Image(DISPLAY_WIDTH, DISPLAY_HEIGHT, image.RGB565)
red = (255, 0, 0)
Create a canvas to display touch coordinates on the LCD screen, and define the displayed text color as red.
Main Loop
try:
while True:
p = tp.read() # Read all touch points
img.clear() # Clear canvas background, default black, can be modified as needed
if p != ():
for i, point in enumerate(p):
text = f'x{i}={point.x} y{i}={point.y}'
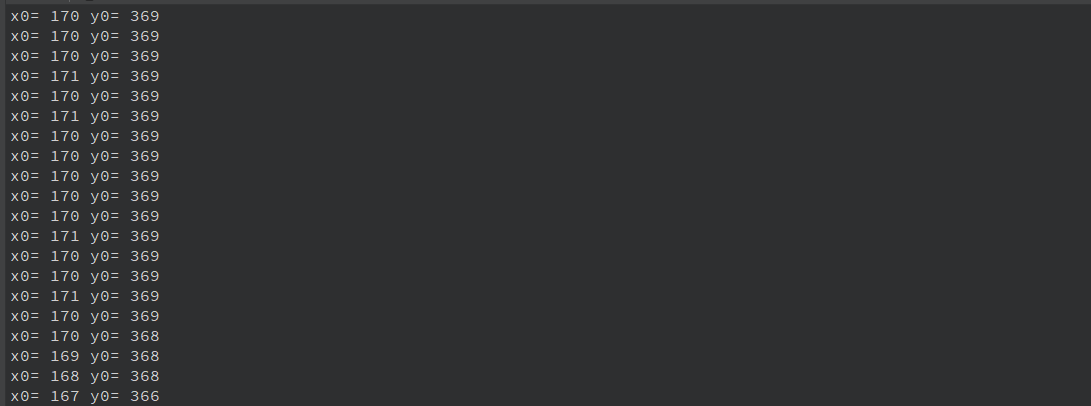
print('x'+str(i)+'=',p[i].x, 'y'+str(i)+'=',p[i].y)
# Display sequentially downward from the top left of the screen
img.draw_string_advanced(10, 30 + i*40, 30, text, color=red, scale=3)
Display.show_image(img)
time.sleep_ms(50)
for i,point in enumerate(p): Iterate through each touch point and pass the touch point coordinates totext.print()defines the display of touch point coordinates printed in the IDE terminal.img.draw_string_advanced()displays the coordinates on the LCD screen.Display.show_image(img)refreshes the canvas content to the screen.
7.2 Touch Drawing Board
7.2.1 Experiment Overview
This section explores the touch drawing board functionality of the LCD screen on the K230 development board through programming.
7.2.2 Preparation
Module Connection
Connect the K230 development board to your PC using a Type-C data cable, as shown below:

Double-click to open CanMV IDE K230.

Click the connection button in the lower left corner.
Upon successful connection, the icon in the lower left corner of CanMV IDE will change to the following:

If the connection takes more than 10 seconds, it indicates a connection failure. Click the Cancel button, and a pop-up window will appear. Click OK and recheck the connection.

Note
Connection Failure Causes and Solutions:
Cable is not a data cable: Some Type-C cables are charging-only cables without data transfer capability. Please use a Type-C cable with data transfer functionality. The factory-supplied cable is a Type-C data cable.
Other K230 firmware was flashed: Re-flash the factory firmware, then reconnect.
7.2.3 Program Execution and Download
The K230 program supports two operation modes: online execution and offline execution.
Online Execution:
After connecting, drag the program touch_draw.py into the CanMV IDE K230 code editor area, then click the run button  in the lower left corner to run the program online, as shown below:
Note
Programs run using this method will be lost after disconnecting or powering off, and will not be saved on the development board.

Offline Execution:
After connecting, drag the program touch_draw.py from this section’s directory into the CanMV IDE K230 code editor area, click Tools in the toolbar, and select Save open script to CanMV Board (as main.py), as shown below:
Click Yes.

Once the file is written, click OK to confirm and complete saving the MicroPython file to the K230 development board.

With this method, the K230 development board will automatically run the MicroPython file upon power-up without connection, enabling offline execution.
7.2.4 Program Outcome
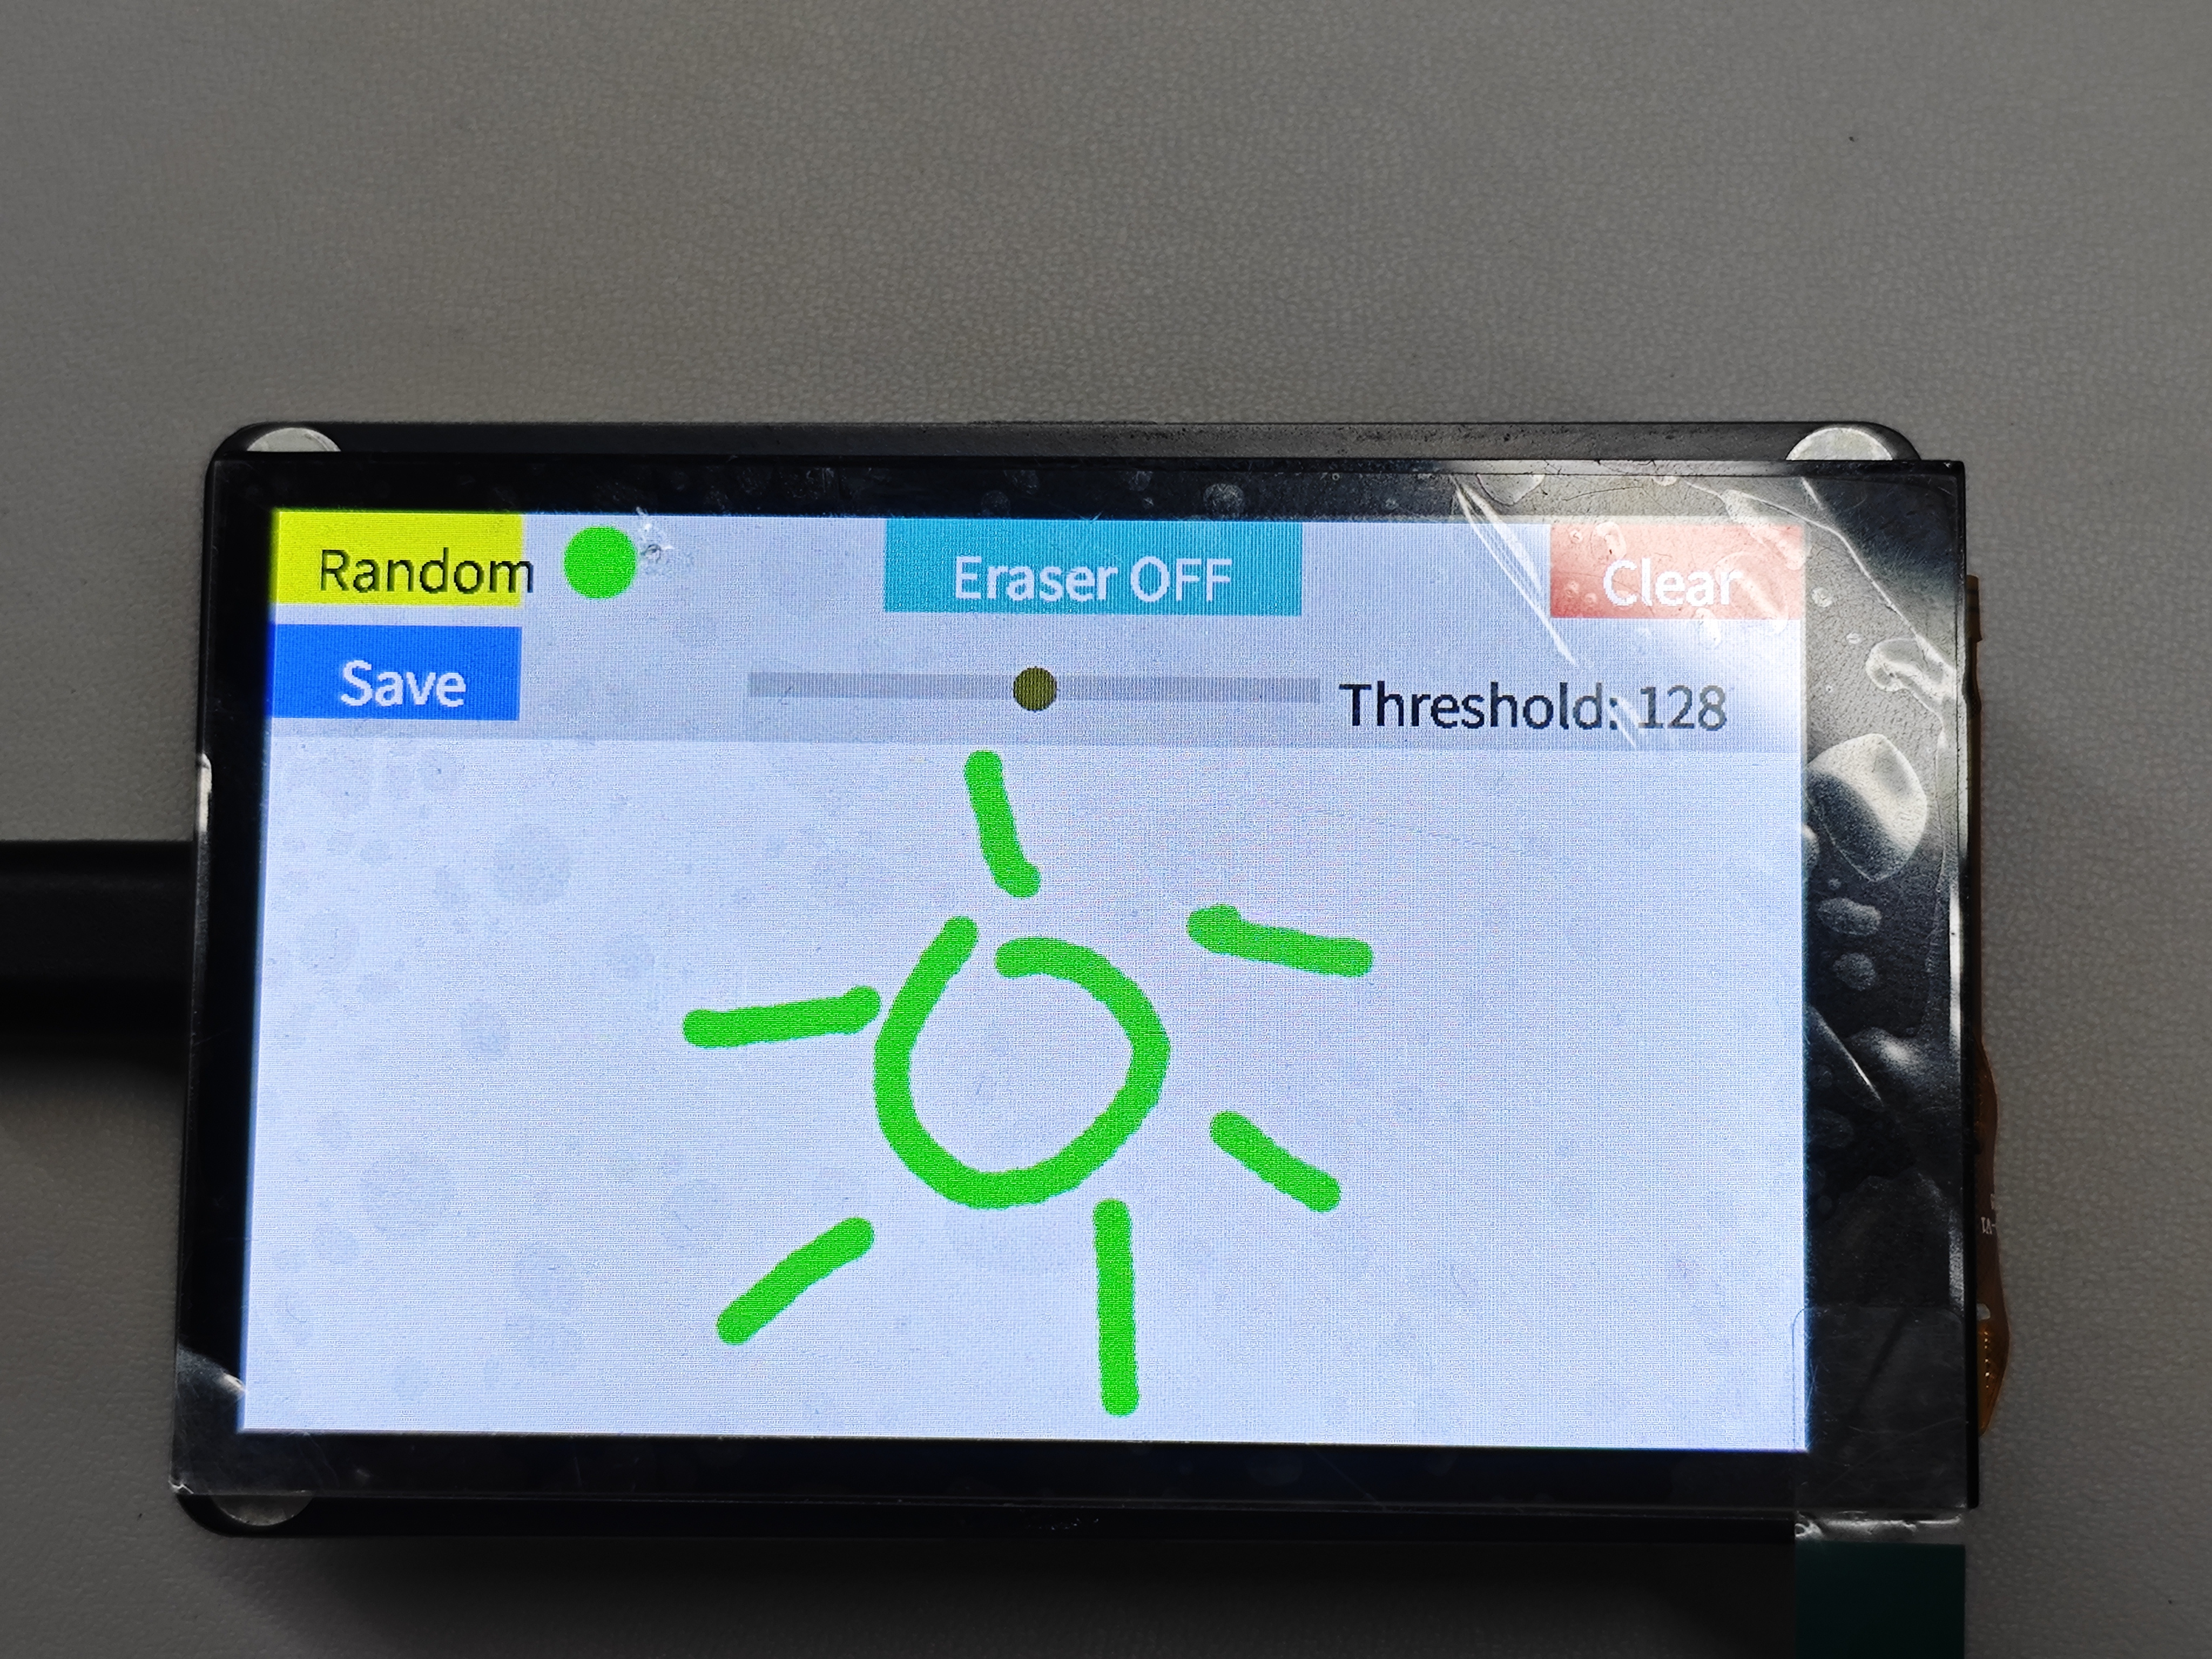
You can use your finger to draw on the canvas. Functional buttons at the top allow switching between different brush modes. For example, the Random button in the top-right corner randomly changes the brush color. The Save button saves the current drawing to the root directory of the SD card. The Eraser button turns the brush into an eraser, allowing erased areas wherever the finger is dragged. The slider at the bottom can be used to adjust the brush color. The Clear button in the top-right corner clears the entire canvas.
7.2.5 Program Analysis
Import Required Libraries
import time, os, sys, urandom
from media.display import *
from media.media import *
from machine import TOUCH
from collections import namedtuple
Define Screen and Canvas Size
# Screen size
DISPLAY_WIDTH = 800
DISPLAY_HEIGHT = 480

# Drawing area size (canvas)
CANVAS_W = 800
CANVAS_H = 400
CANVAS_X = 0
CANVAS_Y = 120   # Start from screen y=80
Initialization
try:
    # Initialize display
    Display.init(Display.ST7701, width=DISPLAY_WIDTH, height=DISPLAY_HEIGHT, to_ide=False)

    # Initialize media manager
    MediaManager.init()

    # --- Two images ---
    ui_img = image.Image(DISPLAY_WIDTH, DISPLAY_HEIGHT, image.RGB565)   # Full screen UI layer
    canvas_img = image.Image(CANVAS_W, CANVAS_H, image.RGB565)          # Drawing layer
    background_color = (255, 255, 255)
    canvas_img.clear()
    canvas_img.draw_rectangle(0, 0, CANVAS_W, CANVAS_H, color=background_color, fill=True)
background_color = (255, 255, 255)initializes the background color to white.canvas_img.clear()clears the canvas.canvas_img.draw_rectangle()fills with white background.
UI Area Definition
    # UI button and slider areas
    clear_button_area = (DISPLAY_WIDTH - 130, 0, 130, 50)
    color_button_area = (0, 0, 130, 50)
    save_button_area = (0, 60, 130, 50)
    eraser_button_area = (DISPLAY_WIDTH // 2 - 80, 0, 220, 50)
    slider_area = (DISPLAY_WIDTH // 2 - 150, 70, 300, 40)

    forbidden_draw_areas = [
        clear_button_area,
        color_button_area,
        save_button_area,
        eraser_button_area,
        slider_area
    ]

    tp = TOUCH(0)
    last_point = None
    eraser_mode = False
    threshold_value = 128
Initialize
current_colorto define the current brush color.Initialize
brush_sizeto define the brush size in radius.tp = TOUCH(0)initializes the touchscreen object.last_point = Nonefor the previous touch point, used to draw continuous lines.eraser_mode = Falseeraser mode switch.threshold_value = 128threshold slider default value, with a range of 0-255.
UI Drawing Functions
    # --- UI drawing functions ---
    def draw_button(x, y, w, h, text, bg_color, text_color):
        ui_img.draw_rectangle(x, y, w, h, color=bg_color, fill=True)
        ui_img.draw_string_advanced(x + (w - len(text) * 15) // 2, y + 12, 30,
                                    text, color=text_color, scale=2)

    def draw_clear_button():
        draw_button(*clear_button_area, "Clear", (255, 0, 0), (255, 255, 255))

    def draw_color_buttons():
        draw_button(*color_button_area, "Random", (255, 255, 0), (0, 0, 0))
        ui_img.draw_circle(color_button_area[0] + 170, 25, 20,
                           color=current_color, thickness=3, fill=True)

    def draw_save_button():
        draw_button(*save_button_area, "Save", (0, 128, 255), (255, 255, 255))

    def draw_eraser_button():
        bg = (128, 128, 128) if eraser_mode else (0, 200, 200)
        text = "Eraser ON" if eraser_mode else "Eraser OFF"
        draw_button(*eraser_button_area, text, bg, (255, 255, 255))
Use draw_button() to draw corresponding buttons.
Threshold Slider Functions
    def apply_threshold_color(base1, base2, threshold):
        r = base1[0] + (base2[0] - base1[0]) * threshold / 255
        g = base1[1] + (base2[1] - base1[1]) * threshold / 255
        b = base1[2] + (base2[2] - base1[2]) * threshold / 255
        return (int(r), int(g), int(b))

    def draw_slider():
        x, y, w, h = slider_area
        ui_img.draw_rectangle(x, y + h // 3, w, h // 3,
                              color=(200, 200, 200), fill=True)
        knob_x = x + int((threshold_value / 255) * w)
        knob_y = y + h // 2
        knob_color = apply_threshold_color(base_color_1, base_color_2, threshold_value)
        ui_img.draw_circle(knob_x, knob_y, 12, color=knob_color, fill=True)

        txt = f'Threshold: {threshold_value}'
        ui_img.draw_string_advanced(x + w + 10, y + 8, 30,
                                    txt, color=(0, 0, 0), scale=2)
apply_threshold_colorcalculates RGB values based on threshold.draw_rectangledraws the threshold slider.txt = f'Threshold: {threshold_value}'displays the corresponding threshold value.
Main Loop
    # --- Main loop ---
    while True:
        os.exitpoint()
        p = tp.read(1)

        if p != ():
            for point in p:
                x, y = point.x, point.y

                # UI interaction
                select_color(x, y)
                check_clear_button(x, y)
                check_save_button(x, y)
                check_eraser_button(x, y)
                check_slider_touch(x, y)

                # Canvas area, touch point minus offset CANVAS_Y
                if y >= CANVAS_Y:
                    cp = Point(x, y - CANVAS_Y)
                    draw_line_between_points(last_point, cp)
                    last_point = cp
                else:
                    last_point = None
        else:
            last_point = None
os.exitpoint()system exit point, which prevents freezing.p = tp.read(1)reads touch points, with maximum one at a time.if p != ()checks if touch points exist.
7.3 Touch Photography
7.3.1 Experiment Overview
This section explores the touch photography functionality of the LCD screen on the K230 development board through programming.
7.3.2 Preparation
Module Connection
Connect the K230 development board to your PC using a Type-C data cable, as shown below:
Double-click to open CanMV IDE K230.

Click the connection button in the lower left corner.

Upon successful connection, the icon in the lower left corner of CanMV IDE will change to the following:

If the connection takes more than 10 seconds, it indicates a connection failure. Click the Cancel button, and a pop-up window will appear. Click OK and recheck the connection.

Note
Connection Failure Causes and Solutions:
Cable is not a data cable: Some Type-C cables are charging-only cables without data transfer capability. Please use a Type-C cable with data transfer functionality. The factory-supplied cable is a Type-C data cable.
Other K230 firmware was flashed: Re-flash the factory firmware, then reconnect.
7.3.3 Program Execution and Download
The K230 program supports two operation modes: online execution and offline execution.
Online Execution:
After connecting, drag the program touch_photo.py into the CanMV IDE K230 code editor area, then click the run button  in the lower left corner to run the program online, as shown below:
Note
Programs run using this method will be lost after disconnecting or powering off, and will not be saved on the development board.

Offline Execution:
After connecting, drag the program touch_photo.py from this section’s directory into the CanMV IDE K230 code editor area, click Tools in the toolbar, and select Save open script to CanMV Board (as main.py), as shown below:

Click Yes.

Once the file is written, click OK to confirm and complete saving the MicroPython file to the K230 development board.
With this method, the K230 development board will automatically run the MicroPython file upon power-up without connection, enabling offline execution.
7.3.4 Program Outcome
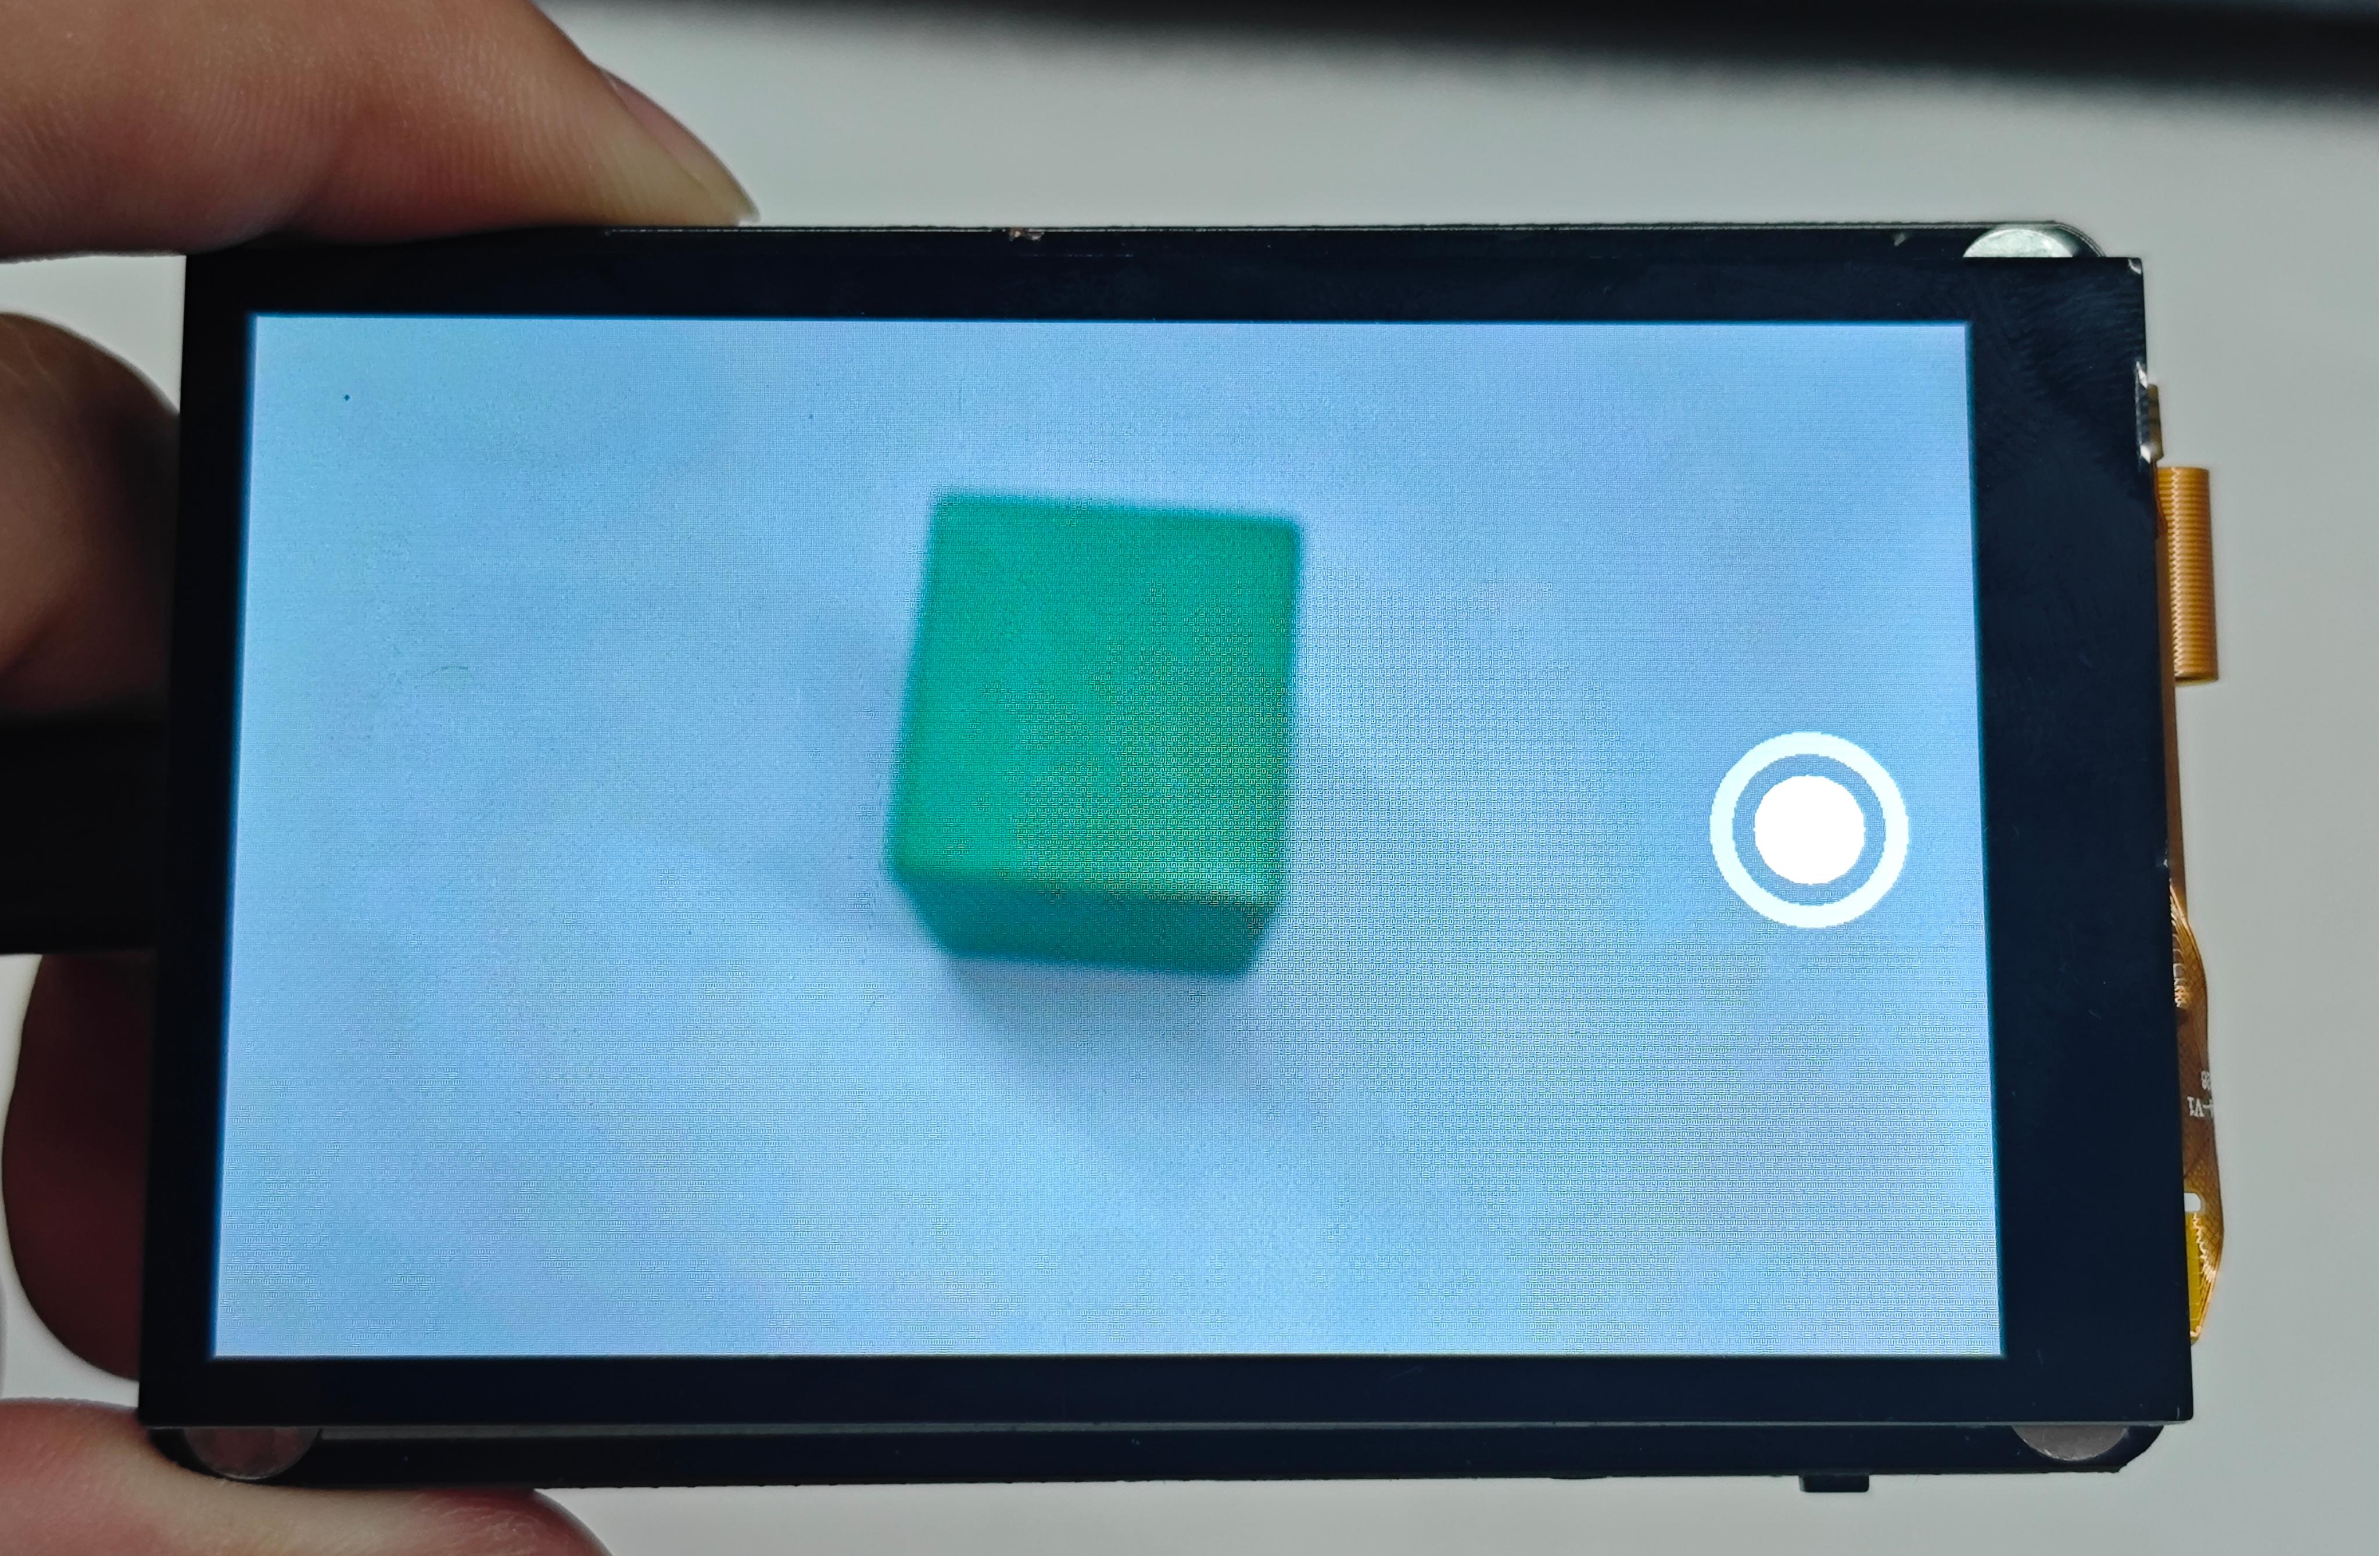
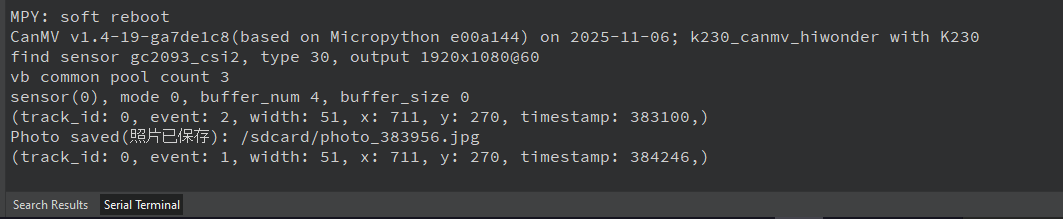
After clicking the capture button on the screen, the K230 calls the camera to capture the current scene. The captured image is then converted and saved as a picture.
7.3.5 Program Analysis
Import Required Libraries
import uos
import sys
import time
from media.sensor import Sensor
from media.display import Display
from media.media import MediaManager
from machine import TOUCH
Initialization
sensor = Sensor()
sensor.reset()
sensor.set_framesize(width=800, height=480)
sensor.set_pixformat(Sensor.RGB565)

Display.init(Display.ST7701, to_ide=False)
MediaManager.init()
sensor.run()
sensor = Sensor()creates a camera object.sensor.reset()resets the camera.sensor.set_framesize(width=800, height=480)sets resolution to 800x480.sensor.set_pixformat(Sensor.RGB565)sets the image format.Display.init()initializes the LCD screen.MediaManager.init()initializes the media manager.sensor.run()starts camera capture.
Define Save Directory
# Directory for saving photos
save_dir = "/sdcard"

def ensure_dir_exists(path):
    try:
        uos.listdir(path)
    except OSError:
        print("Directory {} does not exist, creating...".format(path))
        uos.mkdir(path)
        print("Directory {} created".format(path))
Define the directory where images are saved when the button is pressed.
Main Loop
while True:
    img = sensor.snapshot()
    img.draw_circle(720, 240, 25, color=(255, 255, 255), thickness=1, fill=True)
    img.draw_circle(720, 240, 40, color=(200, 200, 200), thickness=10)

    p = tp.read(1)
    if p != ():
        print(p)
        x, y, event = p[0].x, p[0].y, p[0].event

        if event == 2 or event == 3:
            img.draw_cross(x, y, color=(255, 0, 0), size=10, thickness=6)

        if 720 - 40 < x < 720 + 40 and 240 - 40 < y < 240 + 40 and event == 2:
            timestamp = time.ticks_ms()
            filename = "{}/photo_{}.jpg".format(save_dir, timestamp)


            img = sensor.snapshot()
            img.save(filename)
            print("Photo saved:", filename)
            time.sleep(1)

    # Display live image
    Display.show_image(img)
img = sensor.snapshot()captures a frame of live camera feed.img.draw_circle()draws the capture button on screen.p = tp.read(1)reads touch points.print(p)prints touch point coordinates in IDE terminal.x, y, event = p[0].x, p[0].y, p[0].eventassigns the obtained touch coordinates.Determines if the capture button on screen was touched based on touch point, and saves the photo to SD card.
Display.show_image(img)refreshes the canvas content to the screen.