9. Local Model Training (YOLOv8)
9.1 Experiment Introduction
This section introduces local YOLOv8 environment deployment and training of the Cat_and_dog_detection model, followed by conversion to a KModel via nncase for deployment on the K230 device.
9.2 Environment Deployment
The demonstrated operating environment is as follows:
OS: Windows 10 Professional
GPU: NVIDIA 1650
Environment Management: Miniconda3
conda:25.11.1
9.2.1 Environment Verification
This tutorial uses a Windows system equipped with an NVIDIA 1650 GPU.
Verify the environment setup.
With NVIDIA GPU
For setups with NVIDIA GPUs, check the driver installation and keep the drivers updated.
Without NVIDIA GPU
Operating without an NVIDIA GPU is also supported. Simply use the CPU version of PyTorch instead.
Press the Win + R keys, input
cmd, and press Enter.In the command prompt window, input
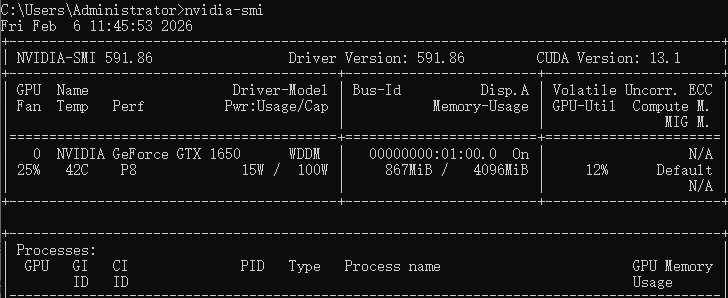
NVIDIA-smiand press Enter.
9.2.1.1 Two Possible Scenarios:
Scenario A: The system displays a table containing the GPU model and driver version details.
Conclusion: The system has successfully installed the drivers. Enables direct status monitoring without any additional installation, while ensuring GPU drivers remain up to date.
Note
If the driver is outdated, refer to the driver update section below.
Scenario B: A prompt indicates the command is not recognized as an internal or external command.
Reason 1: NVIDIA GPU drivers are not installed. This is the most common cause.
Reason 2: Drivers are installed, but the corresponding path is not added to the system’s Environment Variables. In this case, the command exists on the computer, but the system fails to locate it. Reinstalling the driver usually resolves this issue.
Reason 3: An NVIDIA GPU is not currently in use.
9.2.1.2 GPU Driver Installation and Update:
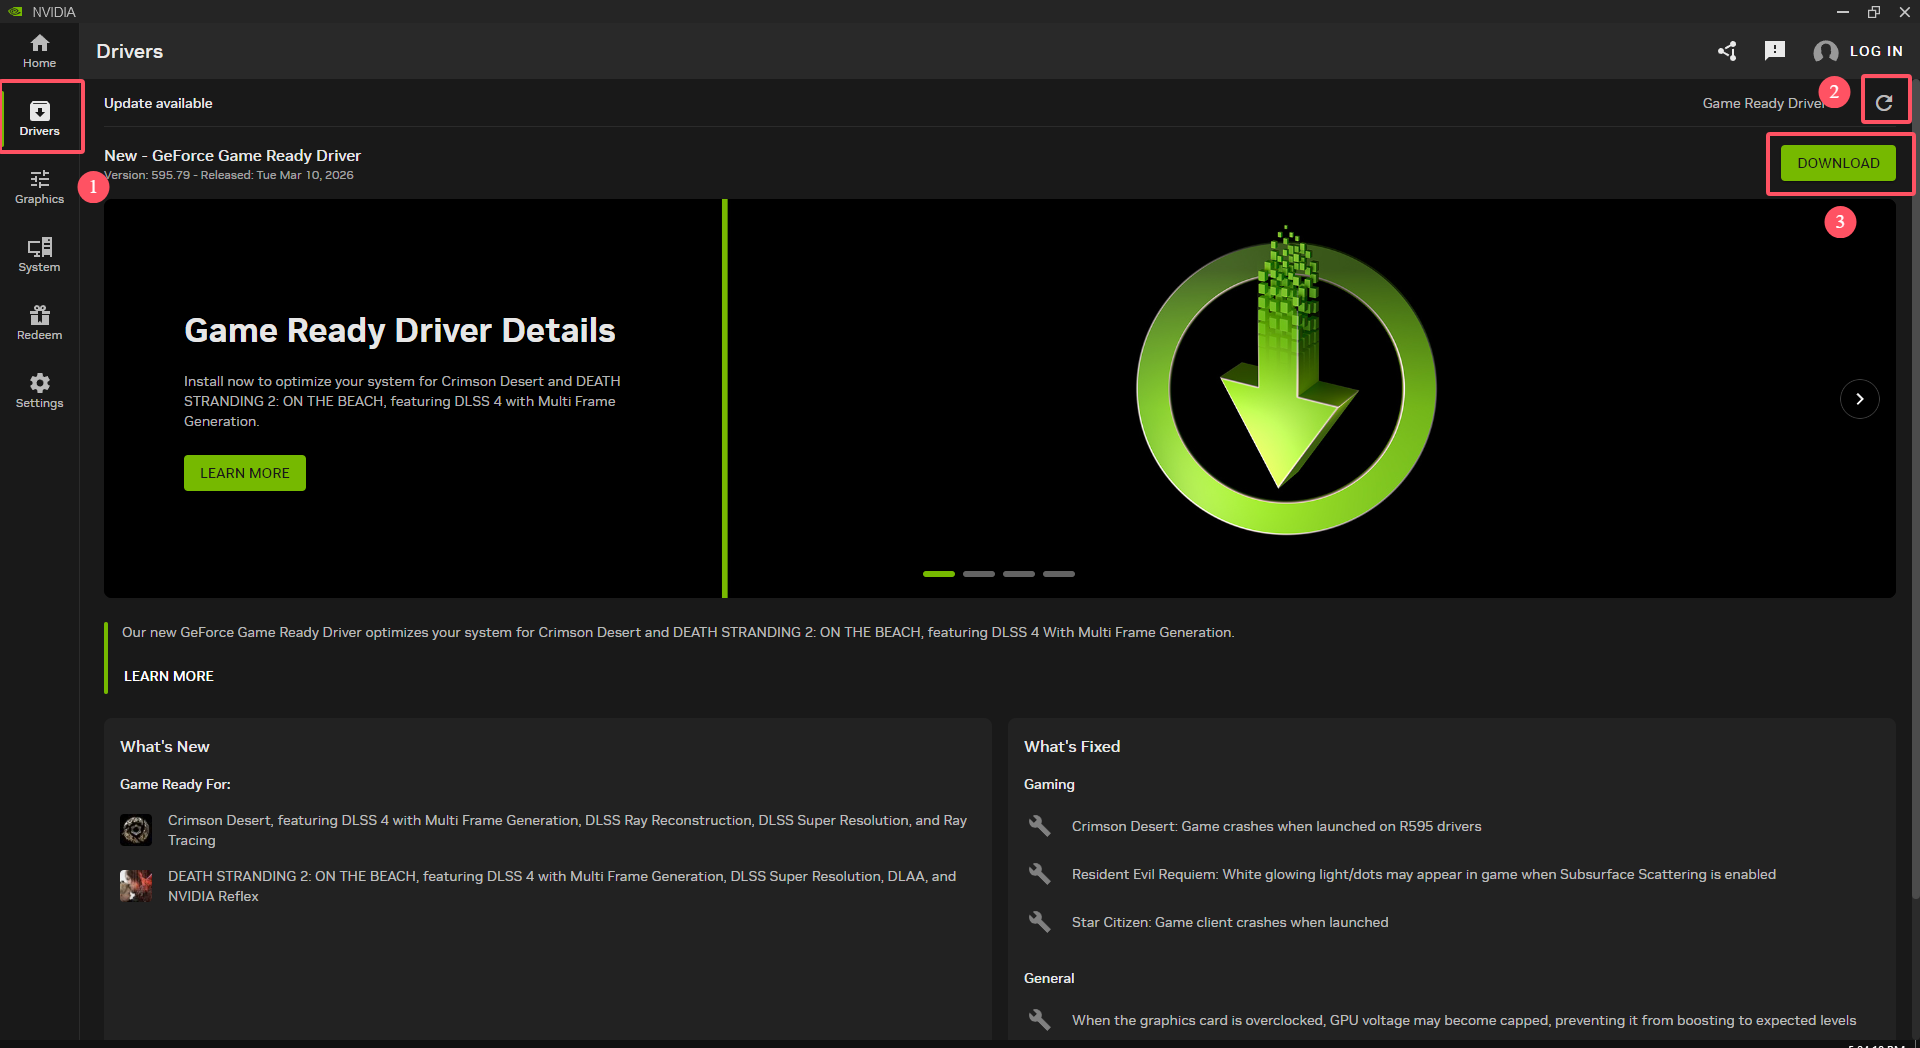
Proceed to the NVIDIA website to install the NVIDIA App.
The primary function of the NVIDIA App is to automatically detect, install, and update GPU drivers.
Operation Method: After installing the NVIDIA App, click Driver in the left panel. Then click the check for updates icon labeled 2 in the figure. Finally, click DOWNLOAD to proceed.
Driver Verification: After installing the GPU driver:
Press the Win + R, input
cmd, and press Enter.In the command prompt window, input
NVIDIA-smiand press Enter.A table similar to the image below should appear to confirm successful command recognition.
9.2.2 conda Environment Deployment
9.2.2.1 Install miniconda
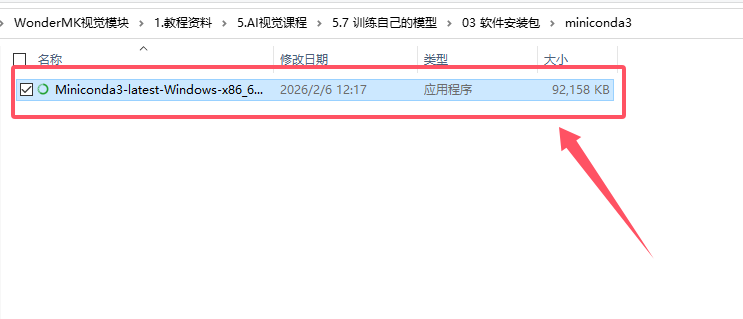
Download the installation package: Click miniconda to download the miniconda installation package, or obtain it from the software installation package folder in the current directory.
Start Installation:
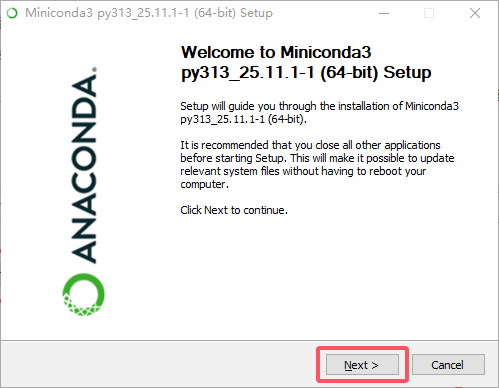
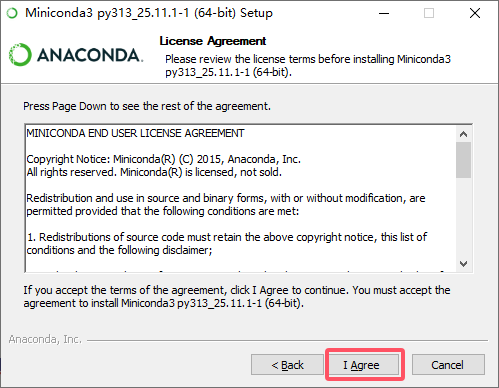
Double-click the Miniconda3 installation package.
Click Next.
Click I Agree to accept the terms.
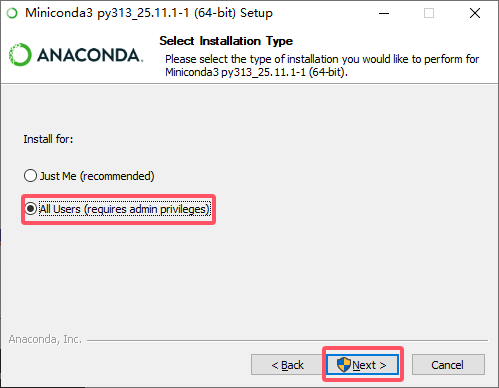
Select All Users, then click Next.
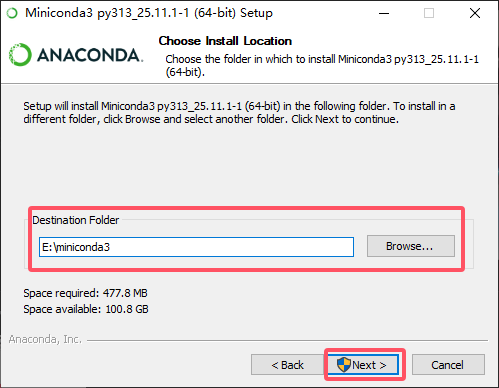
Select the corresponding installation path, then click Next.
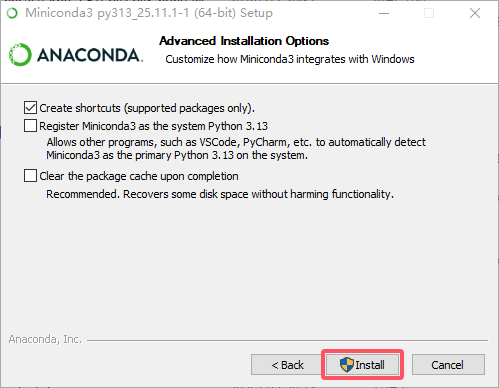
Check the desired options based on specific requirements, then click Install.
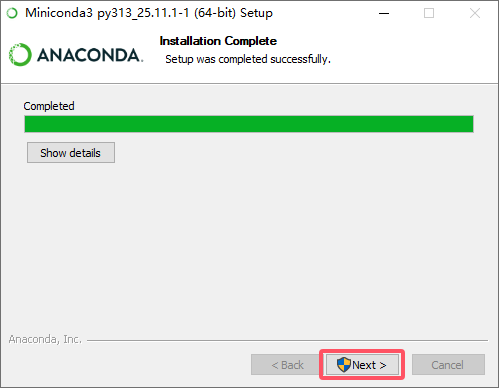
Click Next.
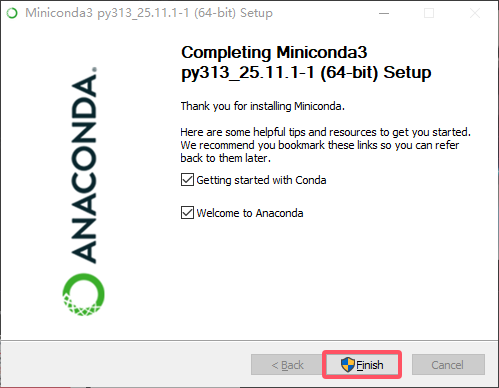
Finally, click Finish.
9.2.2.2 Installation Verification
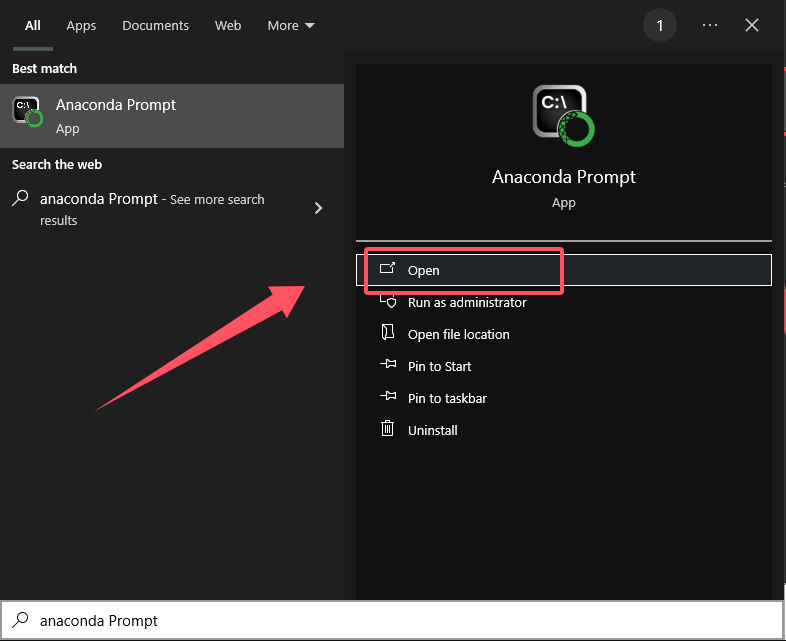
After completing the installation, press the Win key and search for Anaconda Prompt.
Double-click to run Anaconda Prompt.
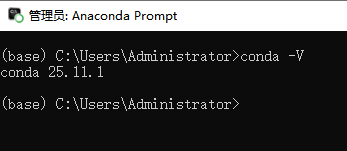
Input the following command. The output
conda 25.11.1indicates that the conda environment manager was installed successfully.
conda -V
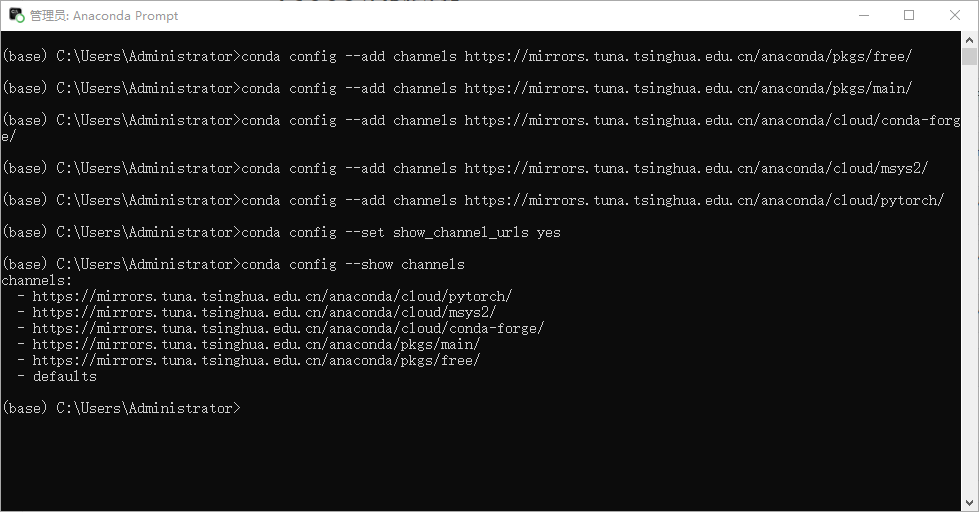
9.2.2.3 Add Tsinghua Mirror Source
Run the following commands individually to configure the Tsinghua University mirror source:
conda config --add channels https://mirrors.tuna.tsinghua.edu.cn/anaconda/pkgs/free/
conda config --add channels https://mirrors.tuna.tsinghua.edu.cn/anaconda/pkgs/main/
conda config --add channels https://mirrors.tuna.tsinghua.edu.cn/anaconda/cloud/conda-forge/
conda config --add channels https://mirrors.tuna.tsinghua.edu.cn/anaconda/cloud/msys2/
conda config --add channels https://mirrors.tuna.tsinghua.edu.cn/anaconda/cloud/pytorch/
conda config --set show_channel_urls yes
After executing the above commands, run the following command to verify whether the configuration is successful:
conda config --show channels
9.2.2.4 Creating a Miniconda Environment
Recent Anaconda versions require explicit consent to the Terms of Service (ToS) confirmation step before using official mirror sources or channels. Copy and run the following three commands sequentially in the Anaconda Prompt:
conda tos accept --override-channels --channel https://repo.anaconda.com/pkgs/main
conda tos accept --override-channels --channel https://repo.anaconda.com/pkgs/r
conda tos accept --override-channels --channel https://repo.anaconda.com/pkgs/msys2

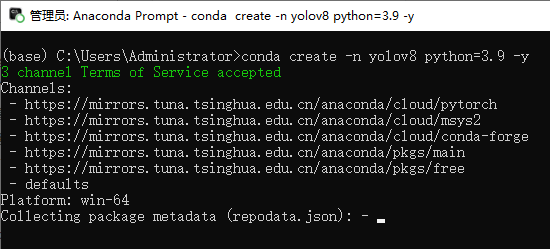
First, create a clean Python environment for YOLOv8 to prevent dependency conflicts. Open the Anaconda Prompt terminal and execute the following command:
Create an environment named YOLOv8, utilizing Python 3.9:
conda create -n yolov8 python=3.9 -y
Activate the environment using this command:
conda activate yolov8

9.2.2.5 Creating and Switching Directories
Note
Reasons for creating and switching to a new folder on the disk.
Maintain clear path structures.
Prevent permission and storage space issues.
Facilitate code execution.
This tutorial uses E:\dog_and_cat_detection as an example.
Create a Directory: Create a new folder on any local disk. For example, use E:\dog_and_cat_detection.

Switch Directory: Return to the Anaconda Prompt terminal and input the following command:
cd /d E:\dog_and_cat_detection

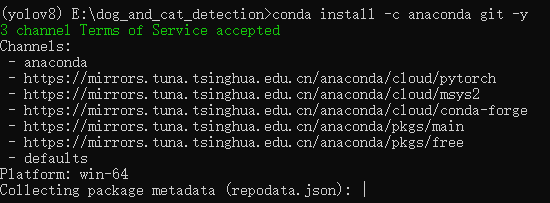
9.2.2.6 Install git
Run the following command to download the git tool:
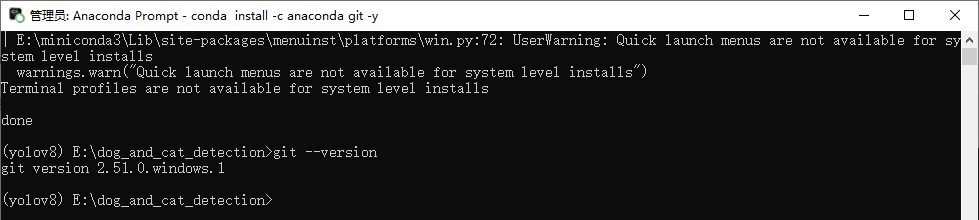
conda install -c anaconda git -y
Run the following command to verify whether the installation was successful:
git --version
An output similar to git version 2.x.x confirms a successful installation on the computer.
9.2.2.7 Install YOLOv8 and its Dependencies
Note
Execute the specific installation steps based on the current hardware configuration outlined in the documentation.
Setup without an NVIDIA GPU
Clone the YOLOv8 repository via git:
git clone https://github.com/ultralytics/ultralytics.git
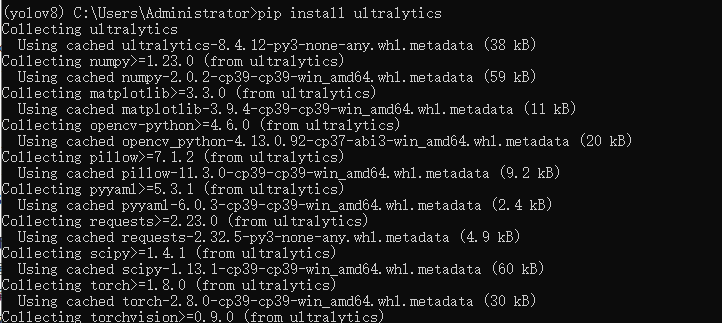
Navigate to the YOLOv8 directory:
cd ultralytics

Install PyTorch and other dependencies:
pip install -e .
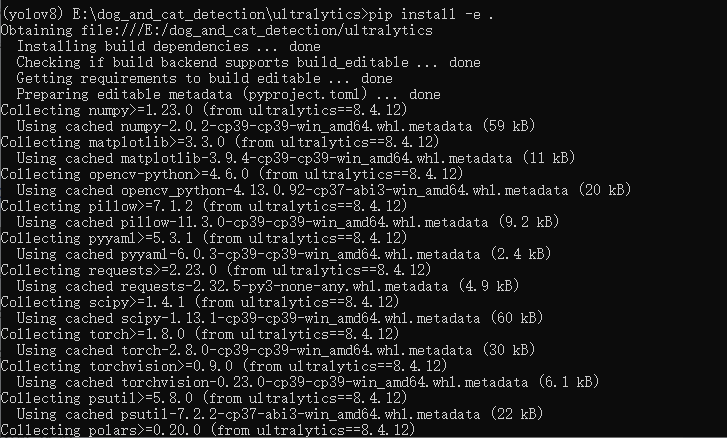
Setup with an NVIDIA GPU
First, complete the YOLOv8 and dependencies installation steps outlined in the version without an NVIDIA GPU section.
Uninstall the CPU version of PyTorch:
pip uninstall torch torchvision torchaudio -y

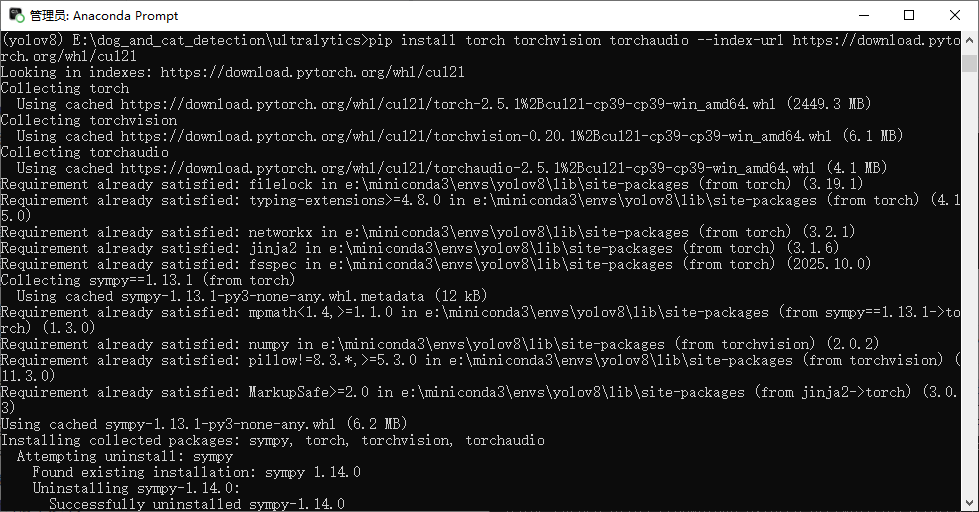
Install the GPU version of PyTorch:
pip install torch torchvision torchaudio --index-url https://download.pytorch.org/whl/cu121
Verify the GPU version of PyTorch:
python
import torch
print(torch.cuda.is_available())
Ensure the output is
True.An error
ModuleNotFoundError: No module named 'torch'indicates:PyTorch is not installed in the currently active environment.
PyTorch was installed in Environment A, but the code is being executed in Environment B.
An output of
True: The GPU version of PyTorch installed successfully, the GPU driver matches the CUDA version, and PyTorch recognized the NVIDIA GPU.An output of
False:Incorrect version installed: The CPU-only version acting as the default download might have been installed via a standard
pip install torchcommand, lacking CUDA libraries.Driver mismatch: The NVIDIA GPU driver is too old and does not support the installed CUDA version. For example, the driver only supports up to CUDA 11.0, while CUDA 12.1 was installed.
Hardware issues: There is no NVIDIA GPU present, or the GPU driver is missing or corrupted.

Return to the YOLOv8 environment:
exit()

9.3 Dataset Download and Processing
Data Source
This project utilizes the Oxford-IIIT Pet Dataset published by the University of Oxford.
Citation: Parkhi, O. M., Vedaldi, A., Zisserman, A., & Jawahar, C. V. (2012). Cats and dogs. In the 2012 IEEE Conference on Computer Vision and Pattern Recognition.
9.3.1 Dataset Download
Note
Download the dataset directly from the webpage or via command-line instructions.
Alternatively, locate the provided dataset in the local dataset folder.
Creating and Switching Directories
Note
Create and switch to the corresponding directory path prior to downloading the dataset.
Reasons for creating and switching to a new folder on the disk.
Maintain clear path structures.
Prevent permission and storage space issues.
Facilitate code execution.
This tutorial uses E:\dog_and_cat_detection as an example.
Switch Directory: Return to the Anaconda Prompt terminal and input the following command:
cd /d E:\dog_and_cat_detection

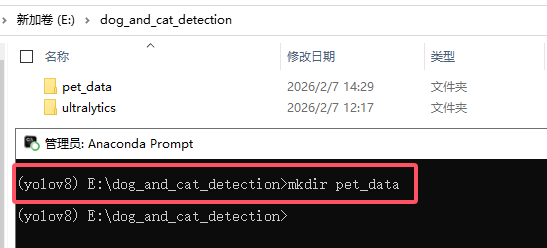
Create a directory to store the dataset:
mkdir pet_data
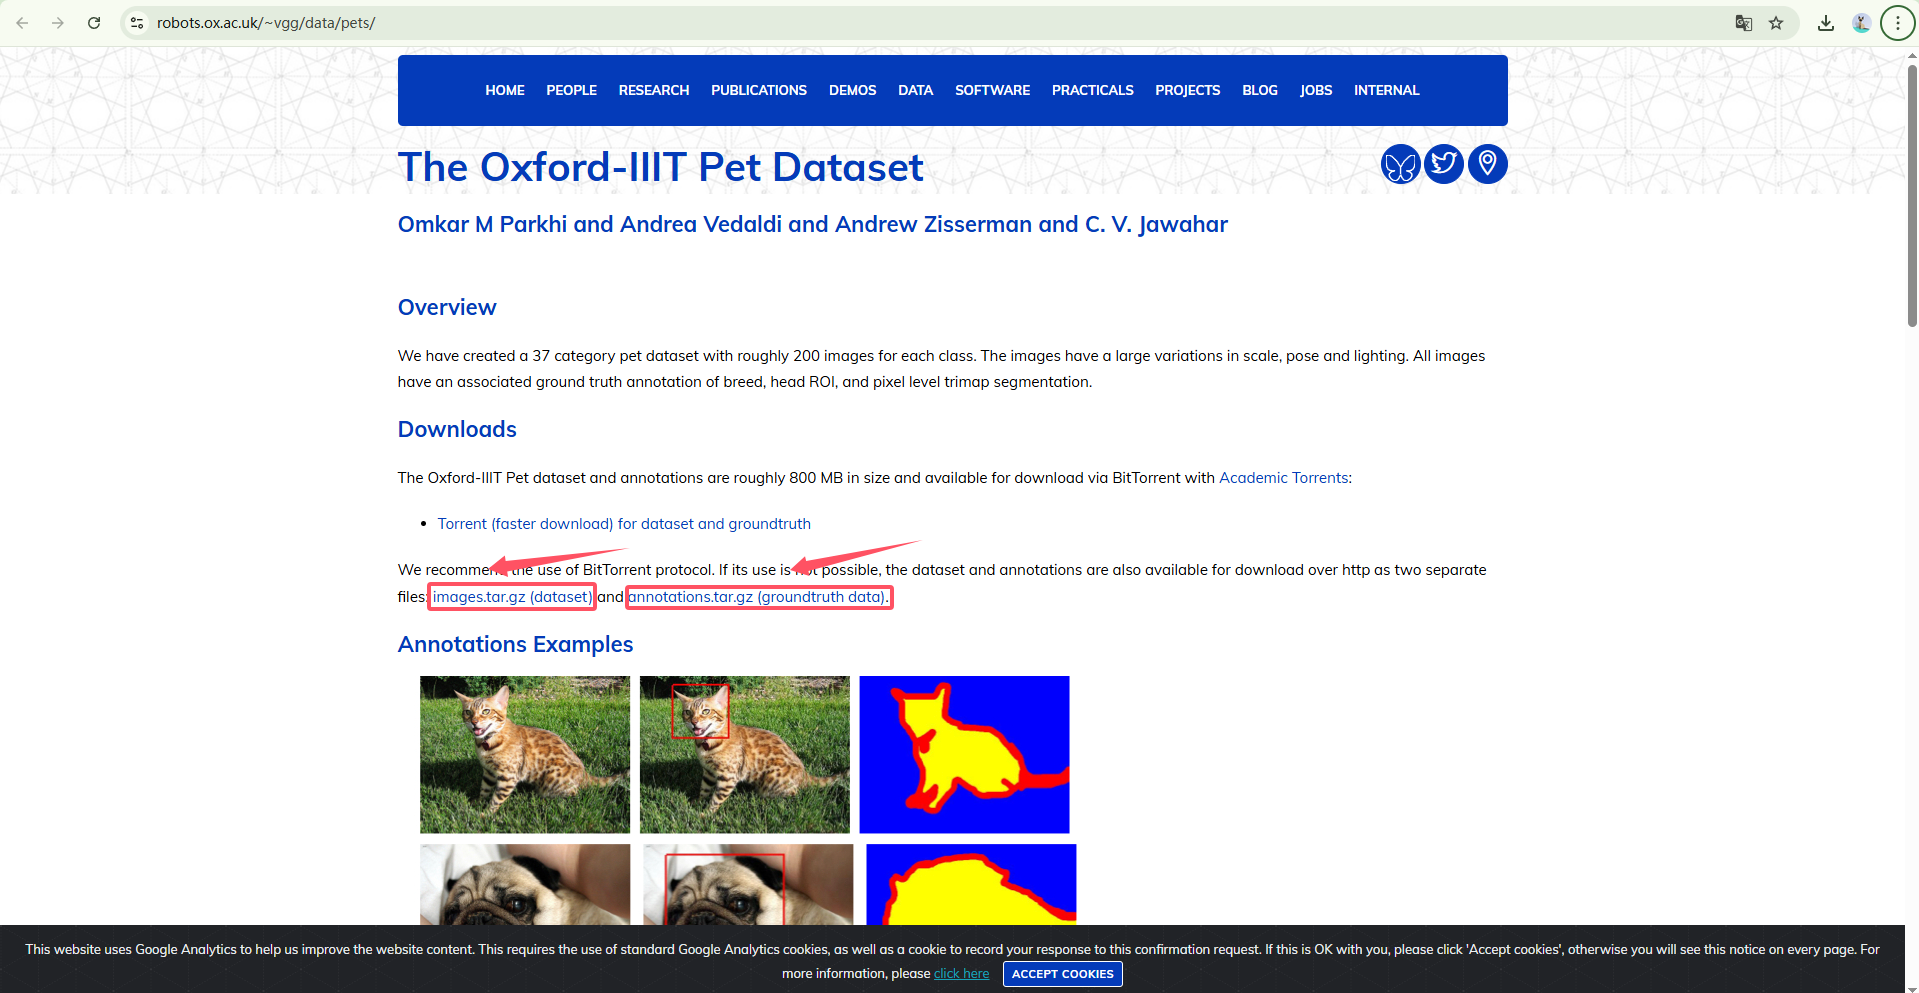
Official Website Link Download
Use the following resources:
Official Link: Oxford-IIIT Pet Dataset
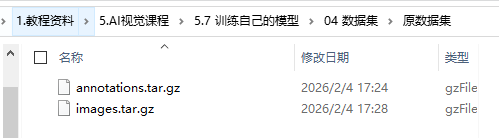
Image Dataset: images.tar.gz (dataset)
Annotation Dataset: annotations.tar.gz (groundtruth data)
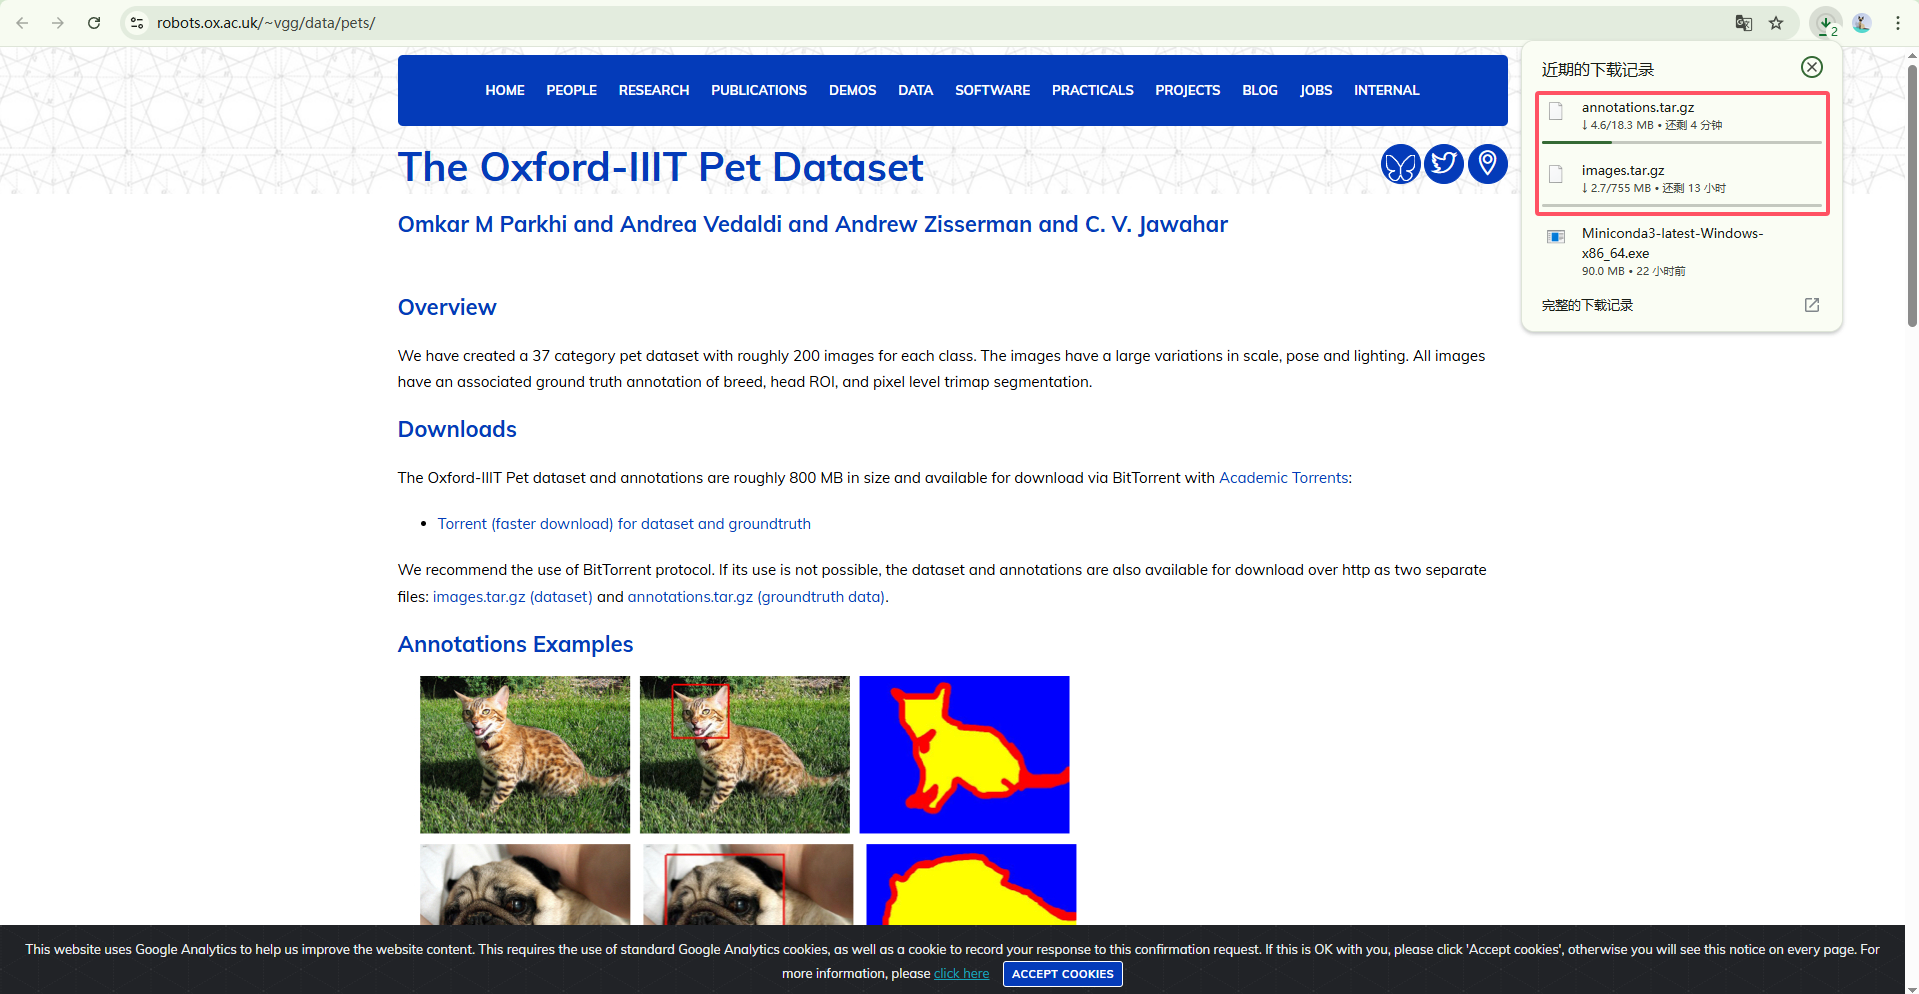
Click the download links on the webpage.
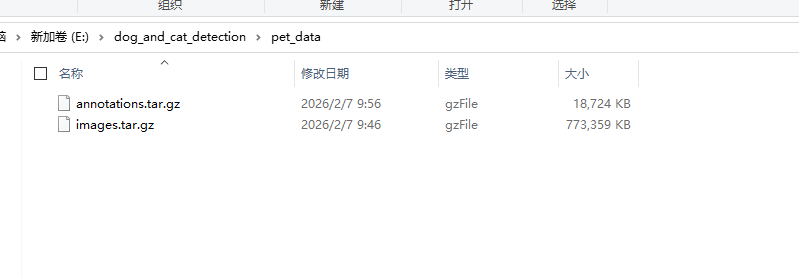
Wait for the download to complete.
Move the downloaded dataset archive files into the previously created dataset storage directory.
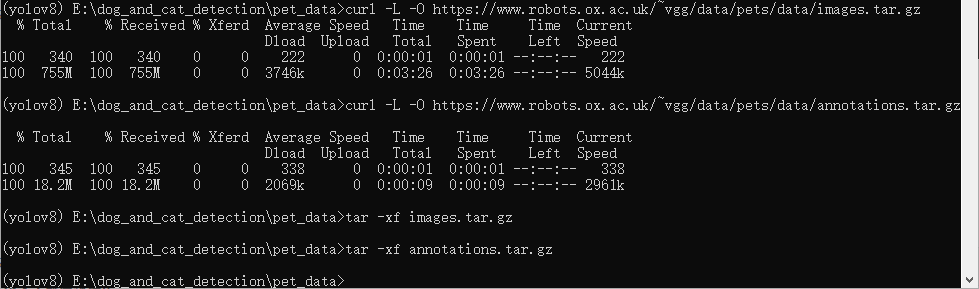
conda Environment Command Download
Navigate to the previously created dataset storage directory:
cd pet_data

Input the following download commands sequentially:
curl -L -O https://www.robots.ox.ac.uk/~vgg/data/pets/data/images.tar.gz

curl -L -O https://www.robots.ox.ac.uk/~vgg/data/pets/data/annotations.tar.gz

9.3.2 Extract the Dataset
Note
Extraction requires time, please wait patiently.
Extract the downloaded archive files.
tar -xf images.tar.gz
tar -xf annotations.tar.gz
9.3.3 Dataset Processing Script Execution
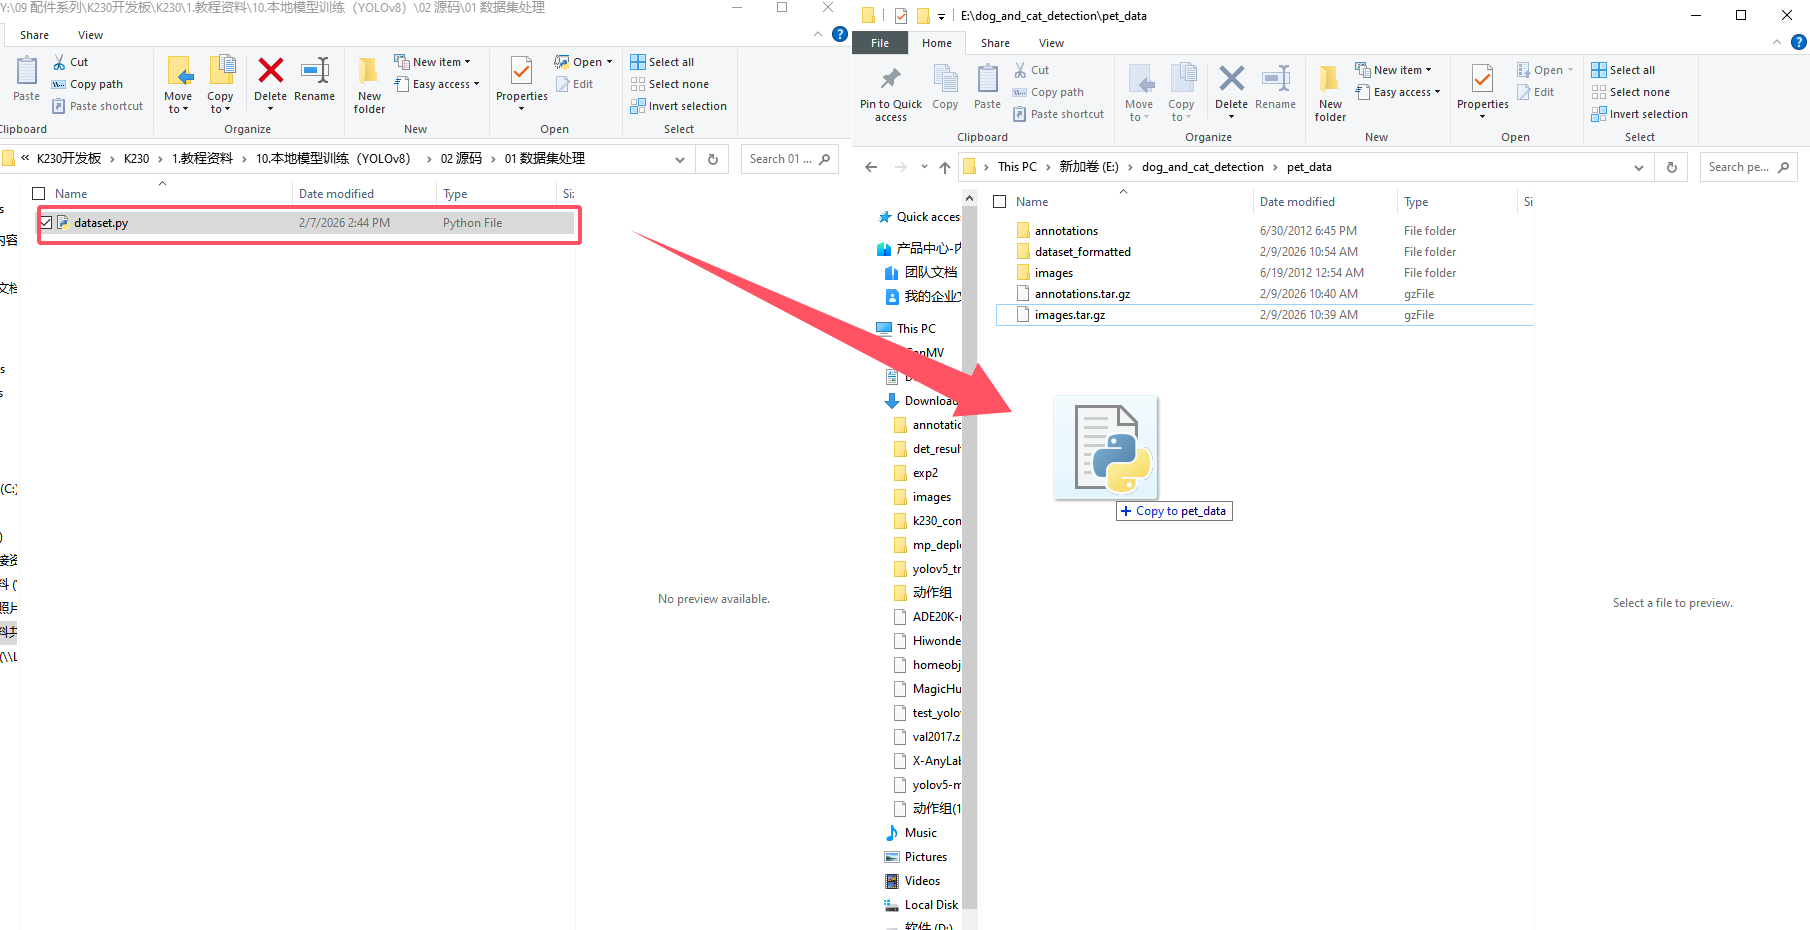
Script Acquisition: Navigate to the source code folder under CanMV K230 - 1. Tutorial - 9. Local Model Training (YOLOv8) to obtain the provided dataset processing script dataset.py, and place it in the dataset directory.
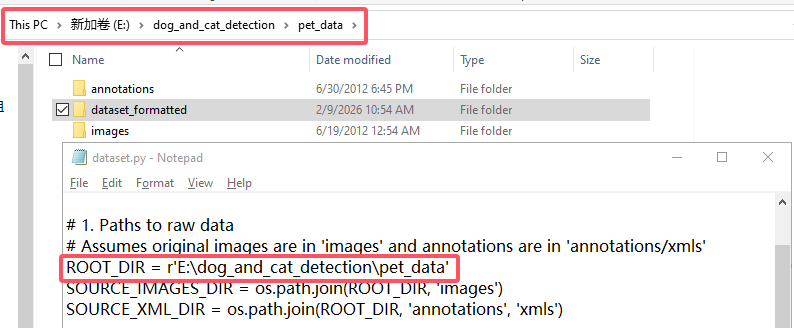
Verify generated
data.yaml: Press the Win + E to open the File Explorer, open dataset.py with Notepad, and verify whether the dataset path in data.yaml is correct.
Add Library Files: Return to Anaconda Prompt and add the
tqdmlibrary.
pip install tqdm
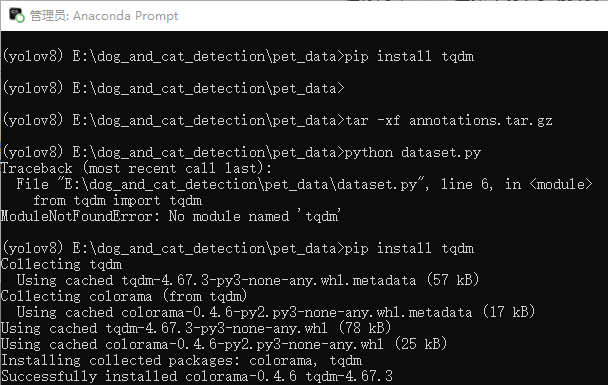
Run Script: Execute the dataset processing script
dataset.py.
python dataset.py

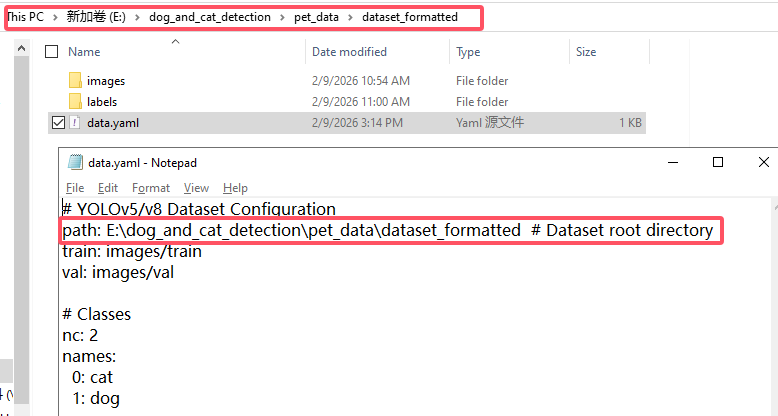
Verify generated
data.yaml: Press Win + E to open the File Explorer, open data.yaml with Notepad, and verify whether the dataset path in data.yaml is correct.
9.4 Training Cat and Dog Classification Using YOLOv8
9.4.1 Starting Training
Enter the working directory: Input the following command to return to the YOLOv8 directory:
cd E:\dog_and_cat_detection\ultralytics

Input the following command to start training:
yolo detect train data=E:\dog_and_cat_detection\pet_data\dataset_formatted\data.yaml model=yolov8n.pt epochs=50 imgsz=320 batch=16 device=0 project=runs/train name=pet_k230_v8
Parameter Details:
yolo detect train: Initiates the YOLOv8 training mode.data=...: Specifies the location of the dataset configuration file.model=yolov8n.pt: Utilizes the Nano version of the pre-trained model.epochs=50: Iterates the model over the entire dataset 50 times.imgsz=320: Resizes images to \(320 \times 320\) pixels for training.batch=16: Feeds 16 images to the GPU for processing per batch.device=0: Utilizes the first GPU for training.project/name: Saves the output results to the runs/train/pet_k230_v8 directory.

9.4.2 Model Validation
Input the following command to test the trained model:
yolo predict model="E:\dog_and_cat_detection\ultralytics\runs\detect\runs\train\pet_k230_v8\weights\best.pt" source="E:\dog_cat_yolov5\images\Abyssinian_1.jpg" imgsz=320
Parameter Details:
yolo predict: Initiates the YOLOv8 inference mode.model=best.pt: Loads the best performing model weights from the training process.source=.../Abyssinian_1.jpg: Specifies the path for the test image.imgsz=320: Resizes the image to \(320 \times 320\) pixels before inference ensuring consistency with the exported K230 input requirements.conf=0.25: Confidence threshold. Only displays objects with a probability greater than 25%, which is the default value.save=True: Instructs the program to save the predicted result image with drawn bounding boxes as the default setting.

Check the validation image: Navigate to E:\dog_and_cat_detection\ultralytics\runs\detect\predict to view the validation image.

9.5 Converting the Trained Model to a K230-Recognizable kmodel
Note
Convert the pt model into an onnx model before converting it into a kmodel.
9.5.1 Converting pt to onnx
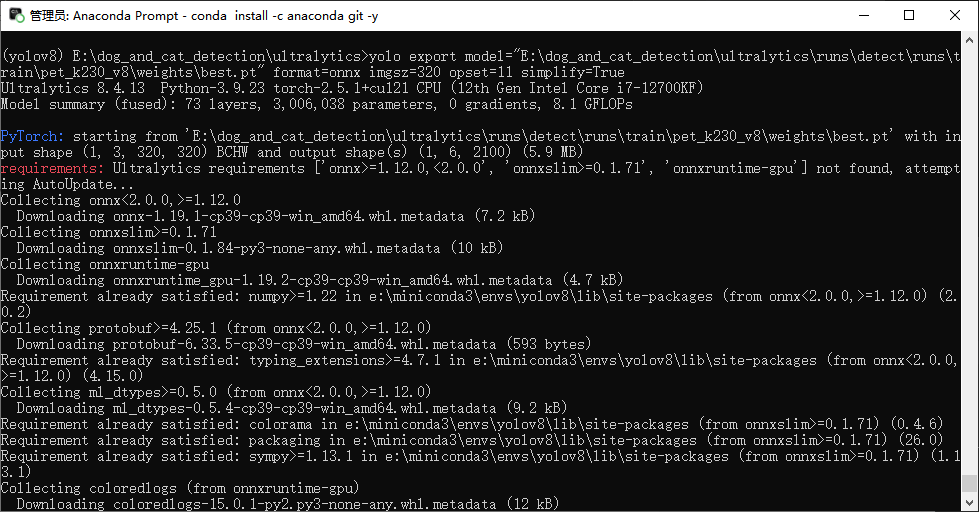
Run the following command.
Note
Ultralytics will automatically install missing dependencies in the environment. If the process appears stalled, wait patiently.
yolo export model="E:\dog_and_cat_detection\ultralytics\runs\detect\runs\train\pet_k230_v8\weights\best.pt" format=onnx imgsz=320 opset=11 simplify=True
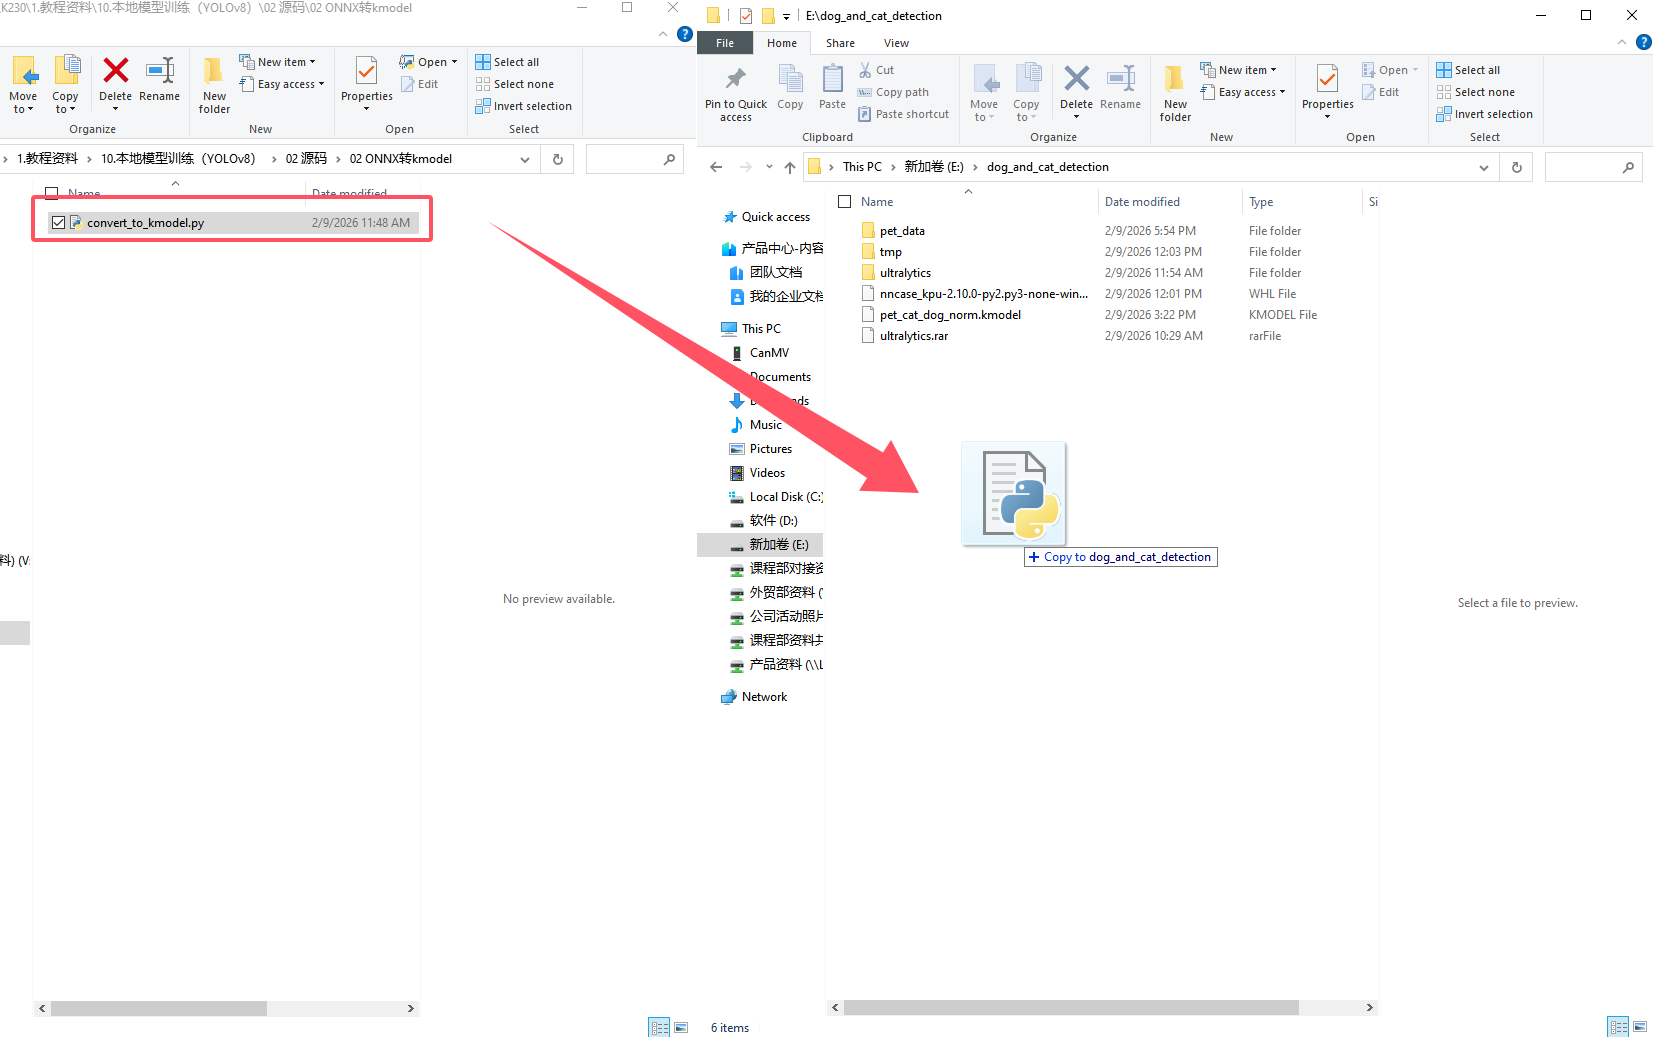
9.5.2 Conversion Script Preparation
Move convert_to_kmodel.py to E:\dog_and_cat_detection.
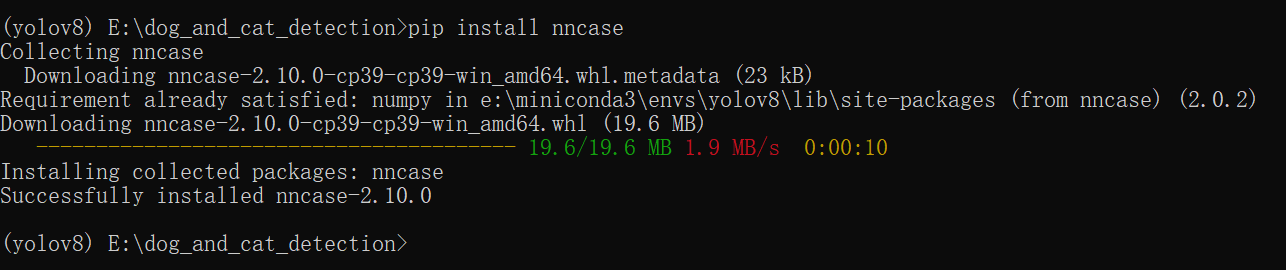
Download and install the core
nncasepackage from the Python Package Index PyPI.
pip install nncase
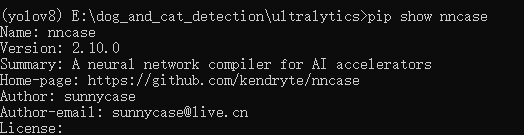
Display the installed
nncasepackage version to verify consistency.
pip show nncase
Download the K230 driver file.
curl -L -O https://github.com/kendryte/nncase/releases/download/v2.10.0/nncase_kpu-2.10.0-py2.py3-none-win_amd64.whl

Install the locally downloaded .whl file.
pip install nncase_kpu-2.10.0-py2.py3-none-win_amd64.whl

9.5.3 Initiating Conversion
Run the conversion script:
python convert_to_kmodel.py
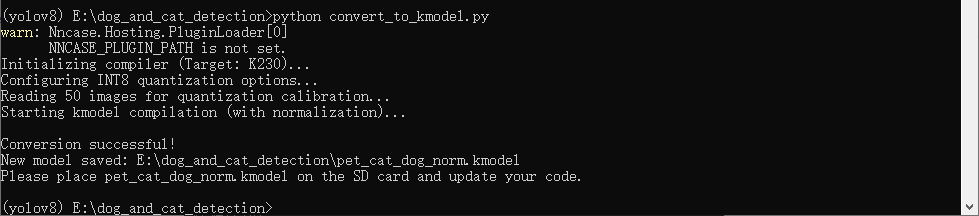
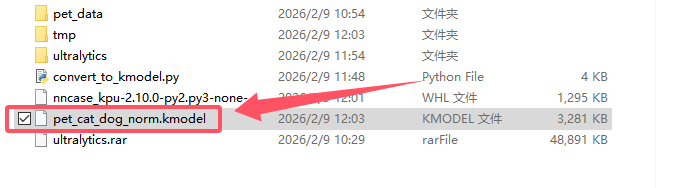
Access the converted file directly from the corresponding output folder.
9.6 Model Deployment
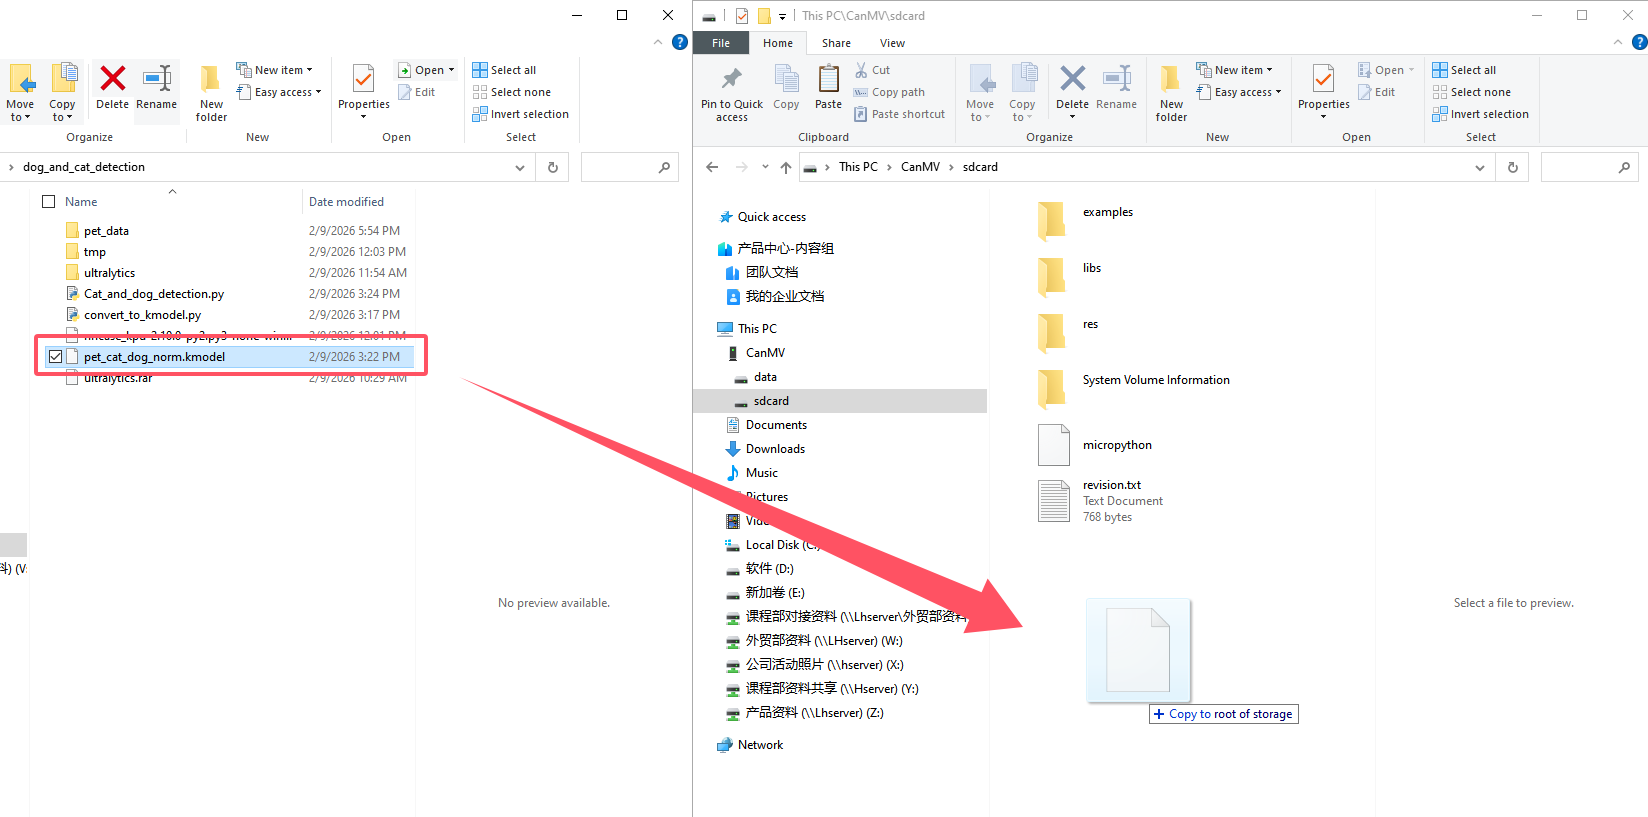
9.6.1 Model File Deployment
Move the model file to This PC\CanMV\sdcard.
9.6.2 Model Program Deployment and Execution
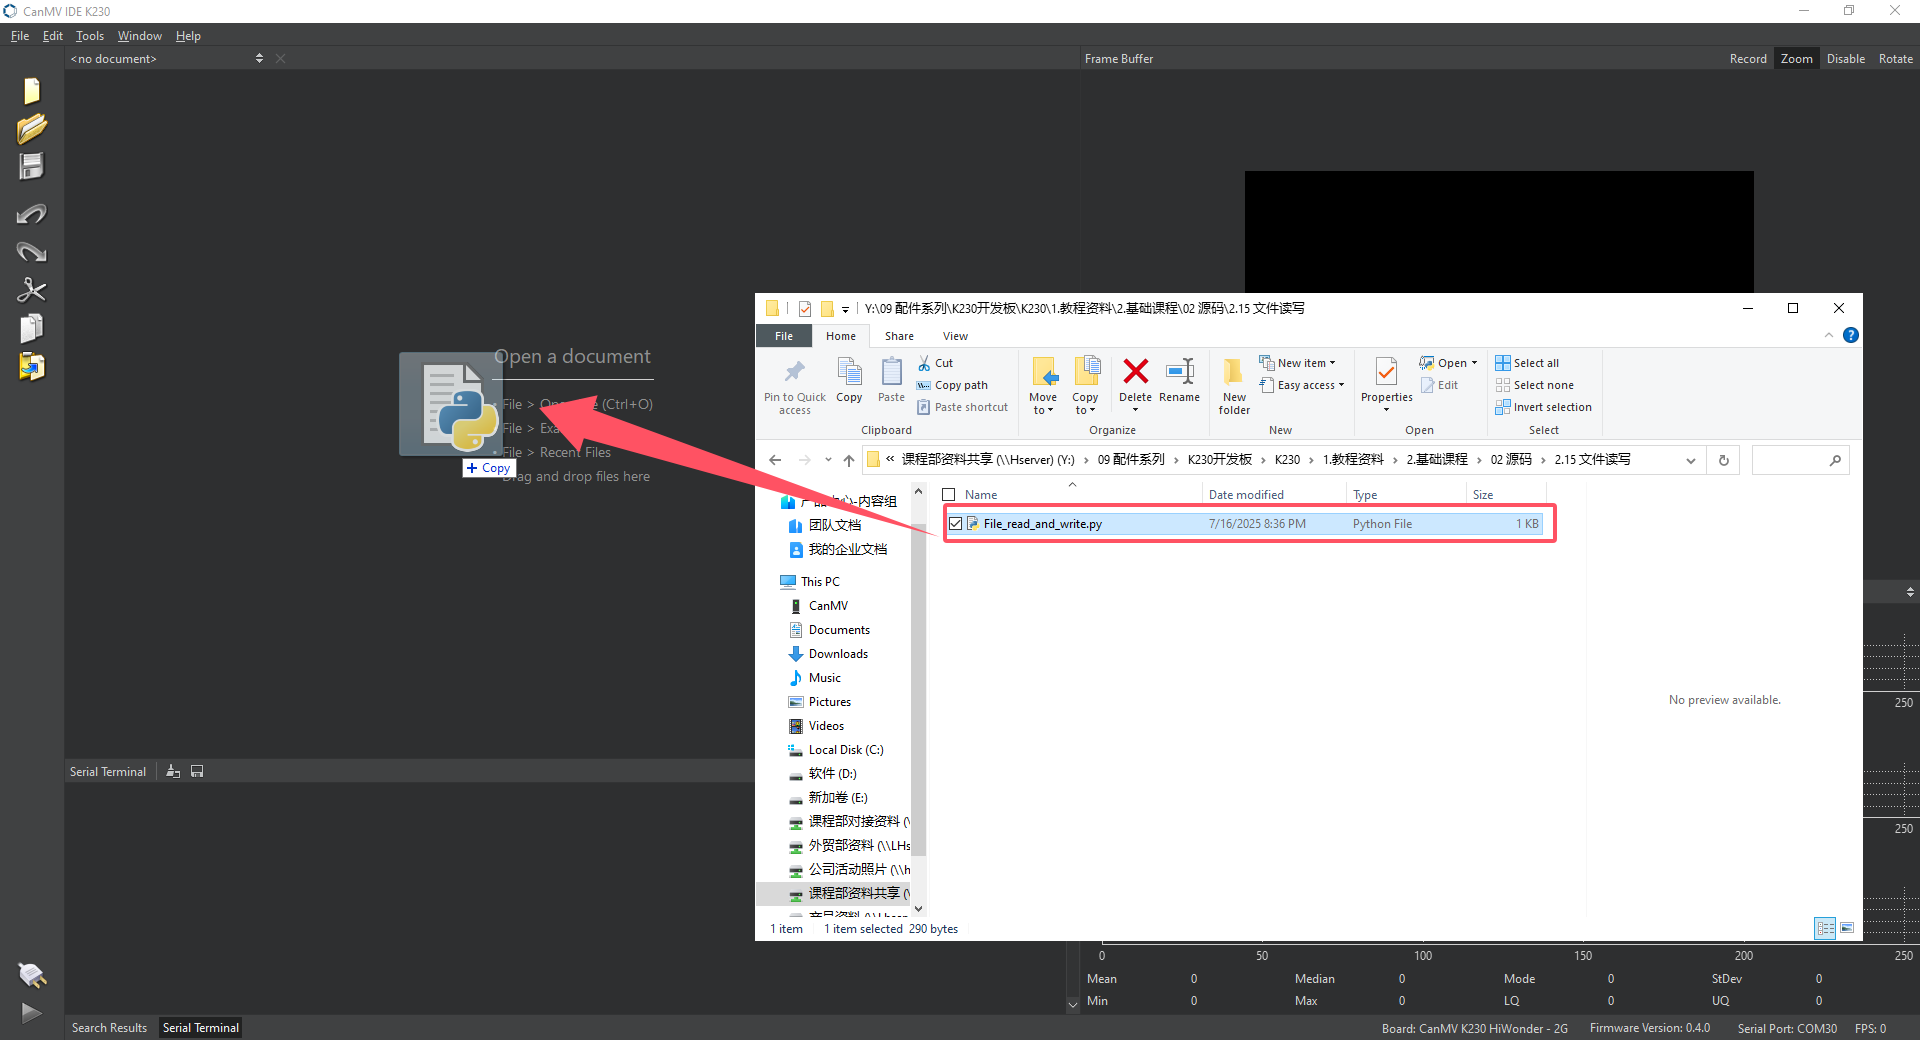
Drag Cat_and_dog_detection.py into the CanMV IDE K230.
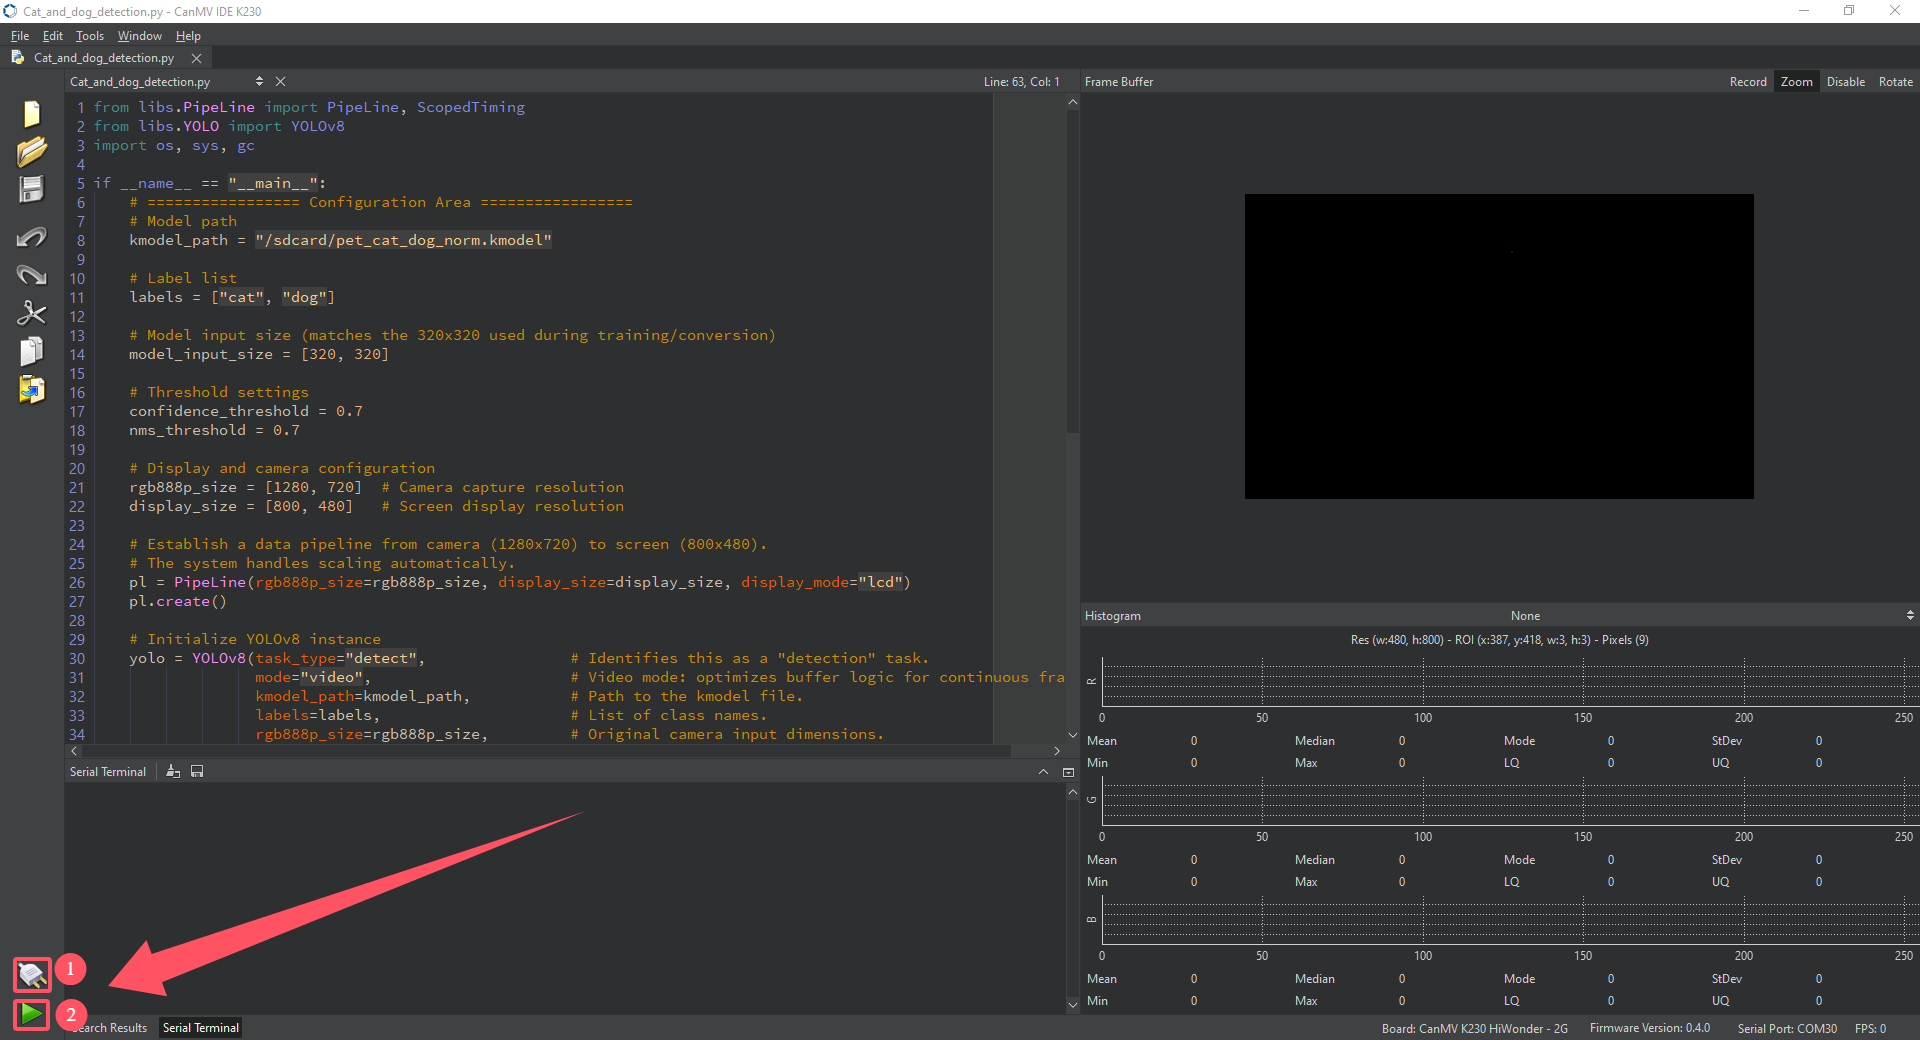
Click the button labeled 1 in the image to connect the K230 development board, then click 2 in the image to run Cat_and_dog_detection.py.
Result:
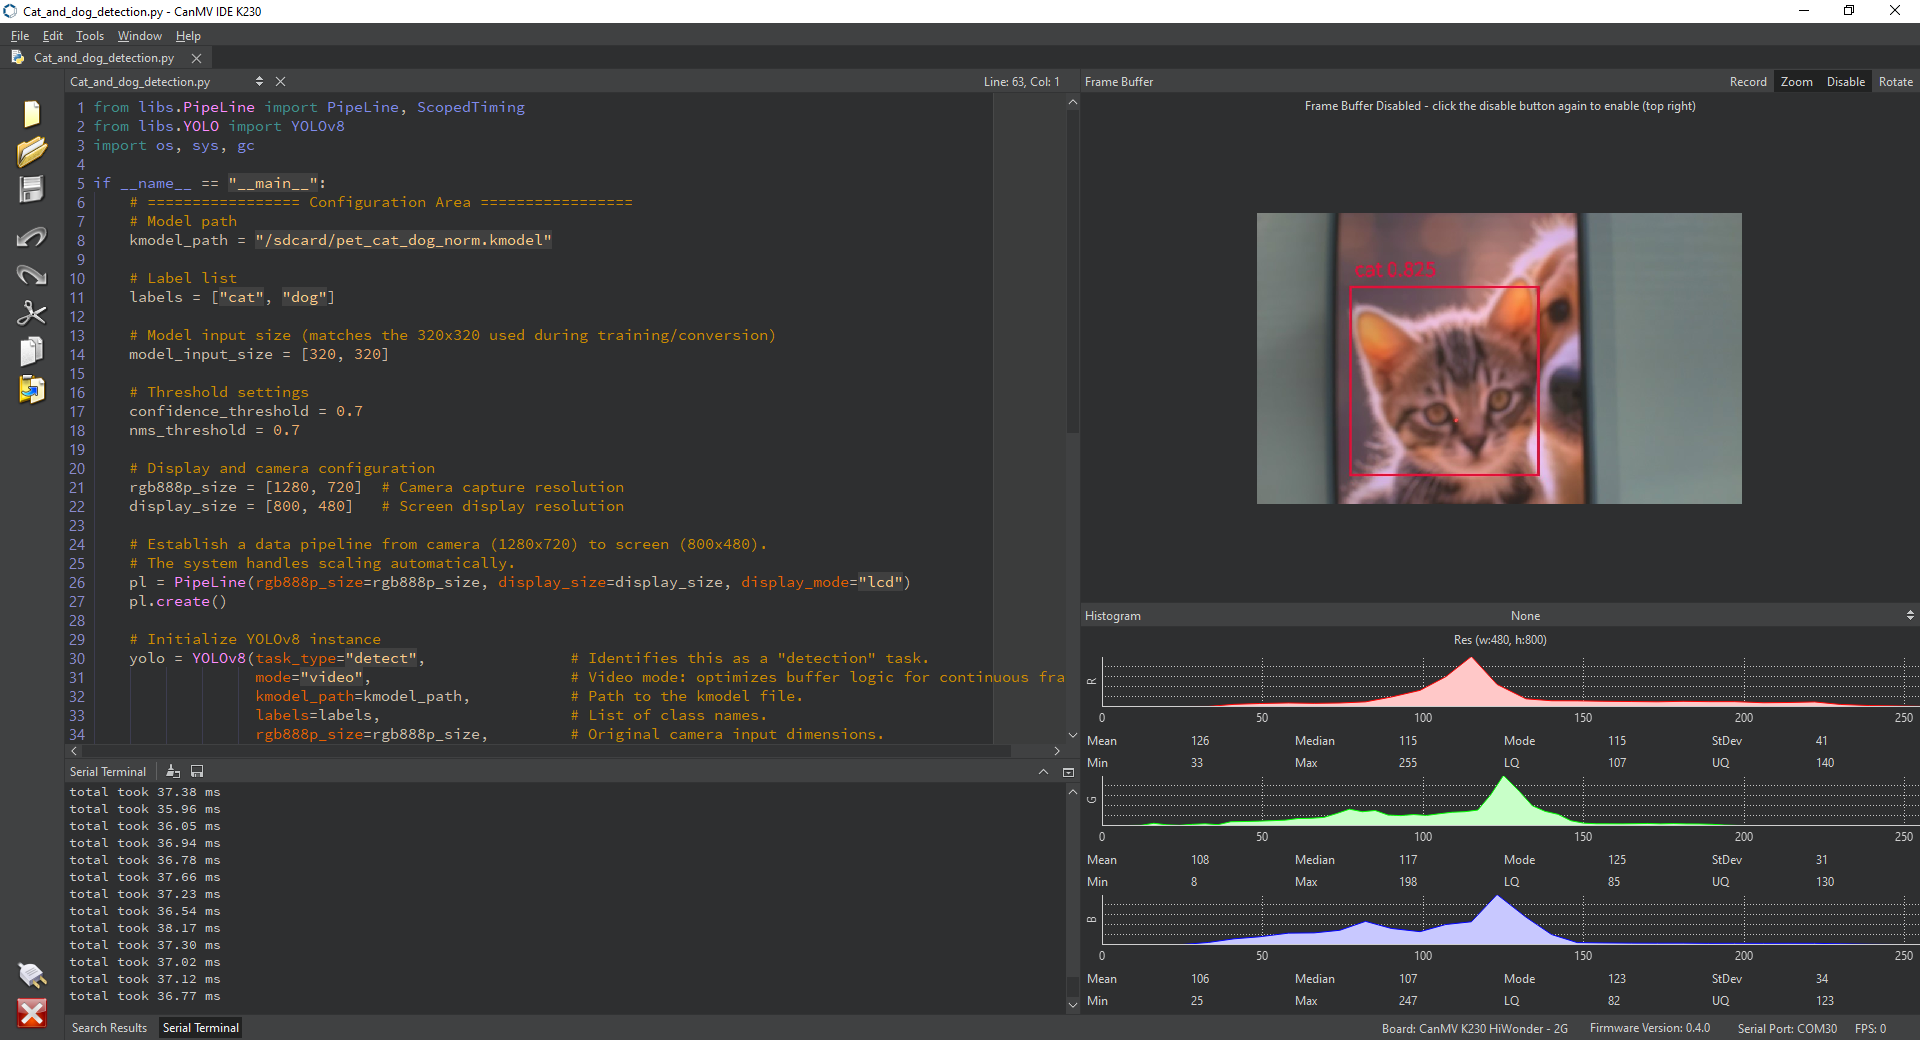
9.6.3 Program Analysis
Import necessary library files
from libs.PipeLine import PipeLine, ScopedTiming
from libs.YOLO import YOLOv8
import os, sys, gc
Define recognition configurations
if __name__ == "__main__":
    #Model path
    kmodel_path = "/sdcard/pet_cat_dog_norm.kmodel"

    #Label list
    labels = ["cat", "dog"]

    #Model input dimensions must match the input dimensions used during model training.
    model_input_size = [320, 320]

    #Threshold settings
    confidence_threshold = 0.7
    nms_threshold = 0.7
Hardware Initialization
    #Screen and camera configuration
    rgb888p_size = [1280, 720]  # Camera capture resolution
    display_size = [800, 480]   # Screen display resolution

    #Establishes a data pipeline from the camera 1280x720 to the screen 800x480. The system handles scaling automatically.
    pl = PipeLine(rgb888p_size=rgb888p_size, display_size=display_size, display_mode="lcd")
    pl.create()
Model Loading and Preprocessing
	# Initialize YOLOv8 instance
    yolo = YOLOv8(task_type="detect",				# Specifies a detection task to the library.
                  mode="video",						# Video mode indicates the model continuously processes sequential frames. Internal buffer caching logic may be optimized.
                  kmodel_path=kmodel_path,			# Model path
                  labels=labels,					# Label list
                  rgb888p_size=rgb888p_size,		# Original input dimensions
                  model_input_size=model_input_size,	# Model input dimensions
                  display_size=display_size,			# Display dimensions
                  conf_thresh=confidence_threshold,		# Confidence threshold
                  nms_thresh=nms_threshold,				# Non-maximum suppression NMS
                  debug_mode=0)							# Debugging mode outputs detailed recognition information where 0 is disabled and 1 is enabled
    yolo.config_preprocess()
Main Loop
    try:
            print("YOLOv8 model loaded successfully, starting detection...")
            while True:
                os.exitpoint()

                with ScopedTiming("total", 1):
                    img = pl.get_frame()      # Acquire image
                    res = yolo.run(img)       # Perform inference
                    yolo.draw_result(res, pl.osd_img) # Draw results
                    pl.show_image()           # Display
                    gc.collect()              # Reclaim memory

        except Exception as e:
            sys.print_exception(e)

        finally:
            yolo.deinit()
            pl.destroy()
            print("Program stopped")