8. Online Model Training
## 8.1 Training Data PreparationThe 7. Touch Control Course - Touch Photography routine is utilized to collect the corresponding dataset. Refer to the 7.3 Touch Photography section of the 7. Touch Control Course for specific procedures on capturing and saving the dataset images.
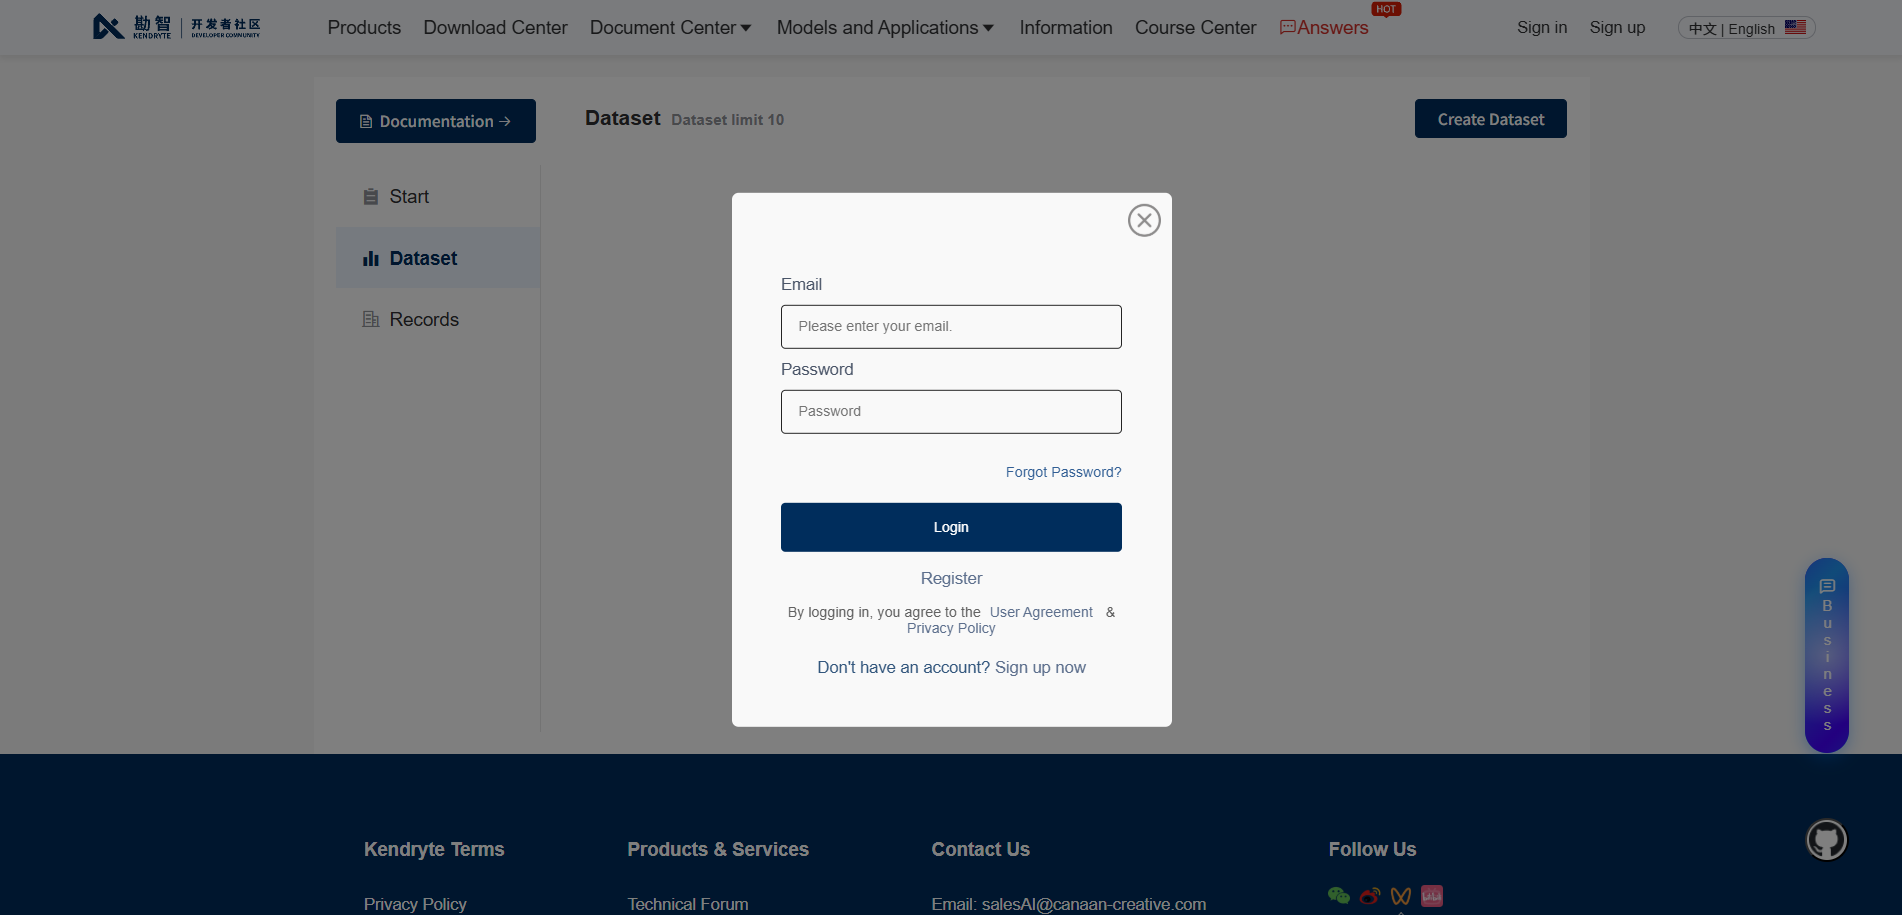
8.2 Online Training Platform Registration
Online training model address: https://www.kendryte.com/zh/training/dataset
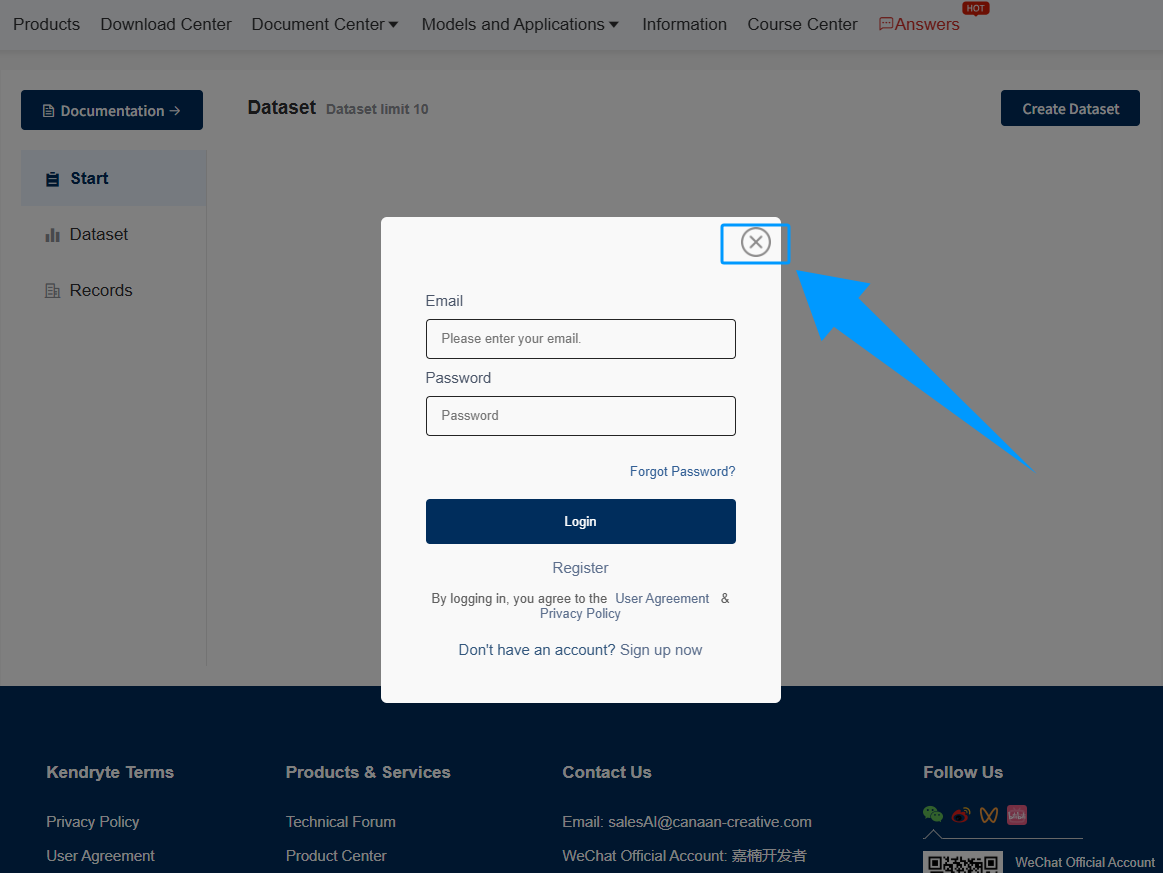
Click the
Xbutton to cancel login.
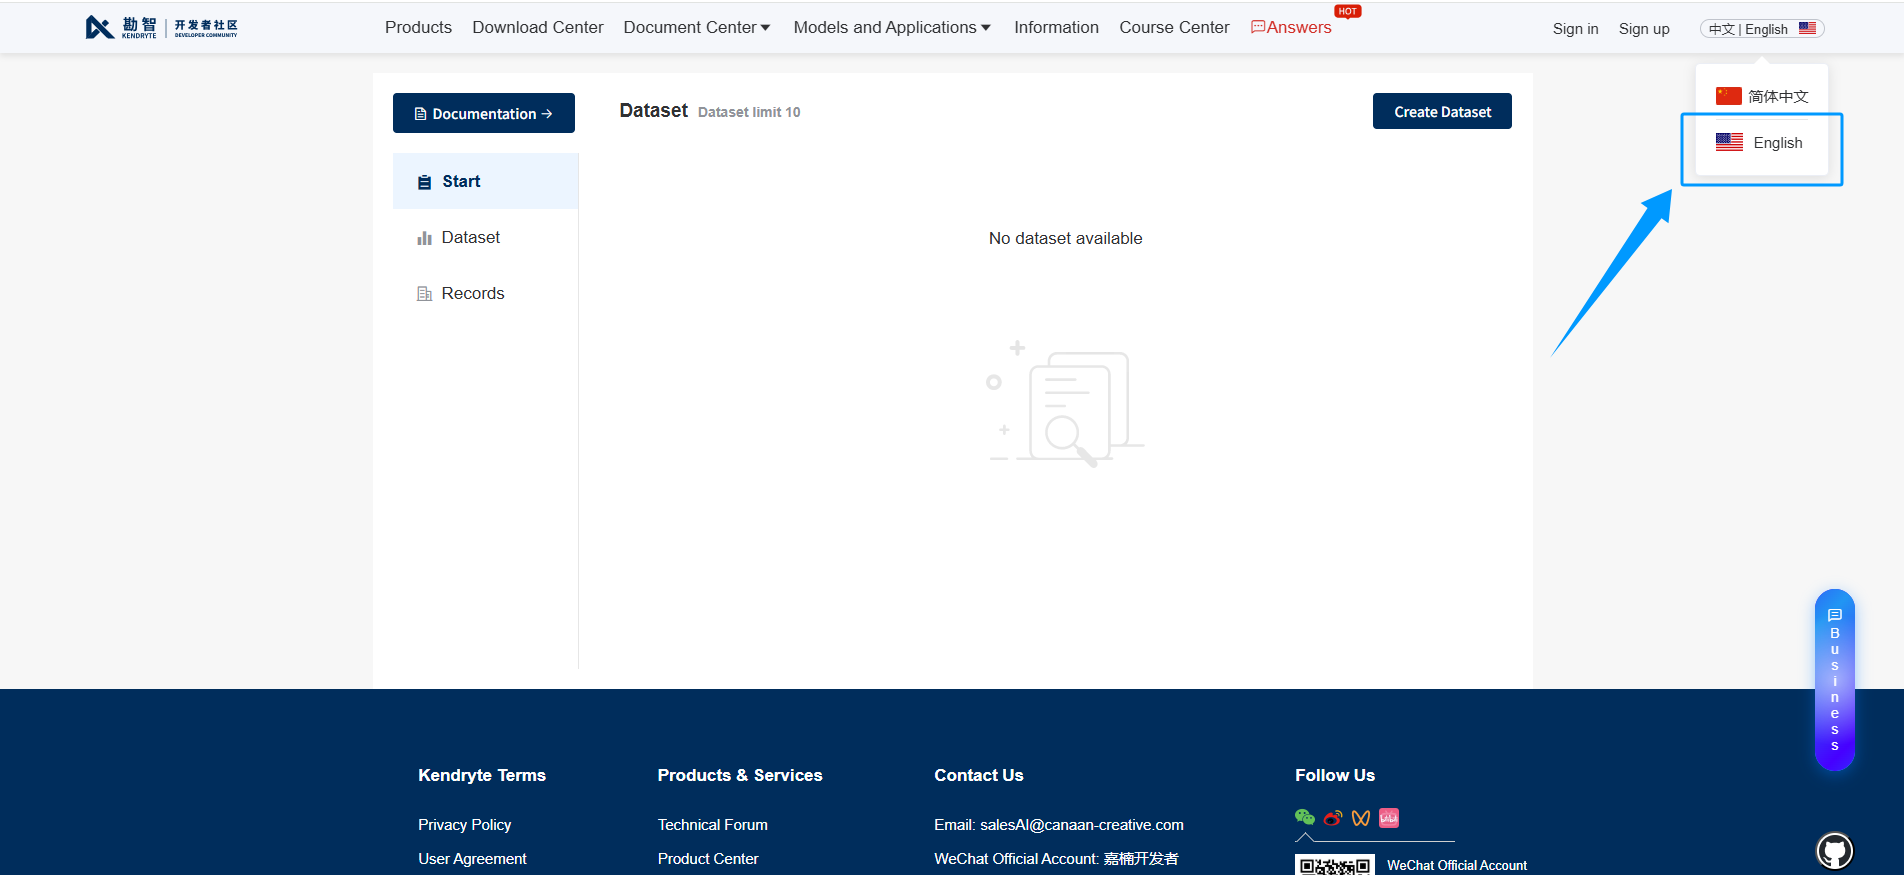
Click the top right corner to switch to English.
After switching, click the Sign in or Sign up option in the top right corner.
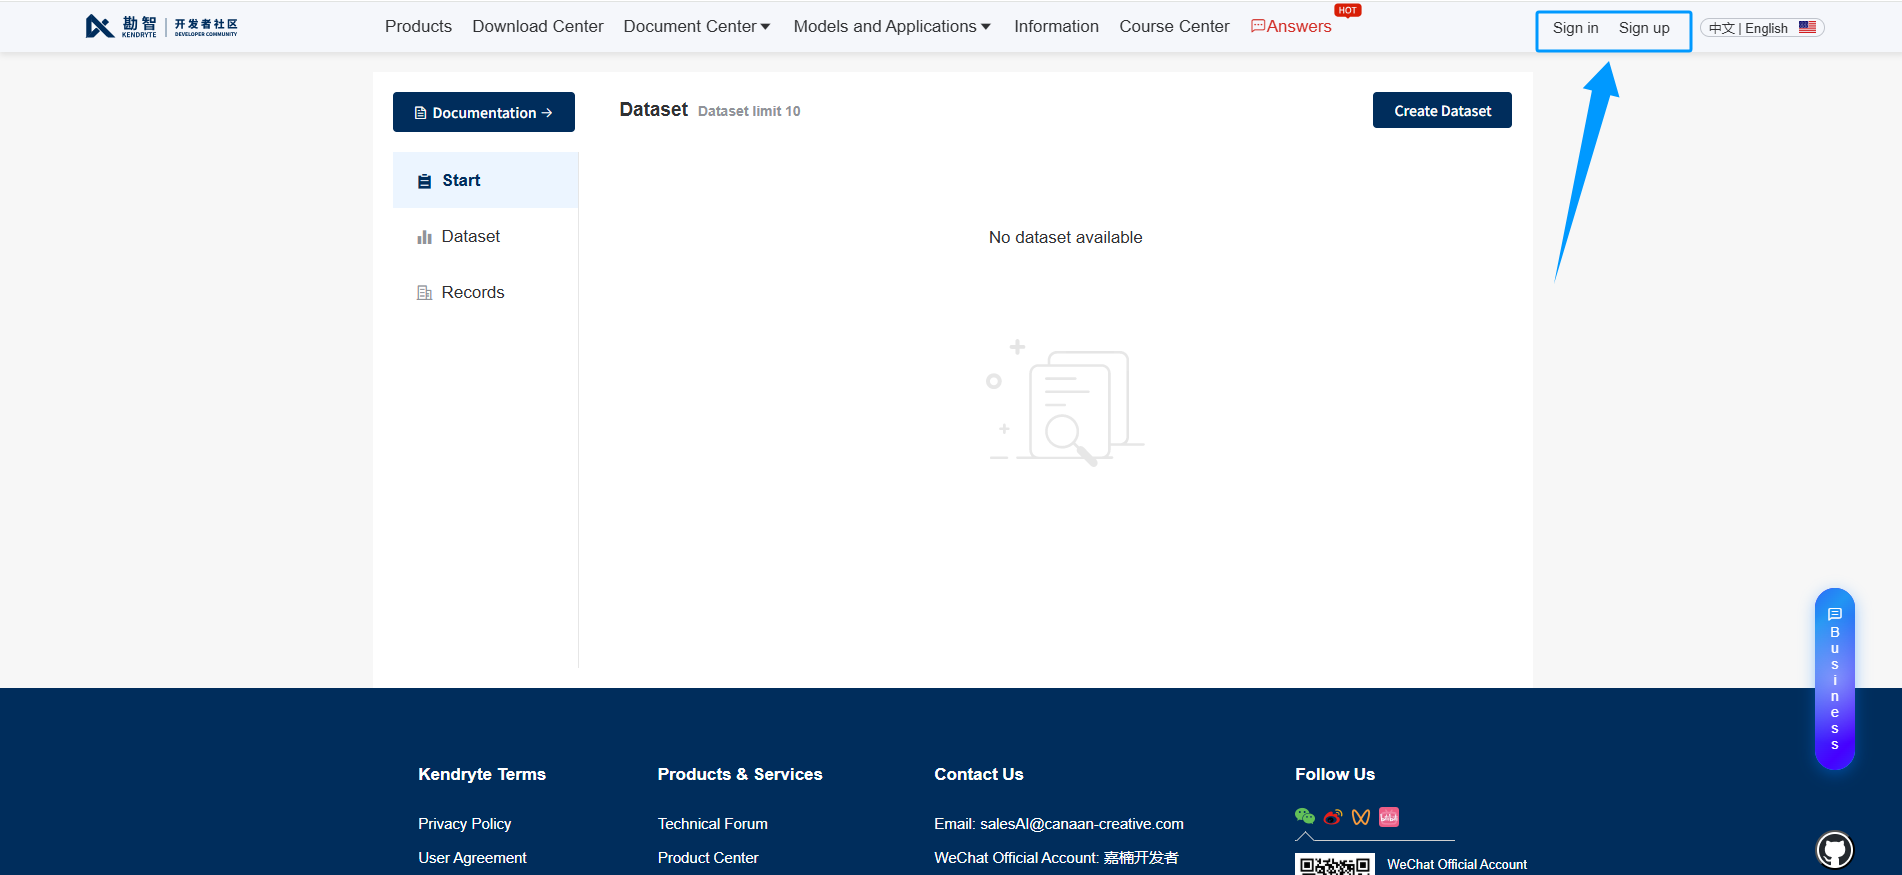
Accessing the KENDRYTE allows for either registration or login, and registration is demonstrated here as an example.
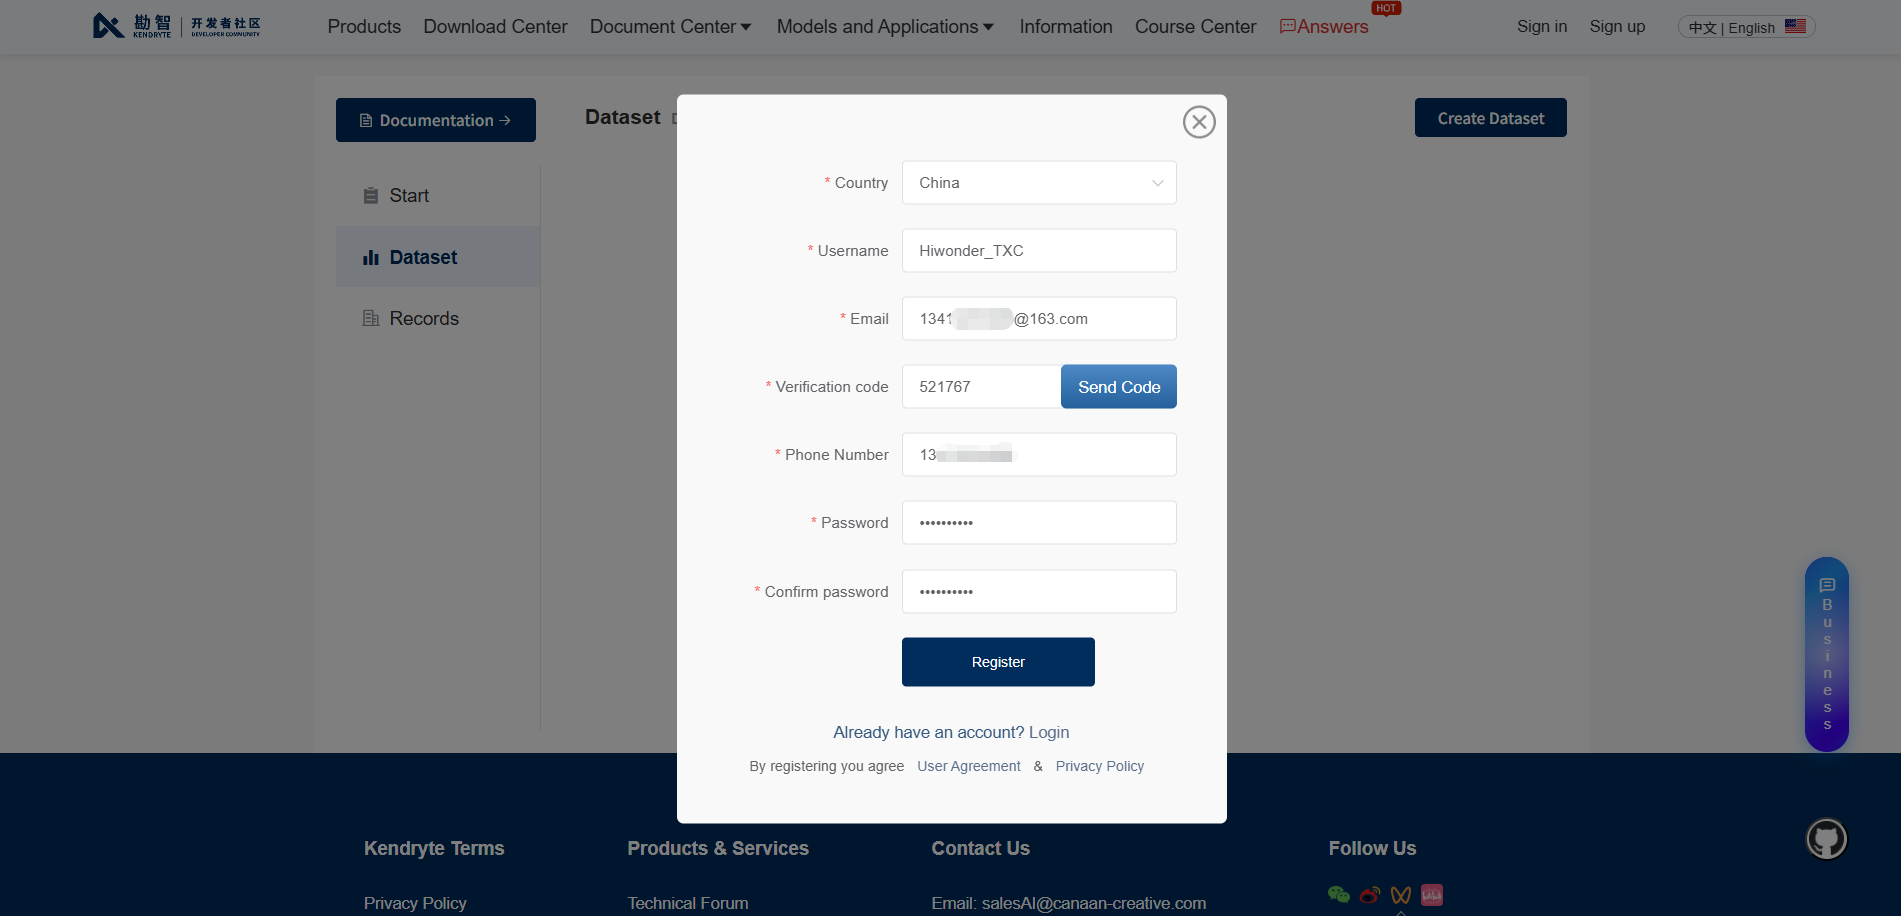
Click the Register button to begin registration.

Fill in the corresponding personal information and click Register.
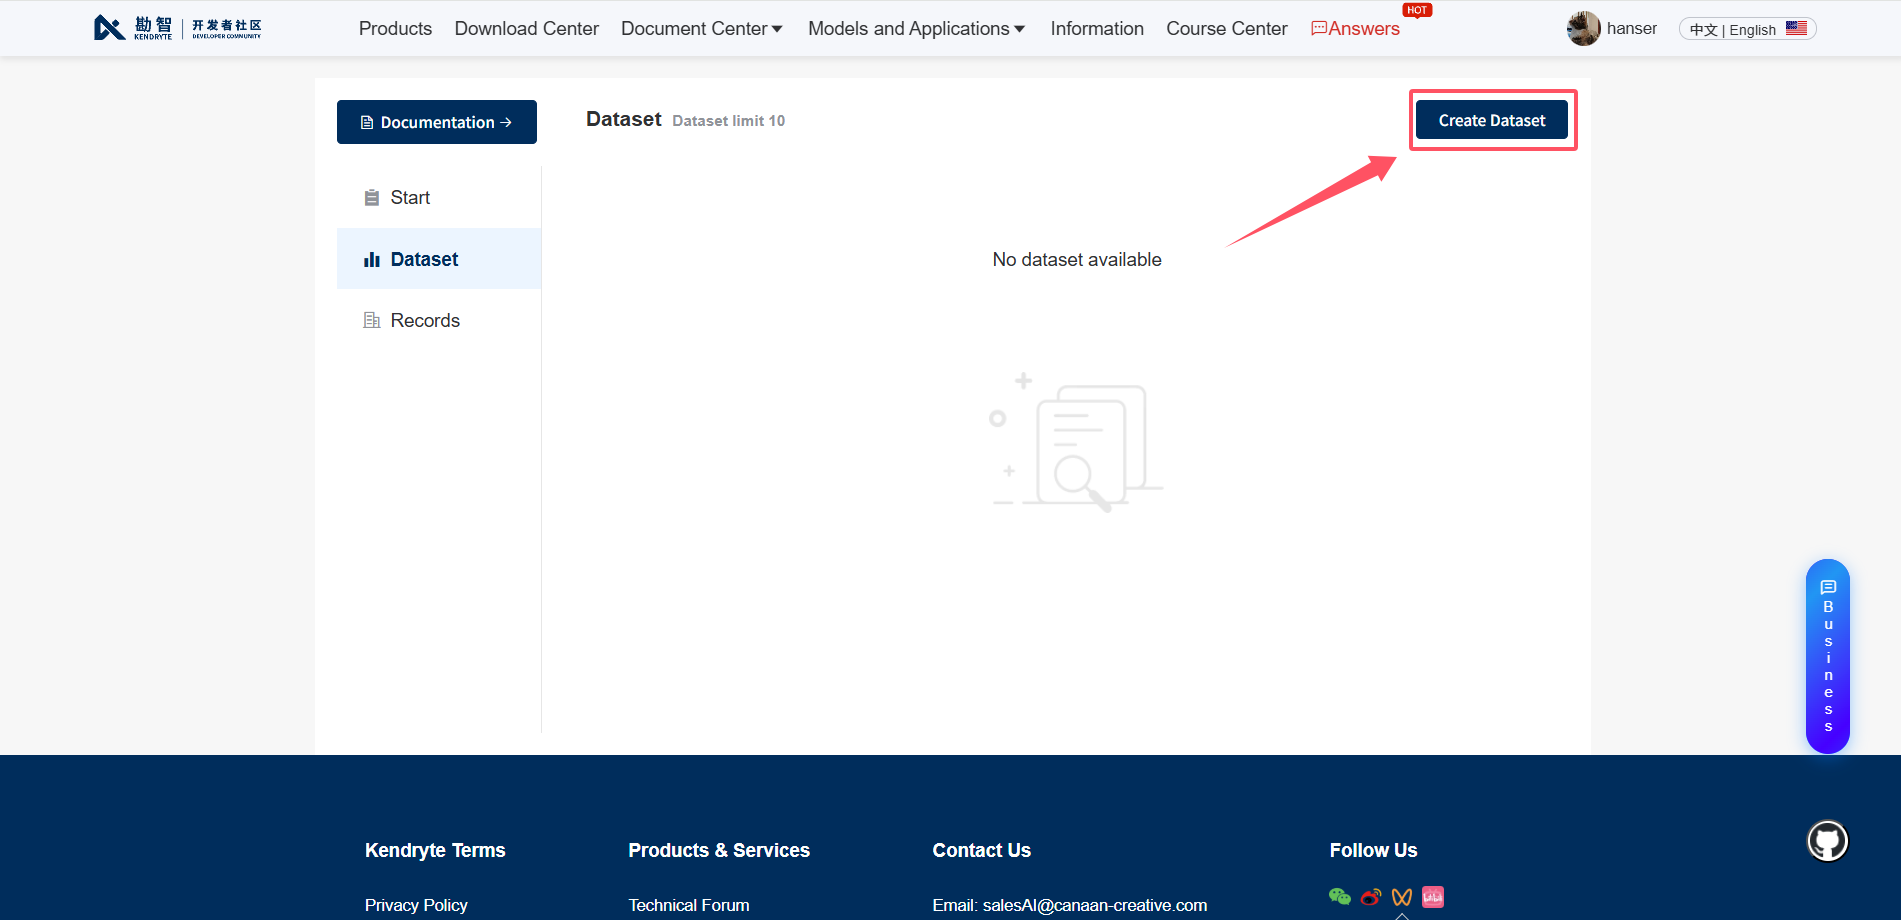
8.3 Initiating Online Model Training
After successful registration, the account logs in automatically and then clicks Create Dataset on the right.
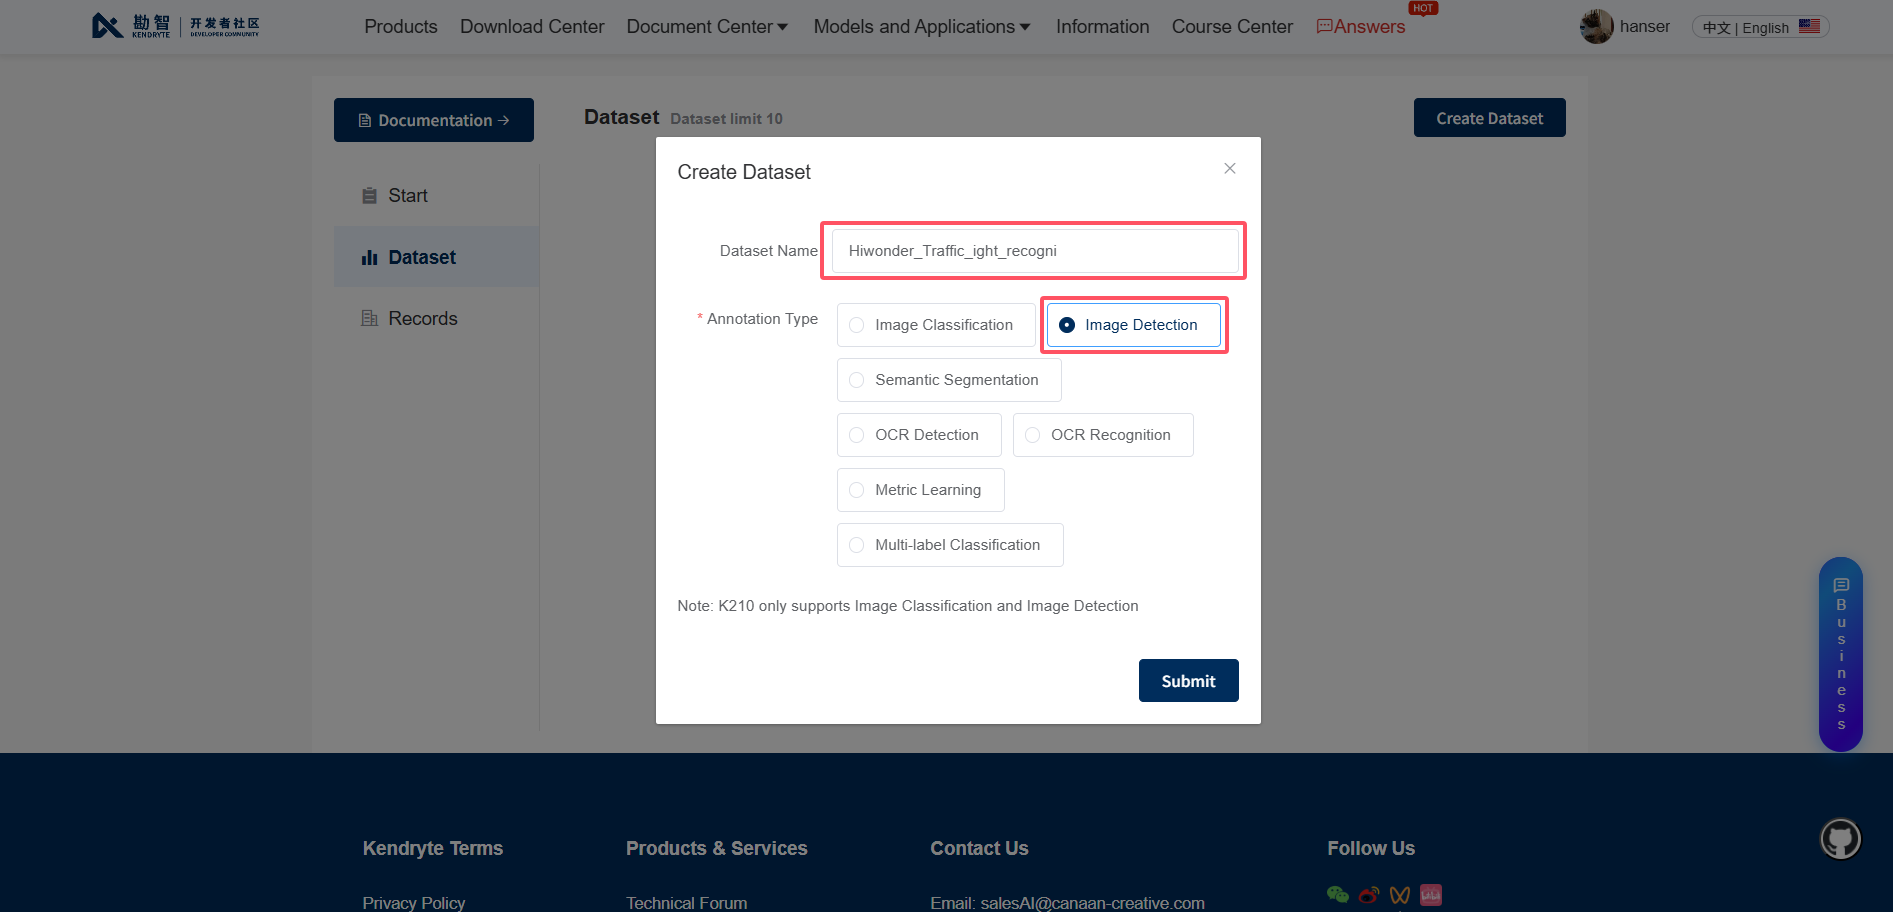
Taking
Image Detectionas an example to create a dataset, enter the dataset name and select the corresponding recognition and annotation types.
Click the Configuration button in the top-right corner.
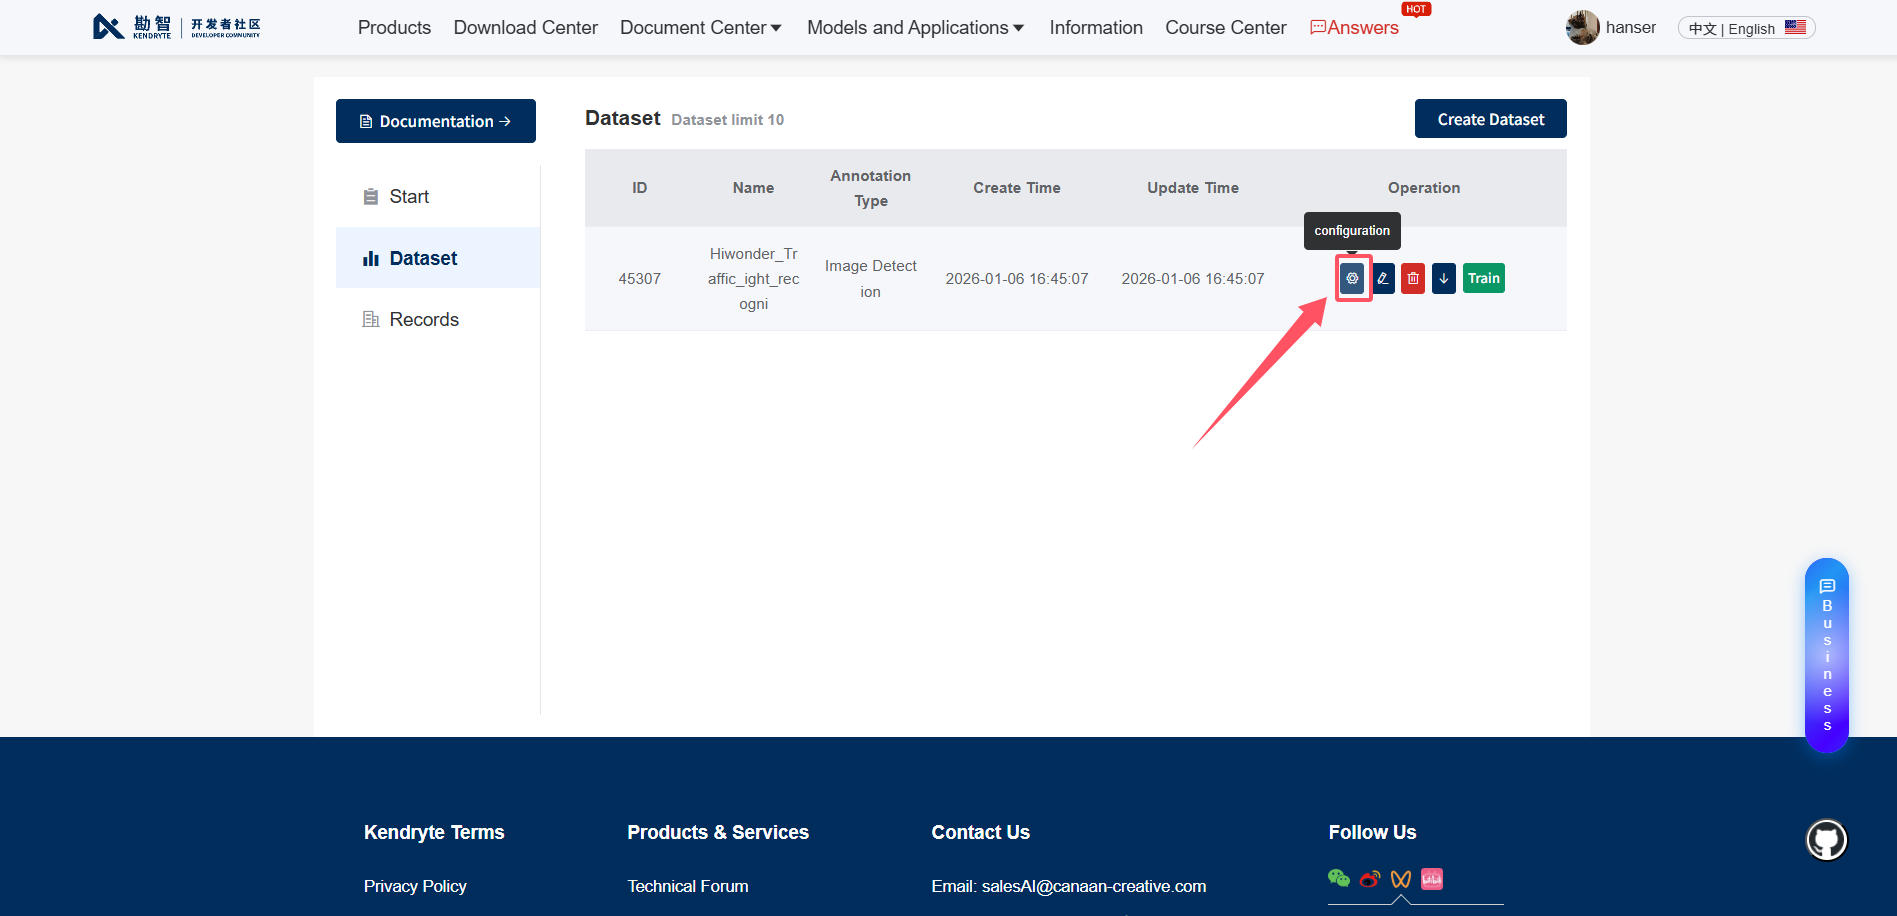
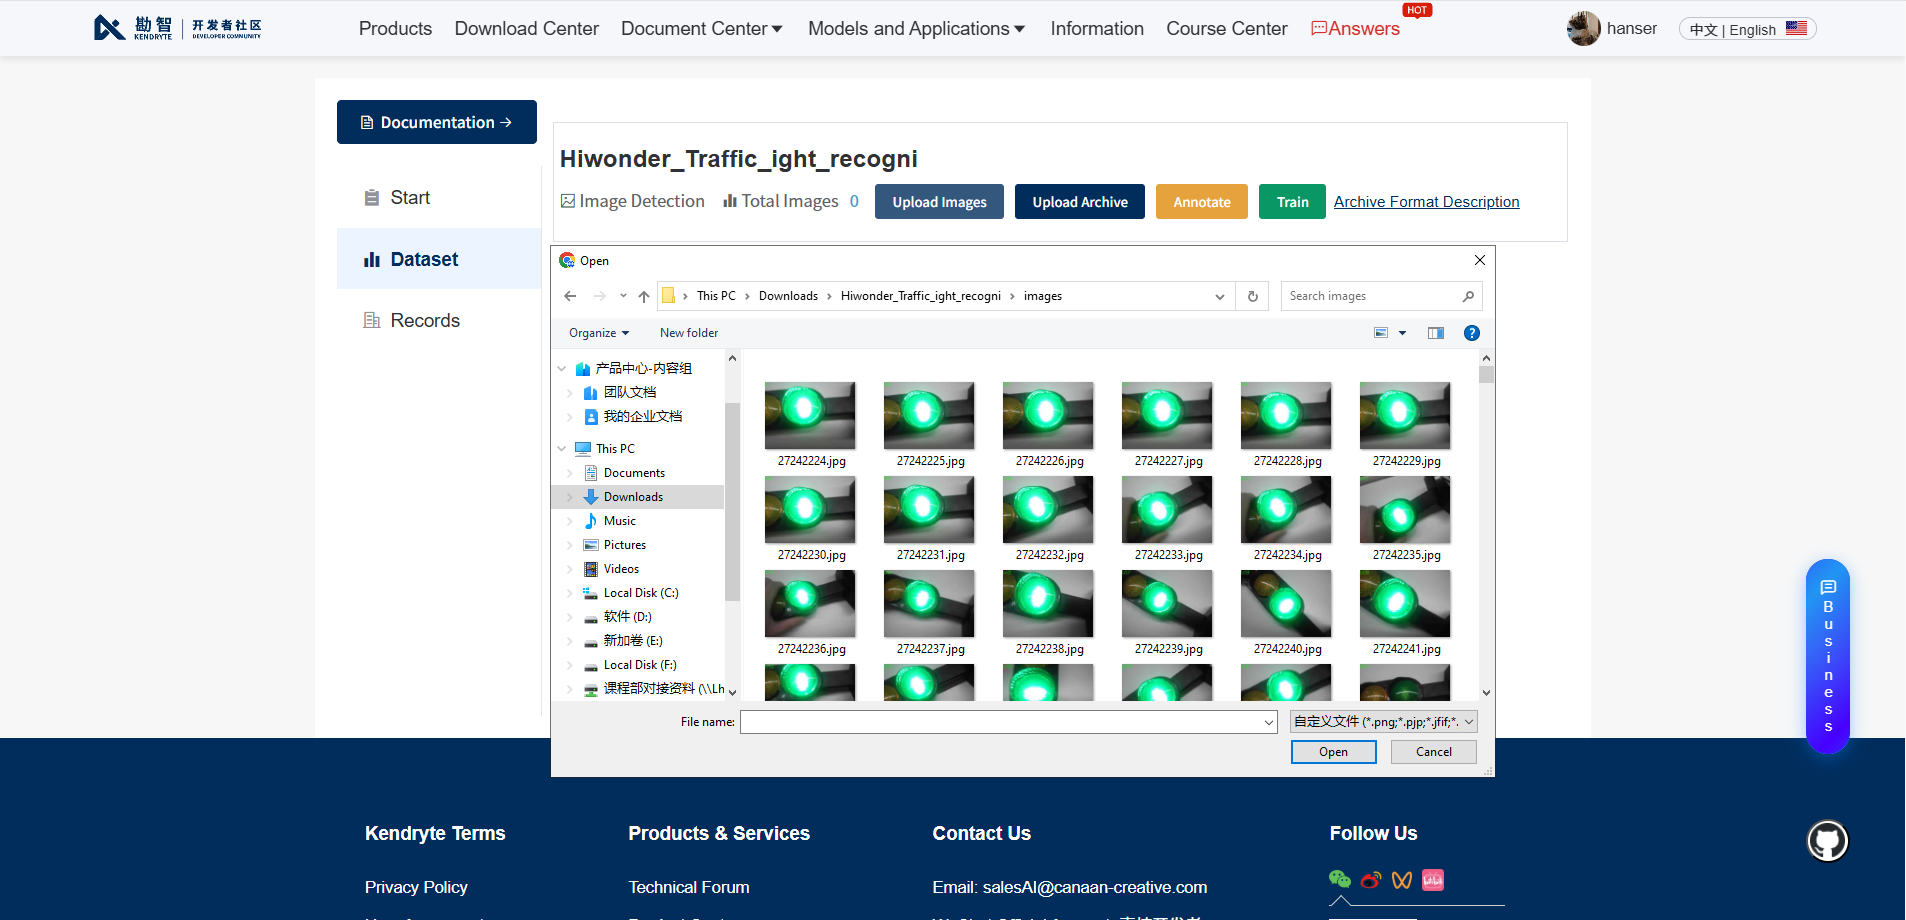
Click the
Upload Imagebutton to upload the corresponding dataset to the cloud platform.
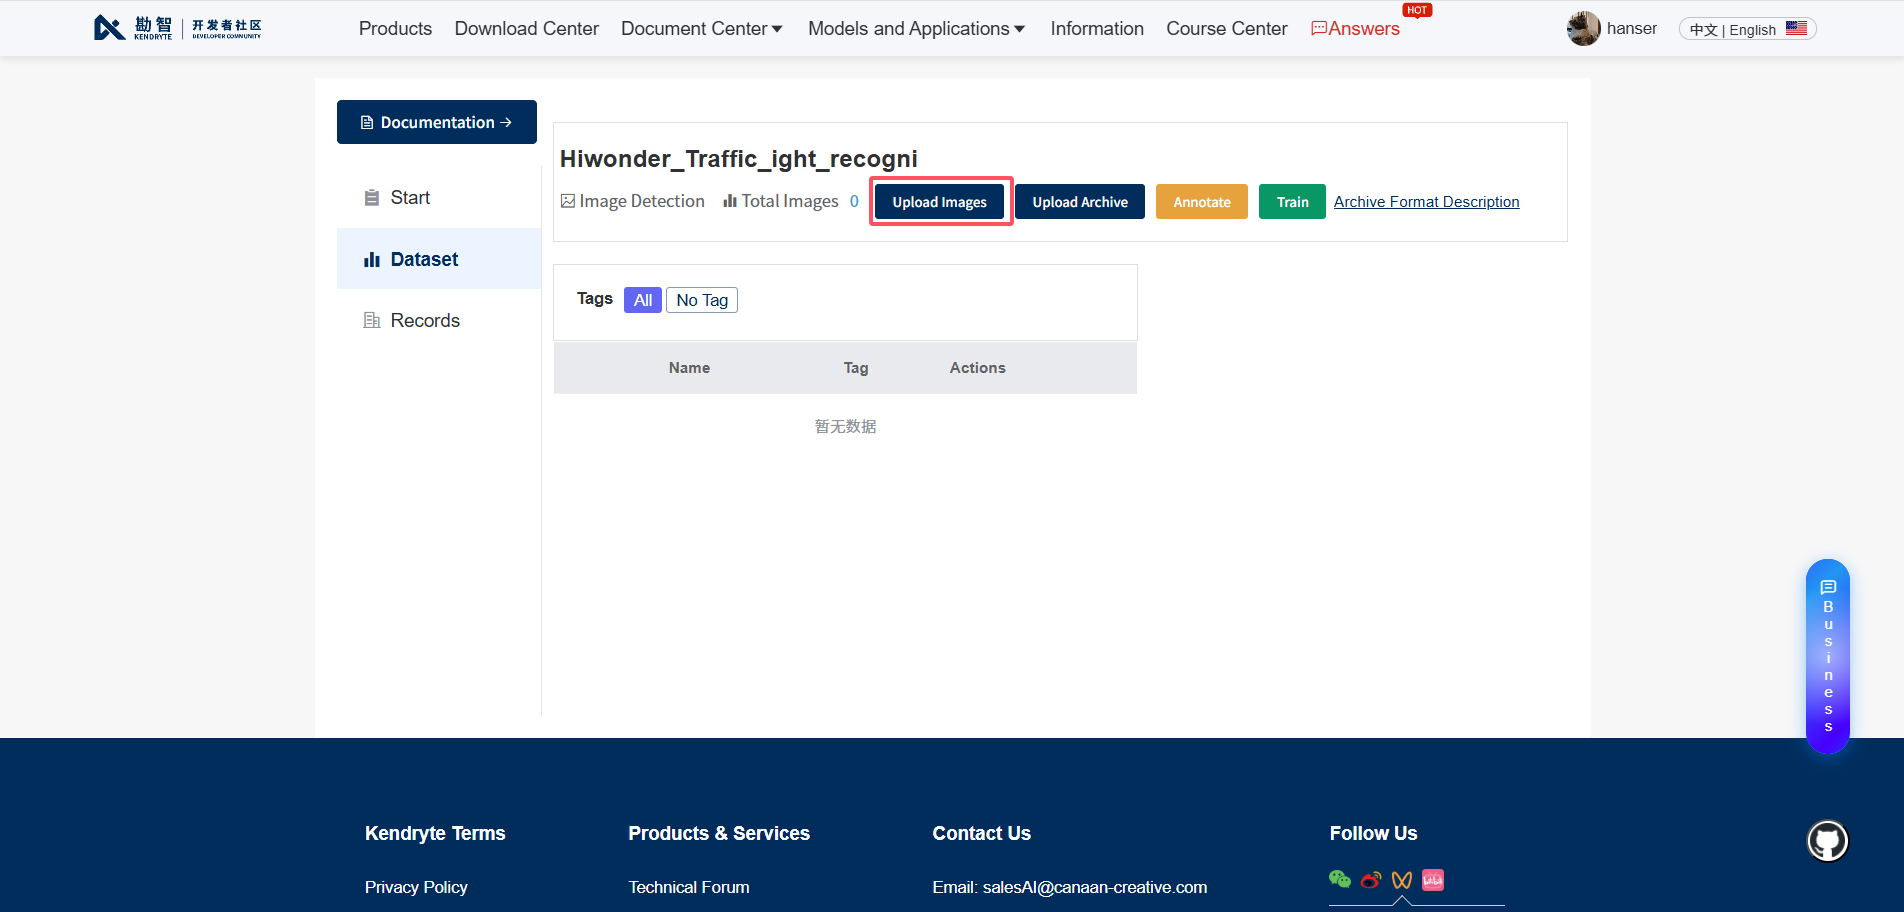
Upload the prepared dataset to the model training cloud platform.
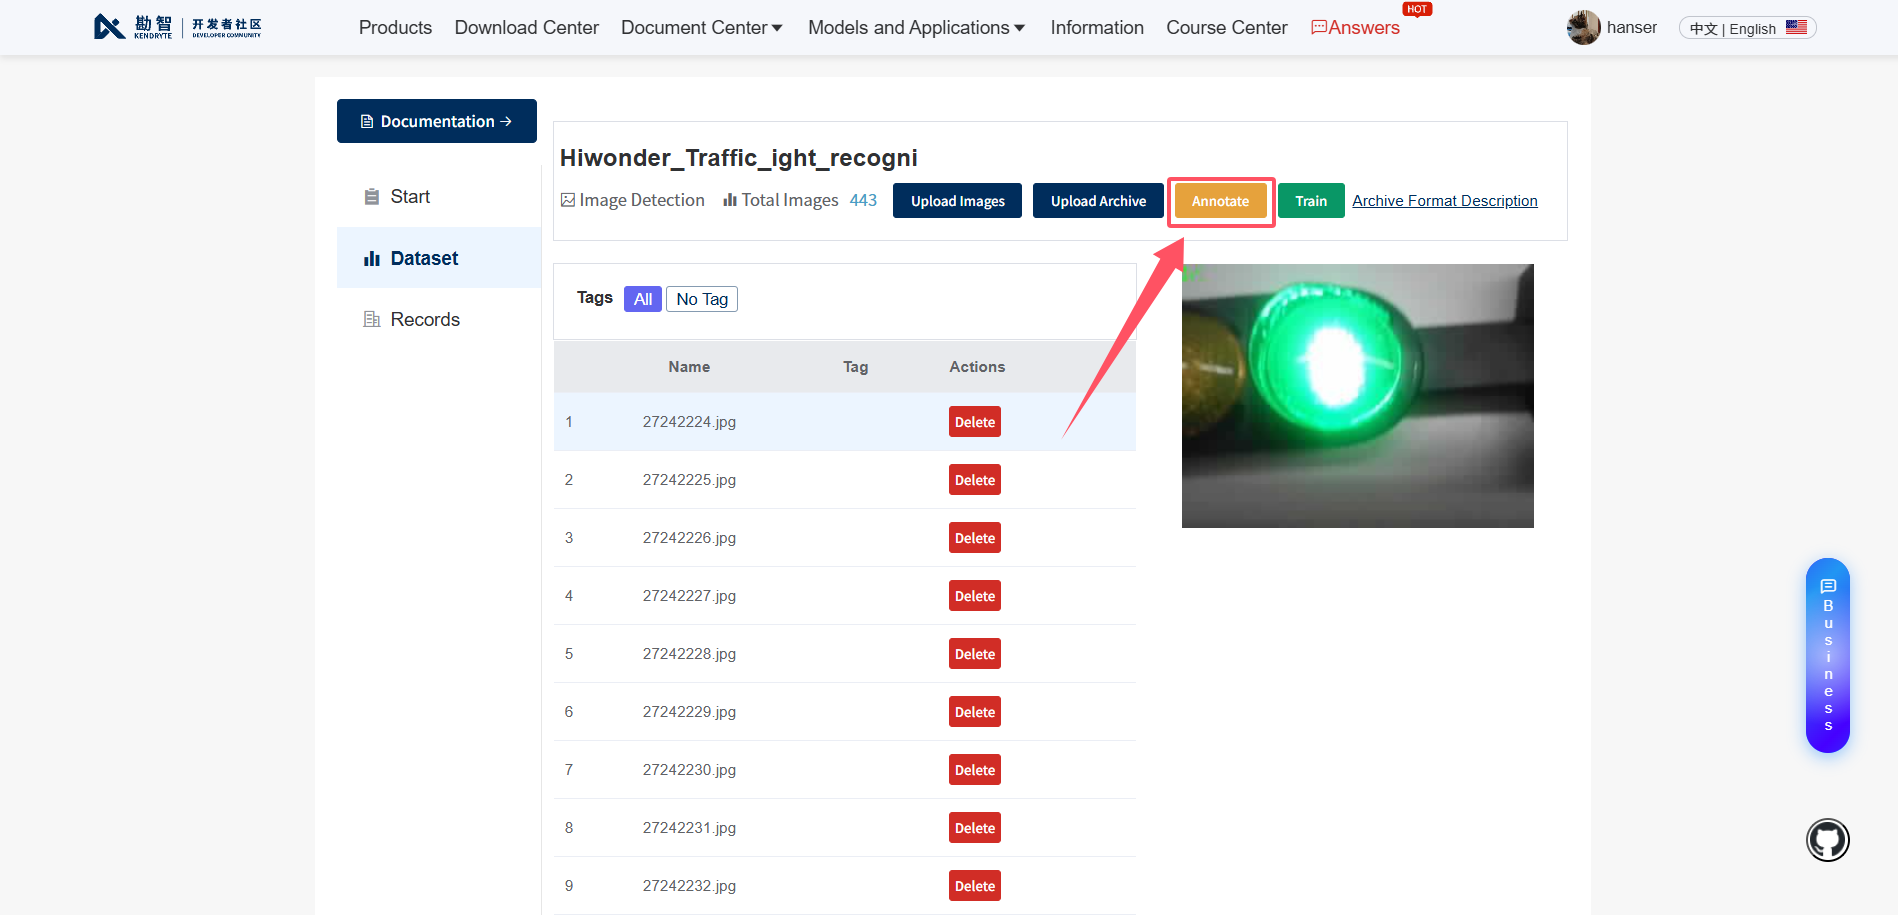
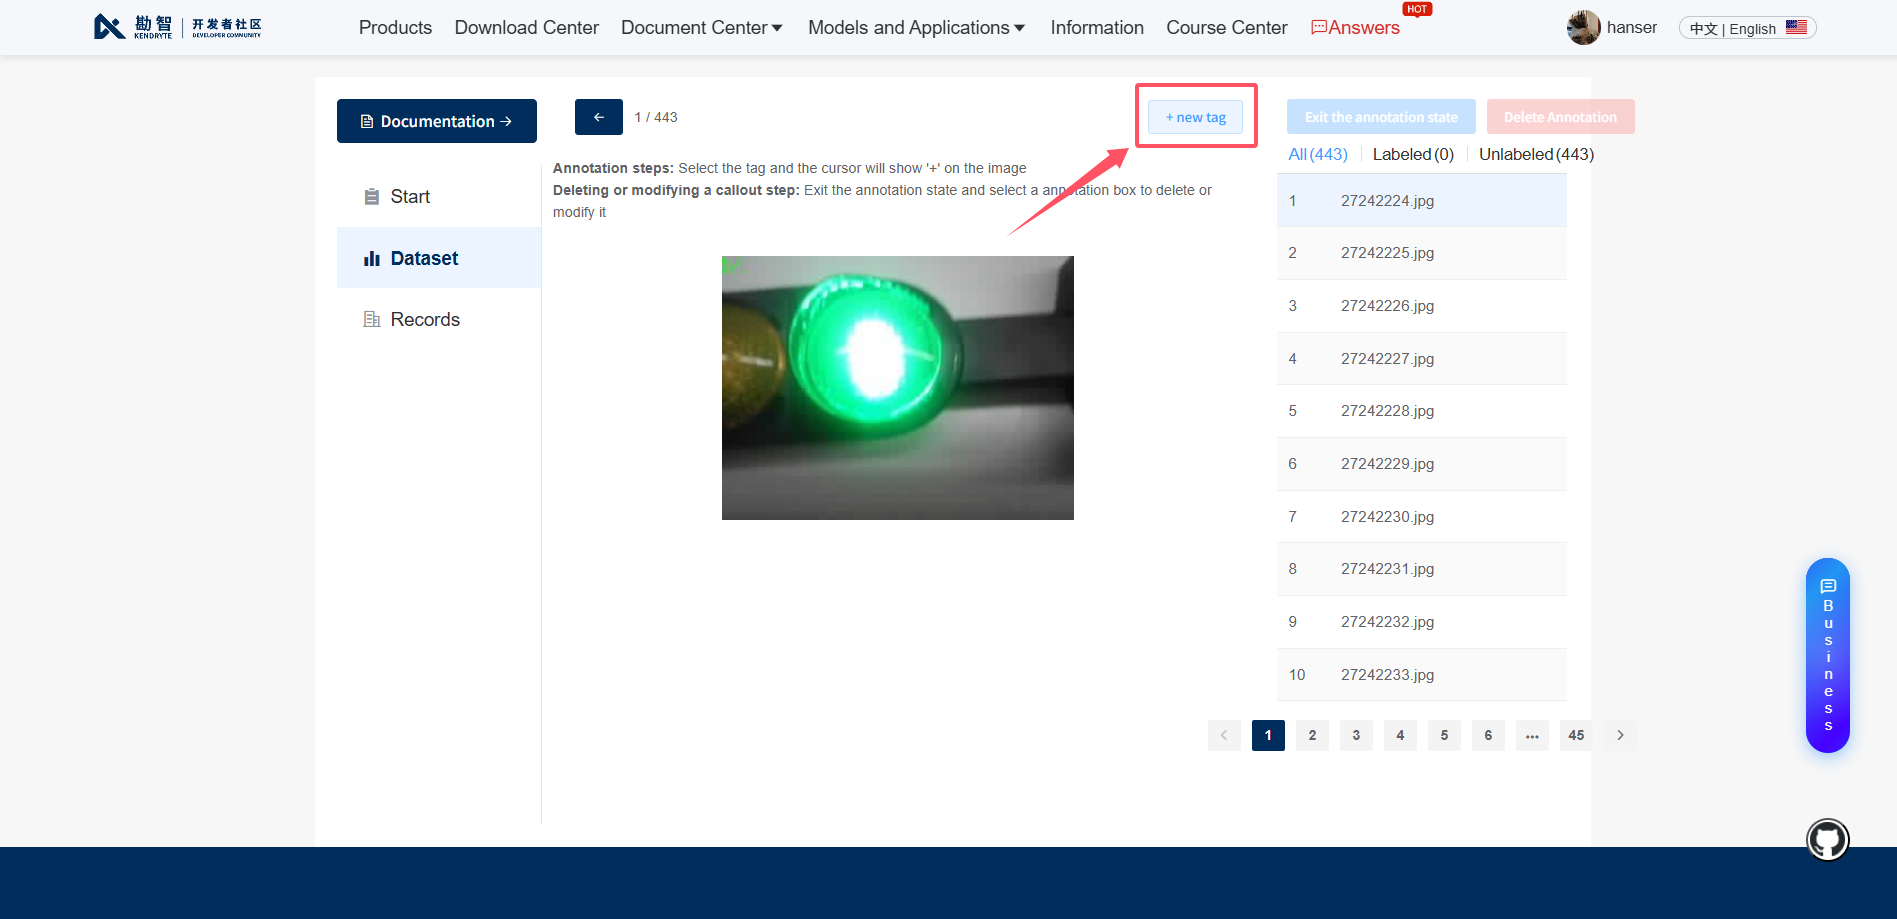
Click the Annotate button after the image upload is complete.
Click
New Tagto add labels for the corresponding categories.
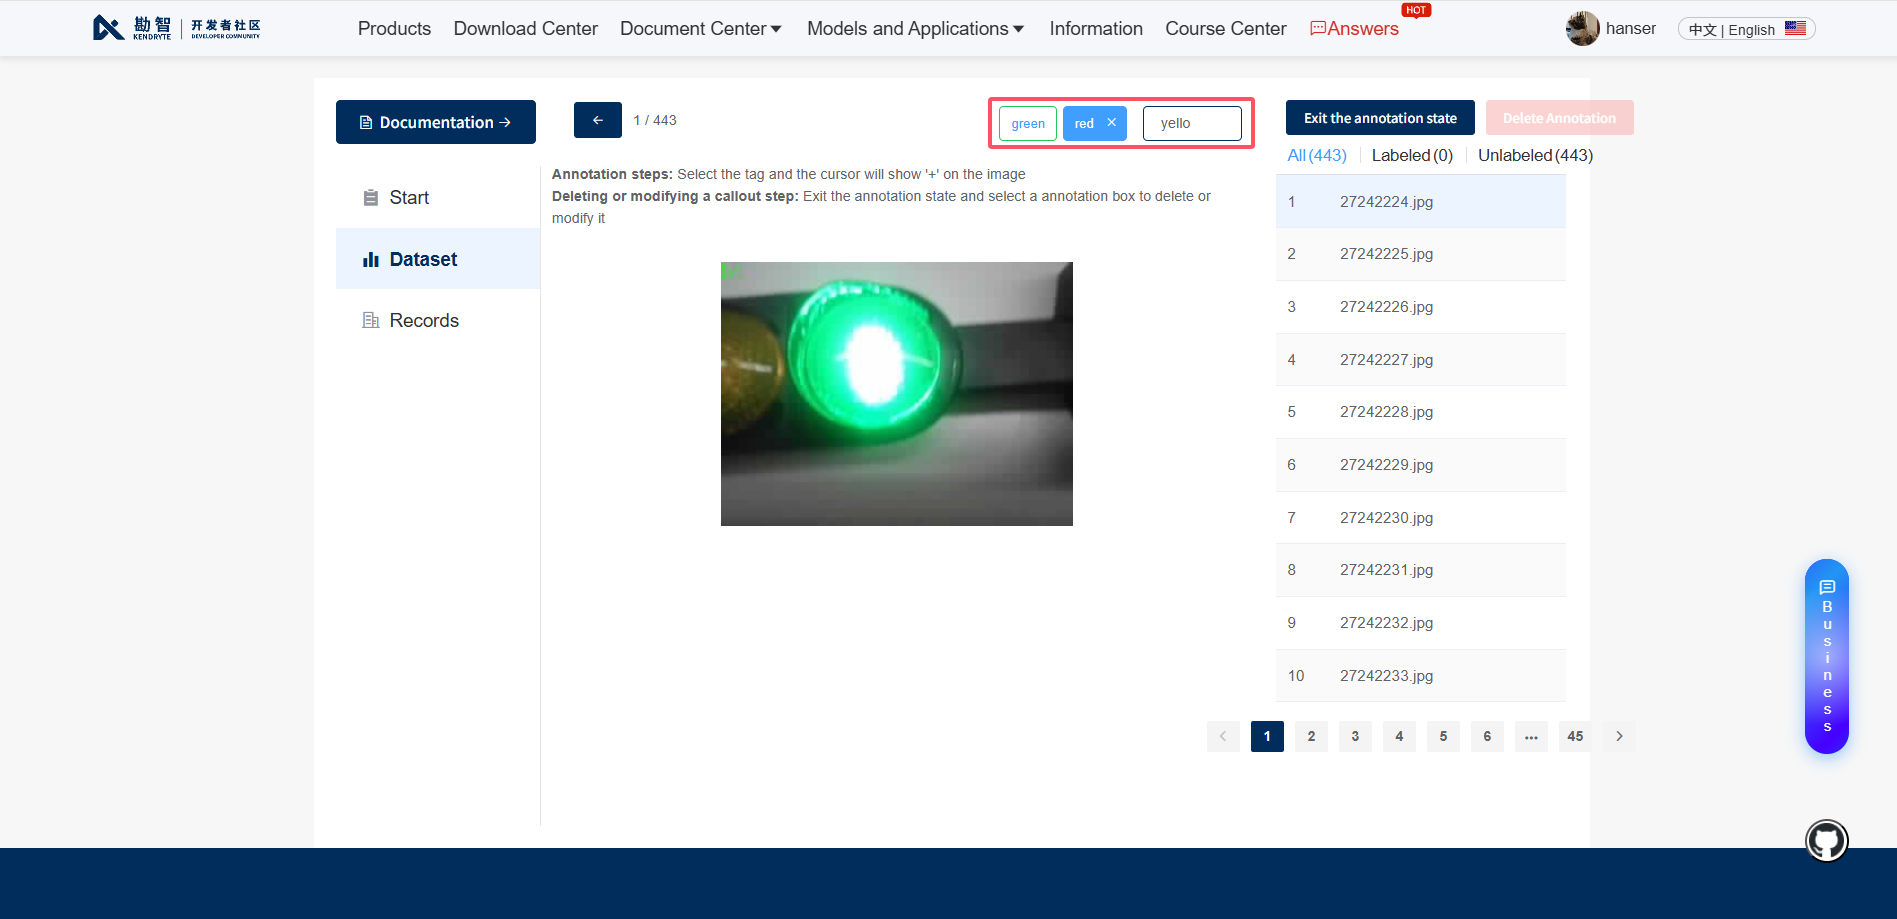
Add
green,red, andyellowlabels for traffic light recognition.
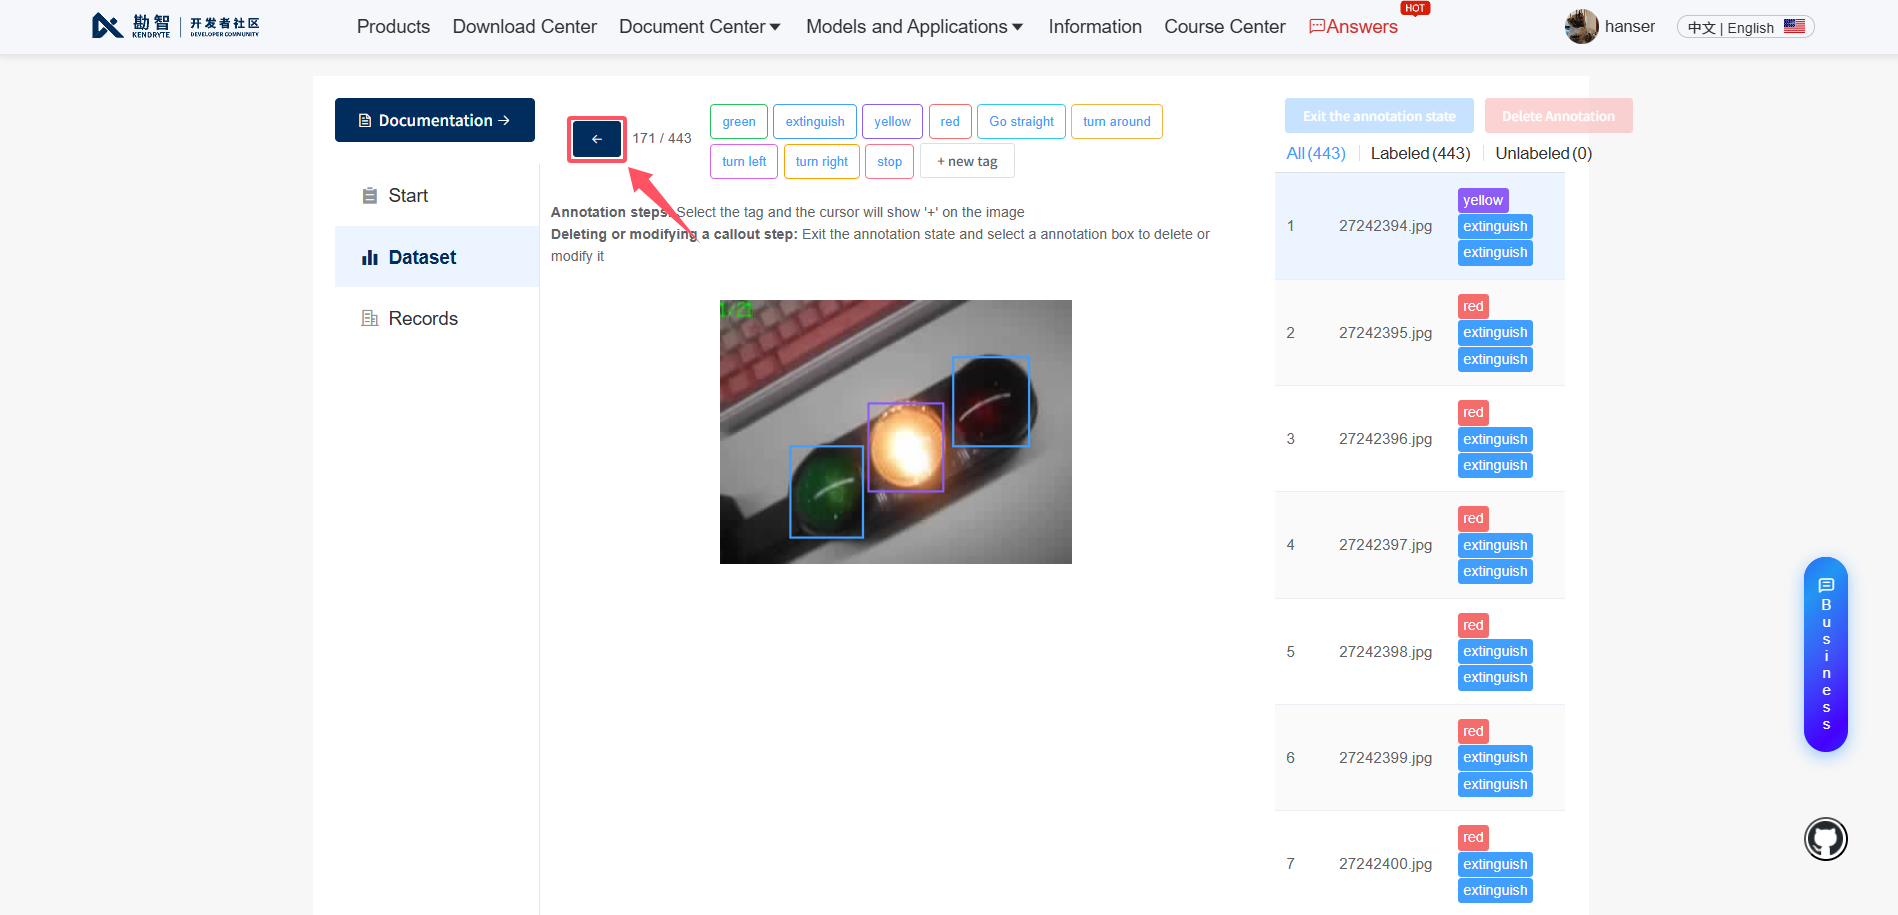
Select the corresponding color tag, using green as an example, and drag the mouse to annotate the target object.
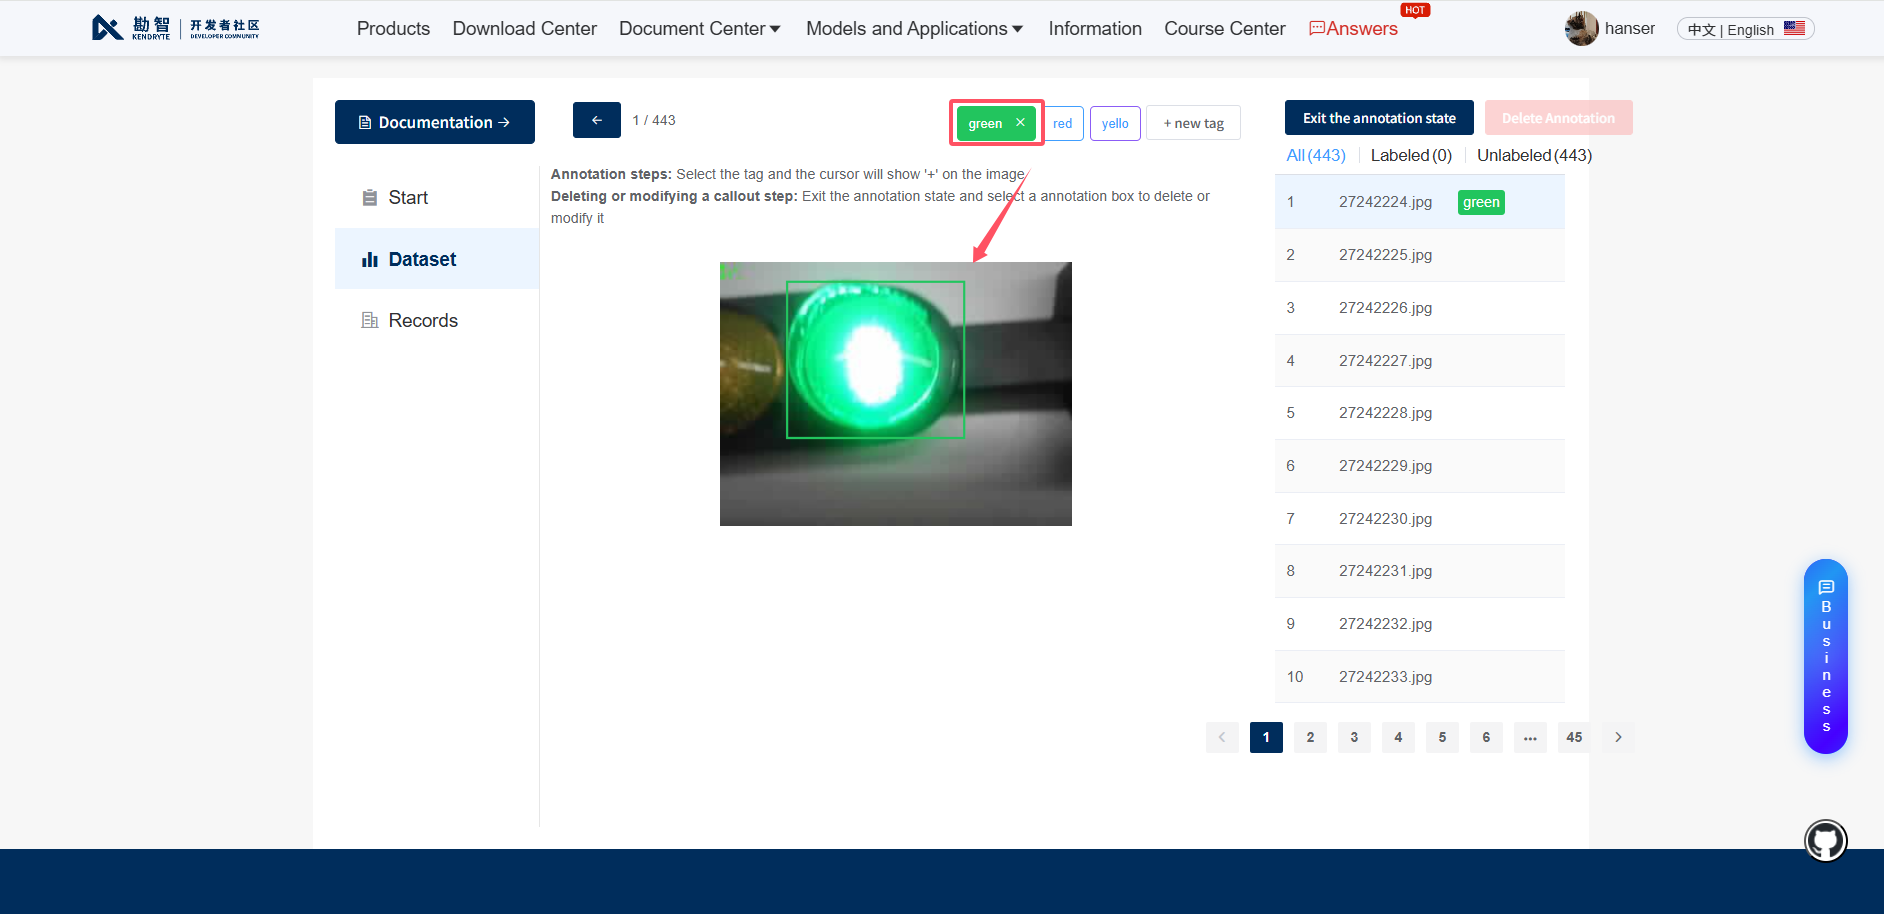
Apply corresponding annotations to all images.
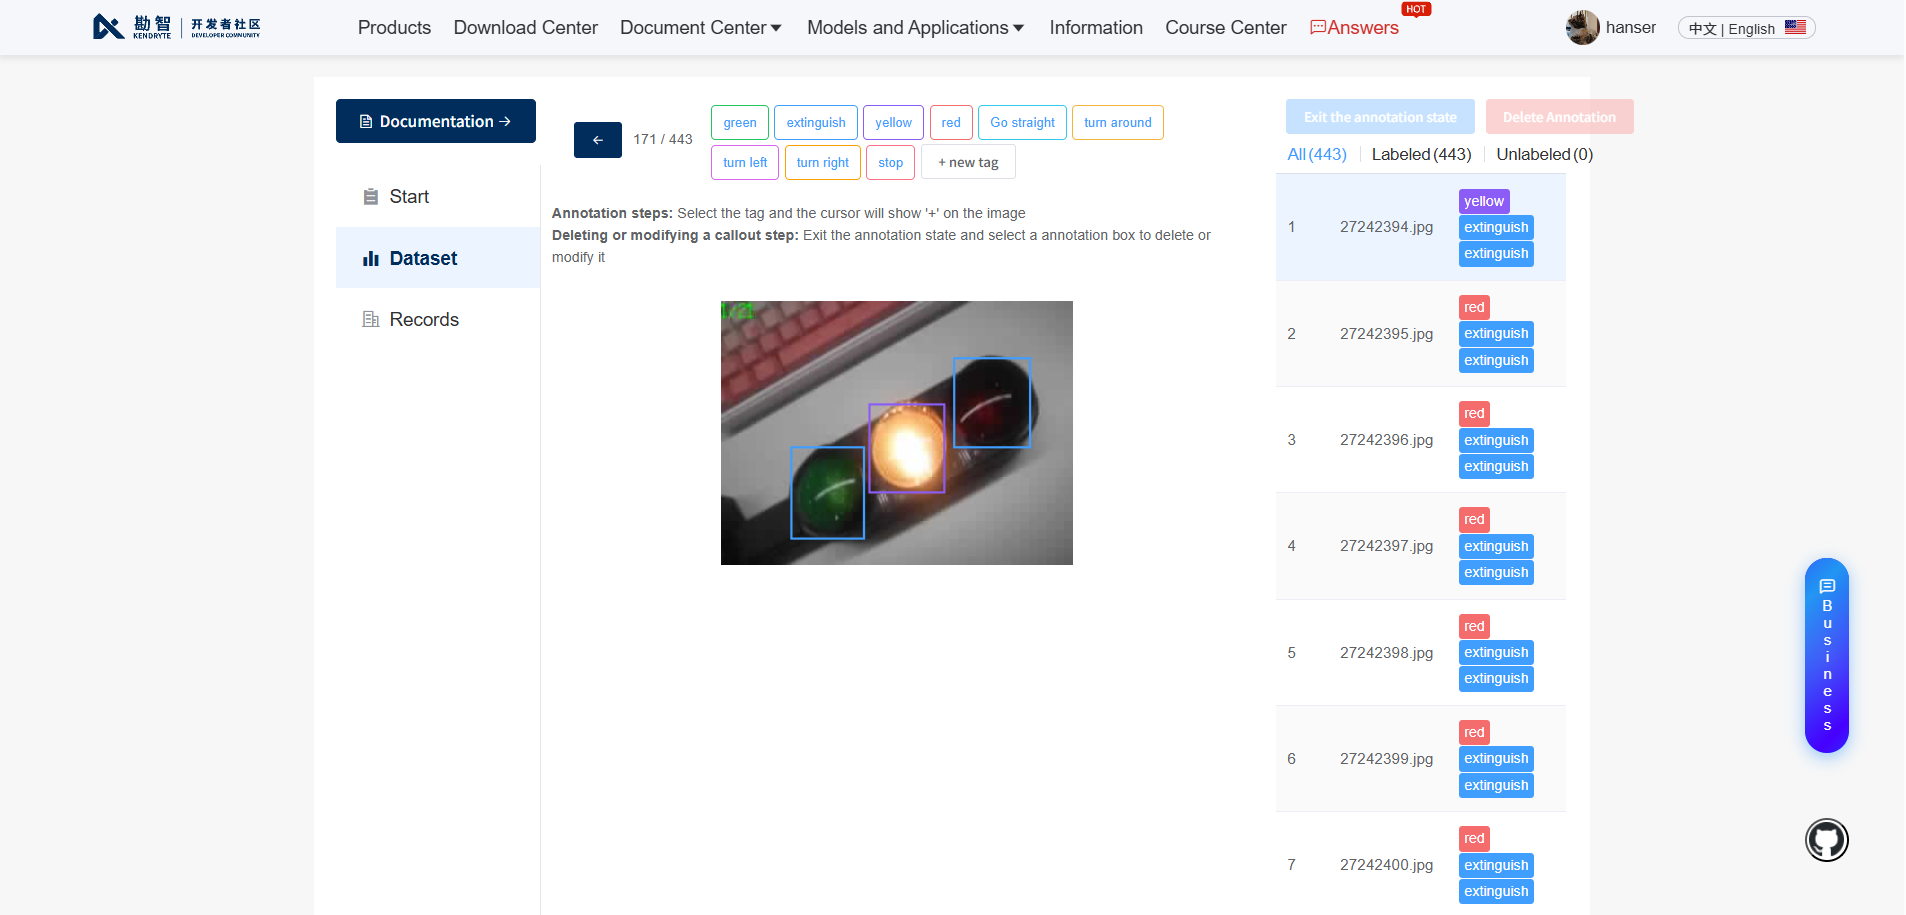
Click the return button upon completion of all annotations.
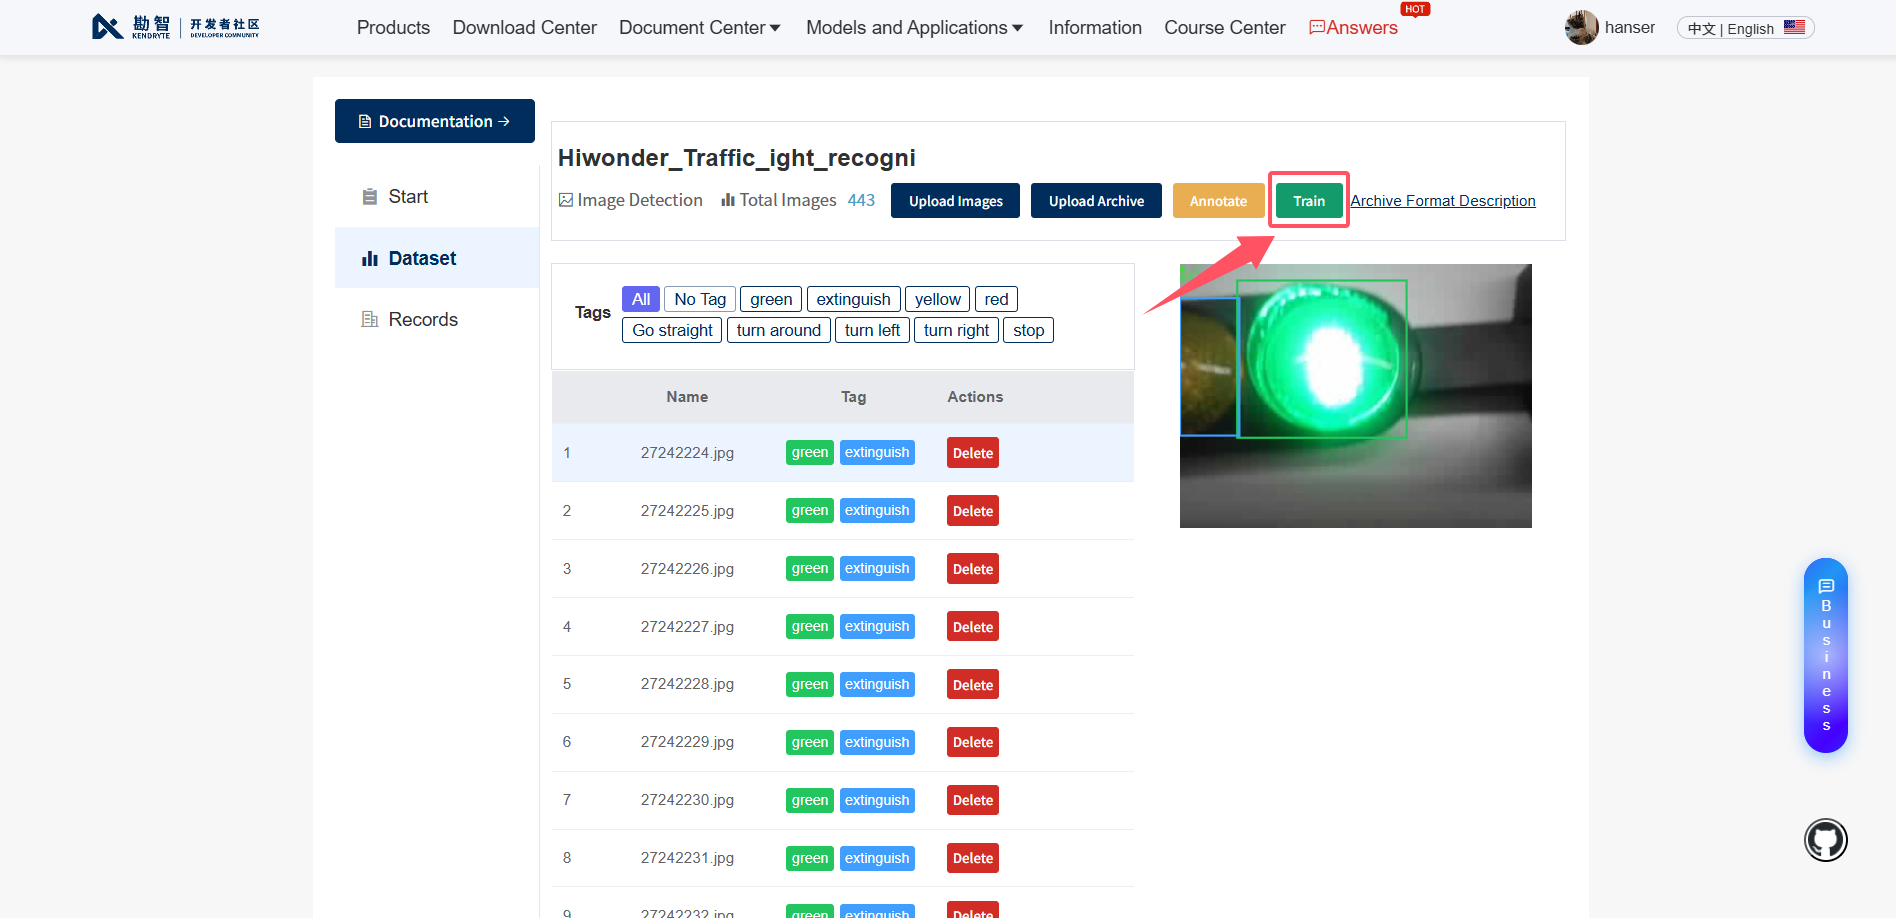
Next, click the Train button to start model training.
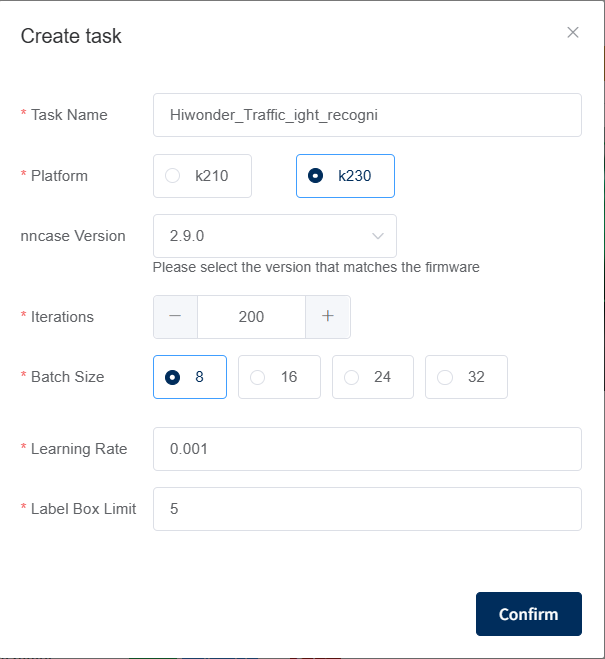
Fill in the corresponding training parameters.
* Platform: Select K230
* nncase Version: The latest version is selected.
* Iterations: This value is adjusted based on the dataset, typically set around 200. The system automatically ceases training when the loss remains stable, and change < 0.05 for 30~50 consecutive epochs.
* Batch Size: Select 8.
* Learning Rate: Enter 0.001.
* Label Box Limit: Enter 5, which indicates the maximum number of target boxes allowed per image.
Click Confirm to automatically redirect to the training interface and wait for the training. Note that queuing may be required during busy periods.
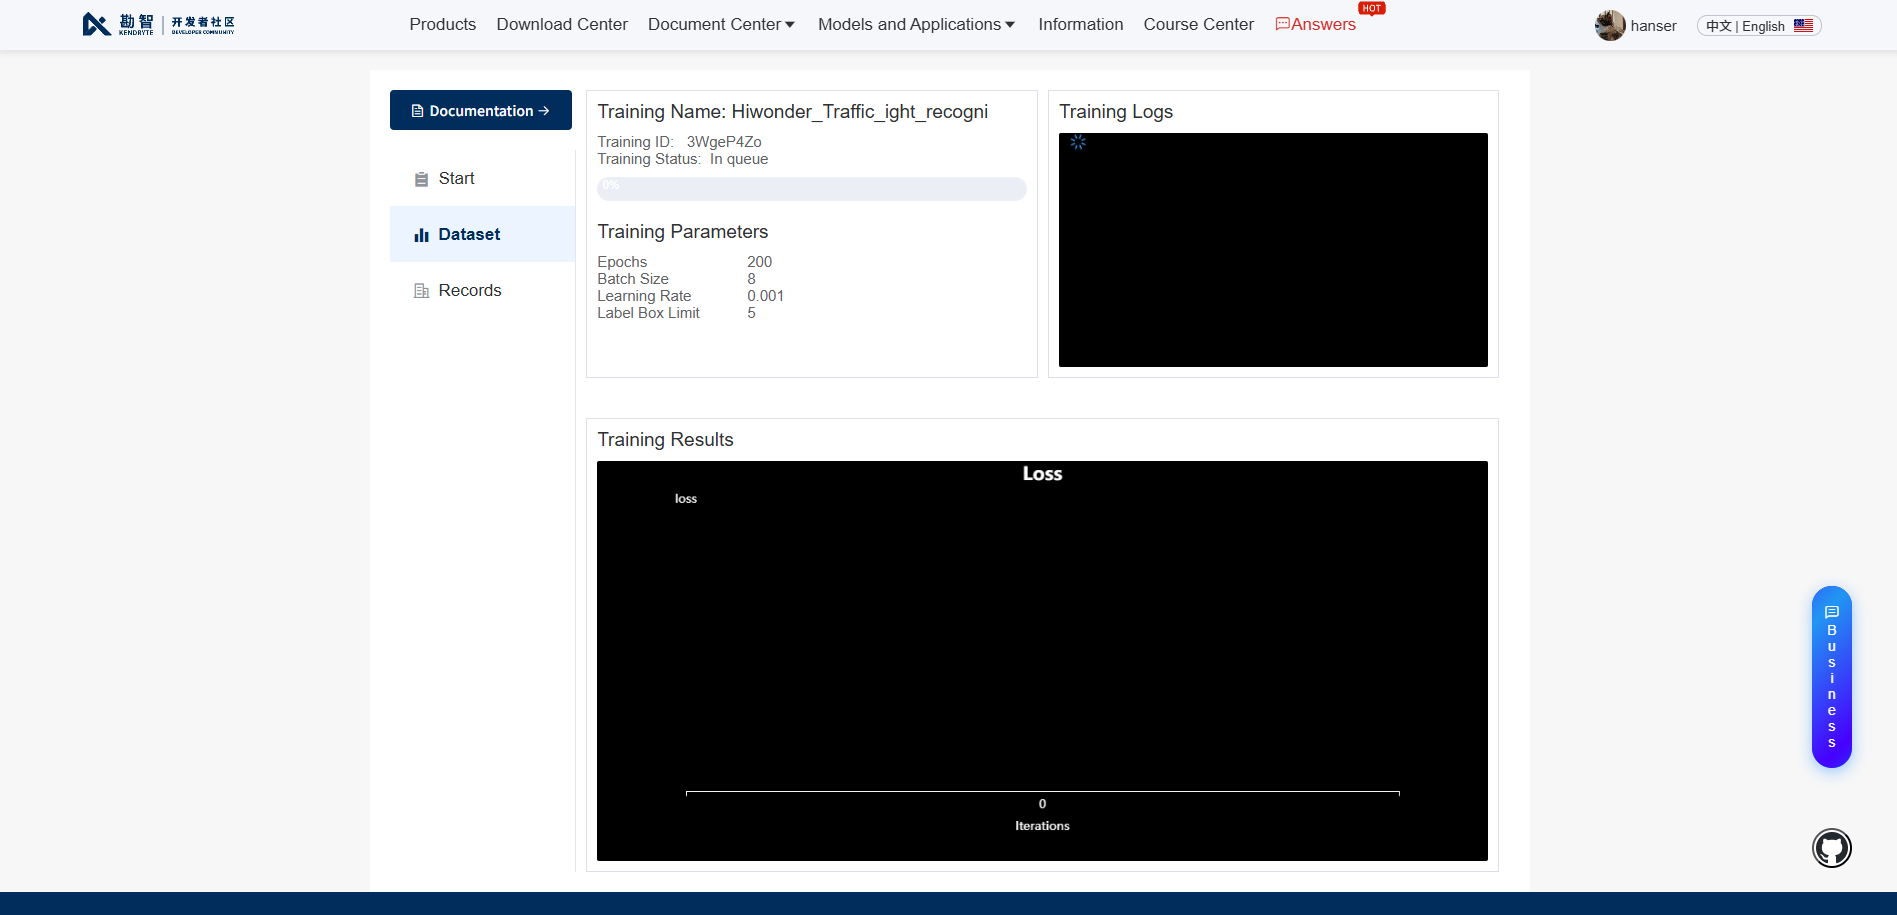
As training occurs in the cloud, the webpage or browser may be closed without affecting the process.
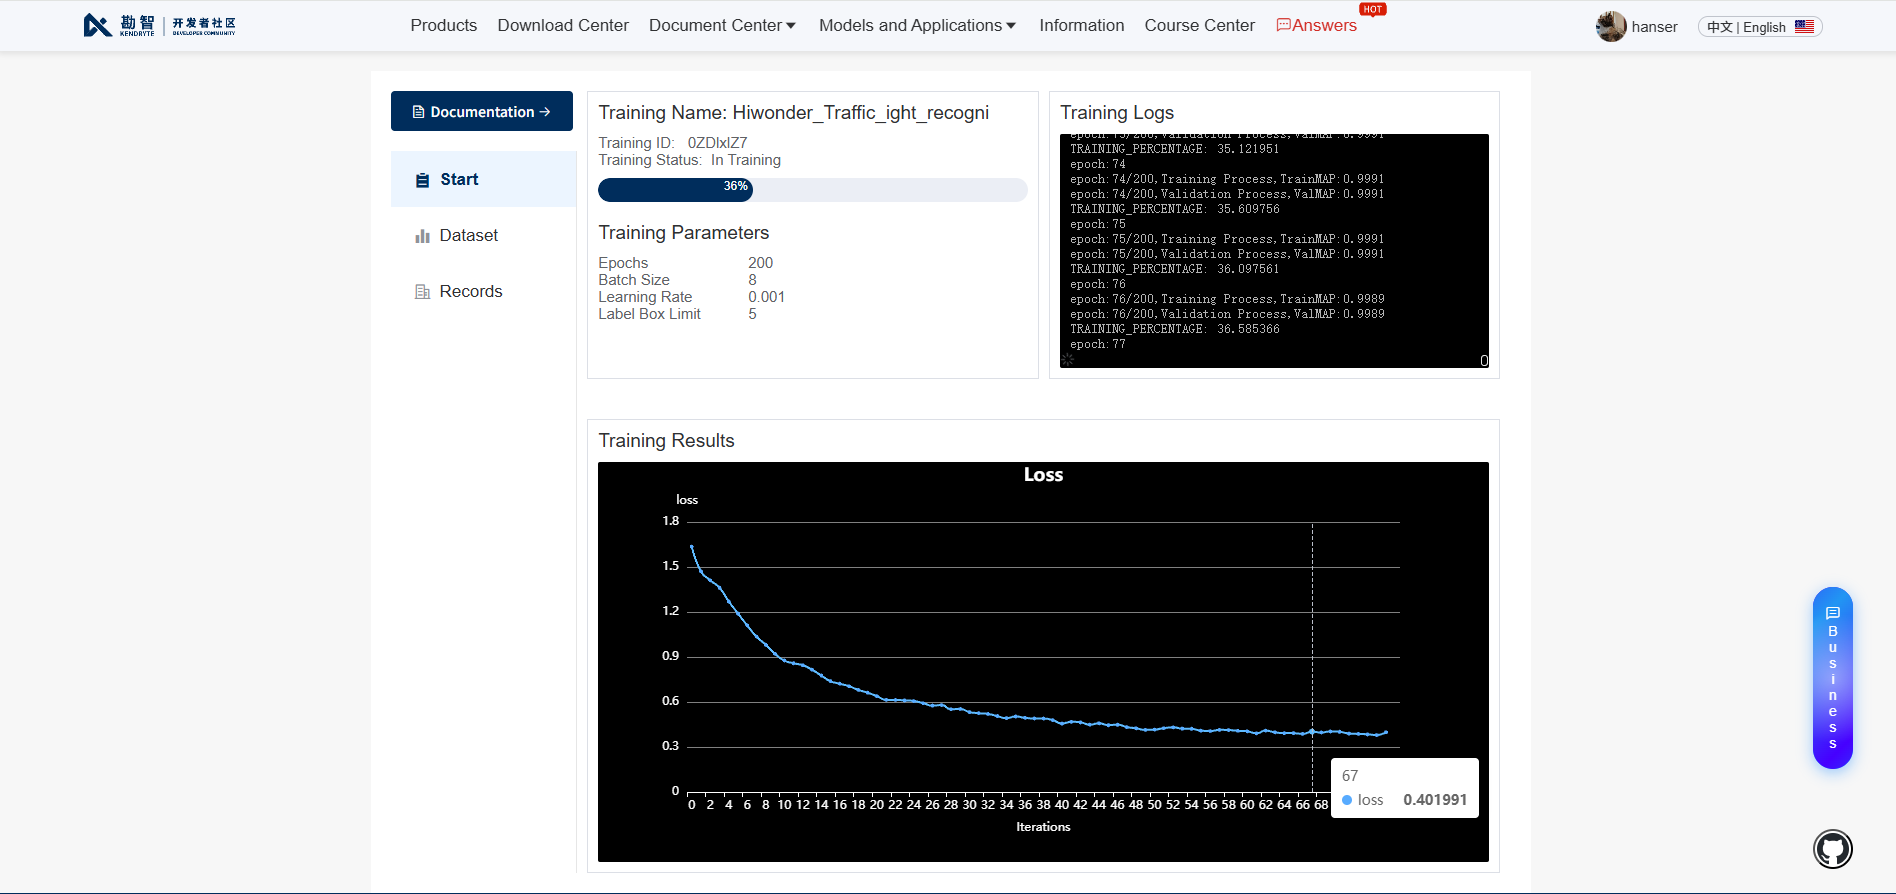
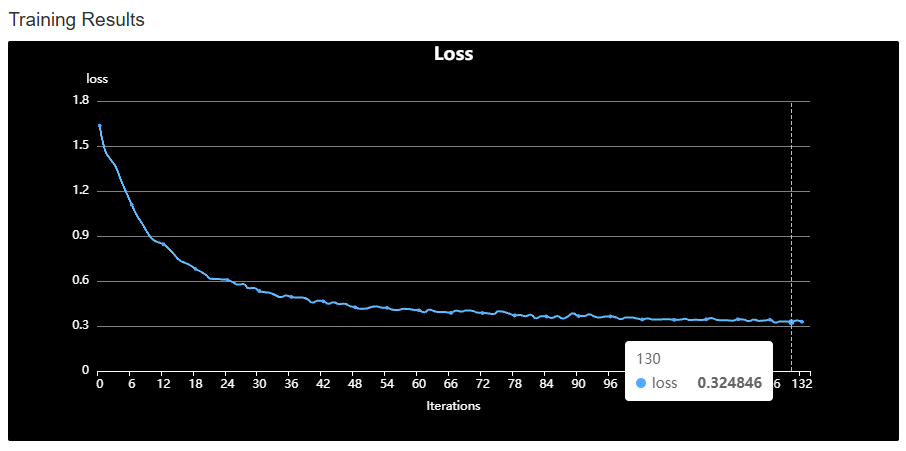
During the process, hover the mouse over the training result chart to view real-time loss data.
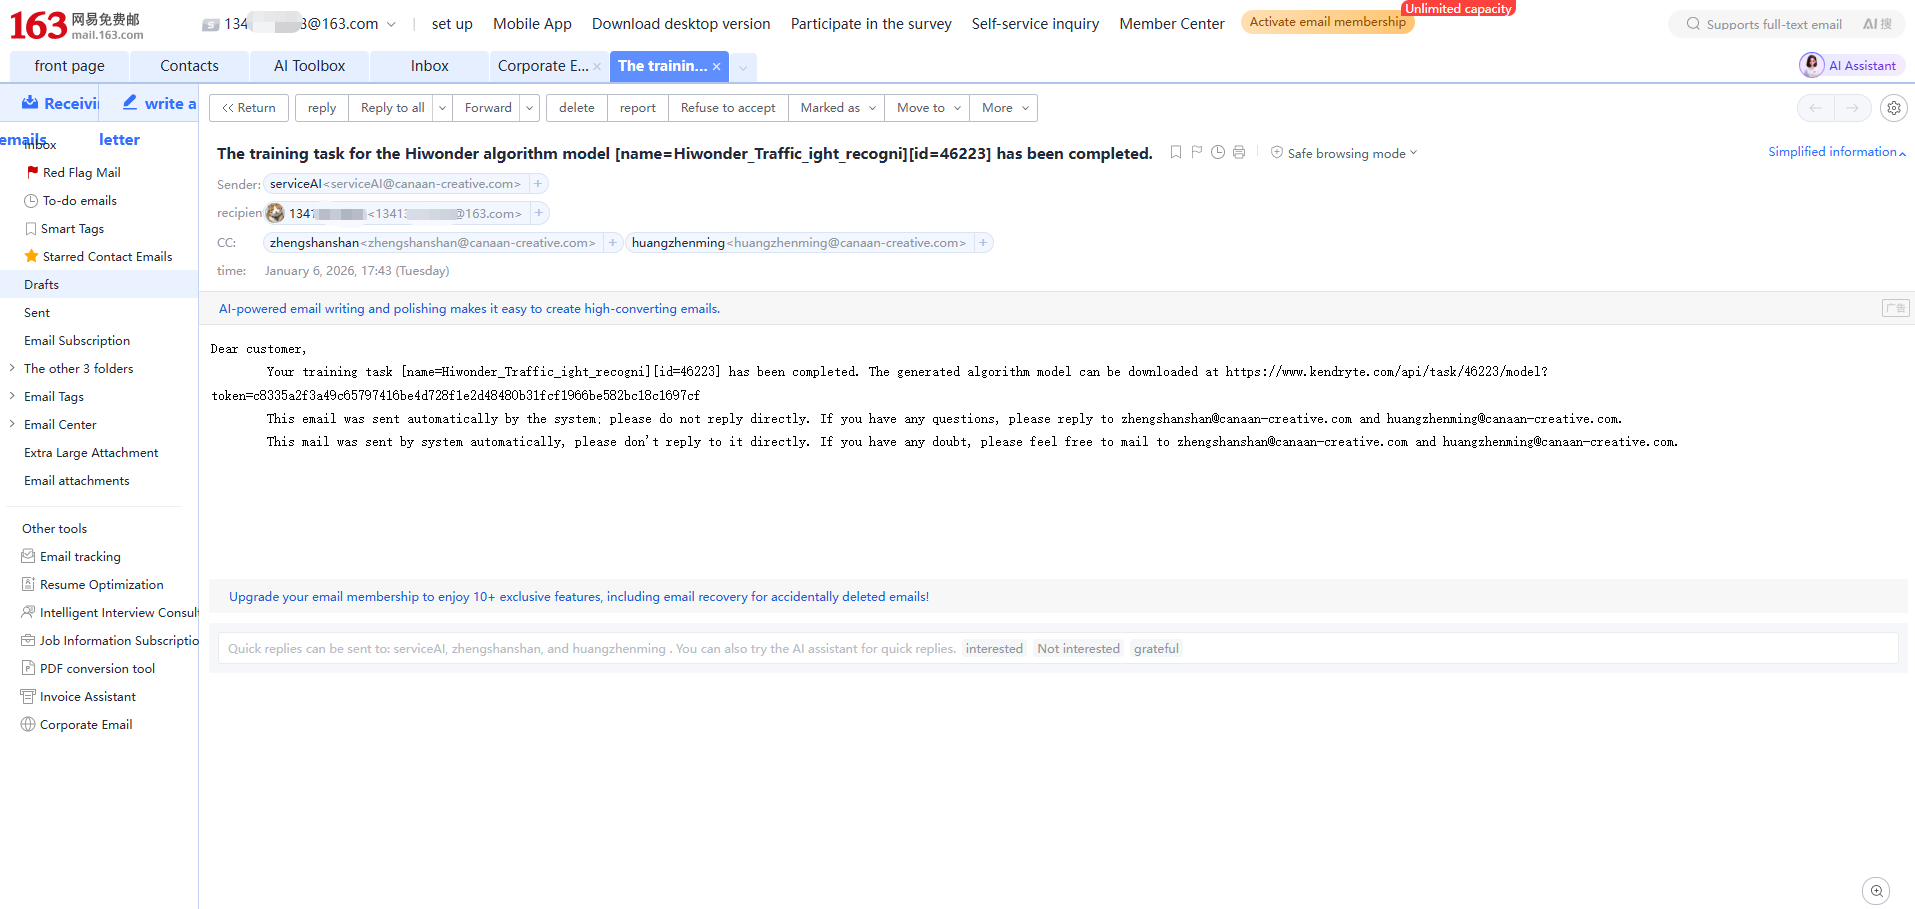
Upon training completion, the registered email address receives a notification indicating the end of model training.
8.4 Model Download and Deployment
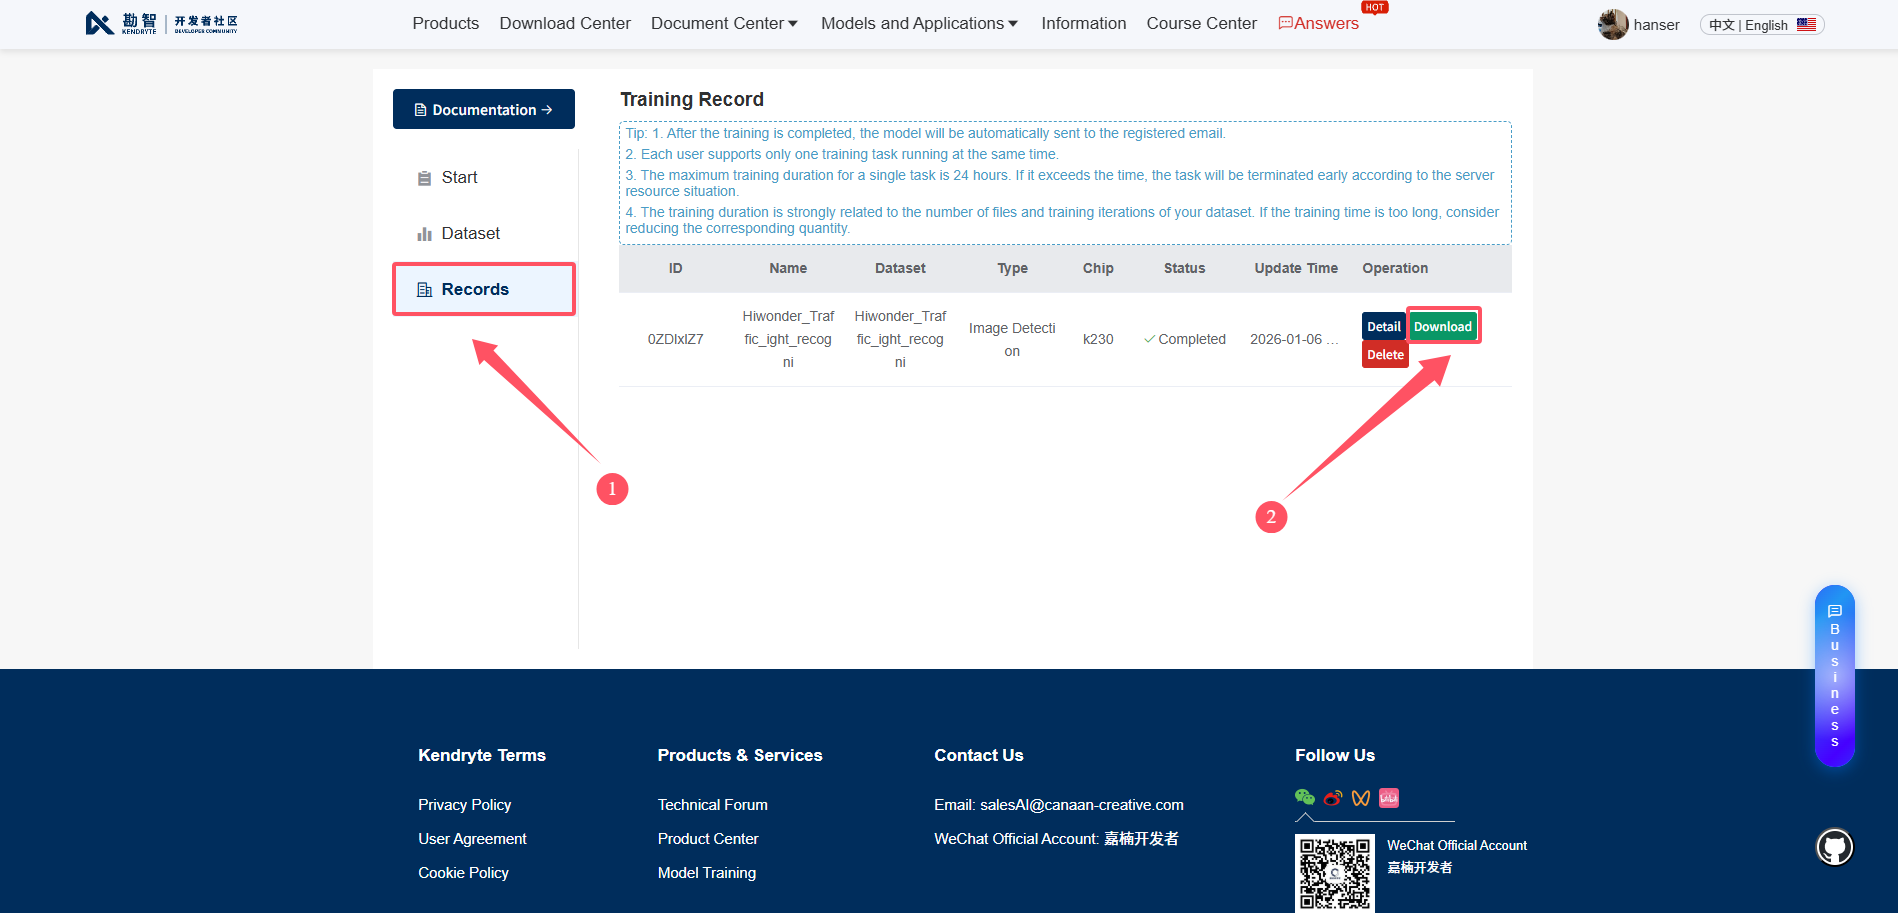
First, click
Recordson the left, then clickDownloadon the right to save the trained model and deployment materials locally.
Extract the downloaded compressed package locally.
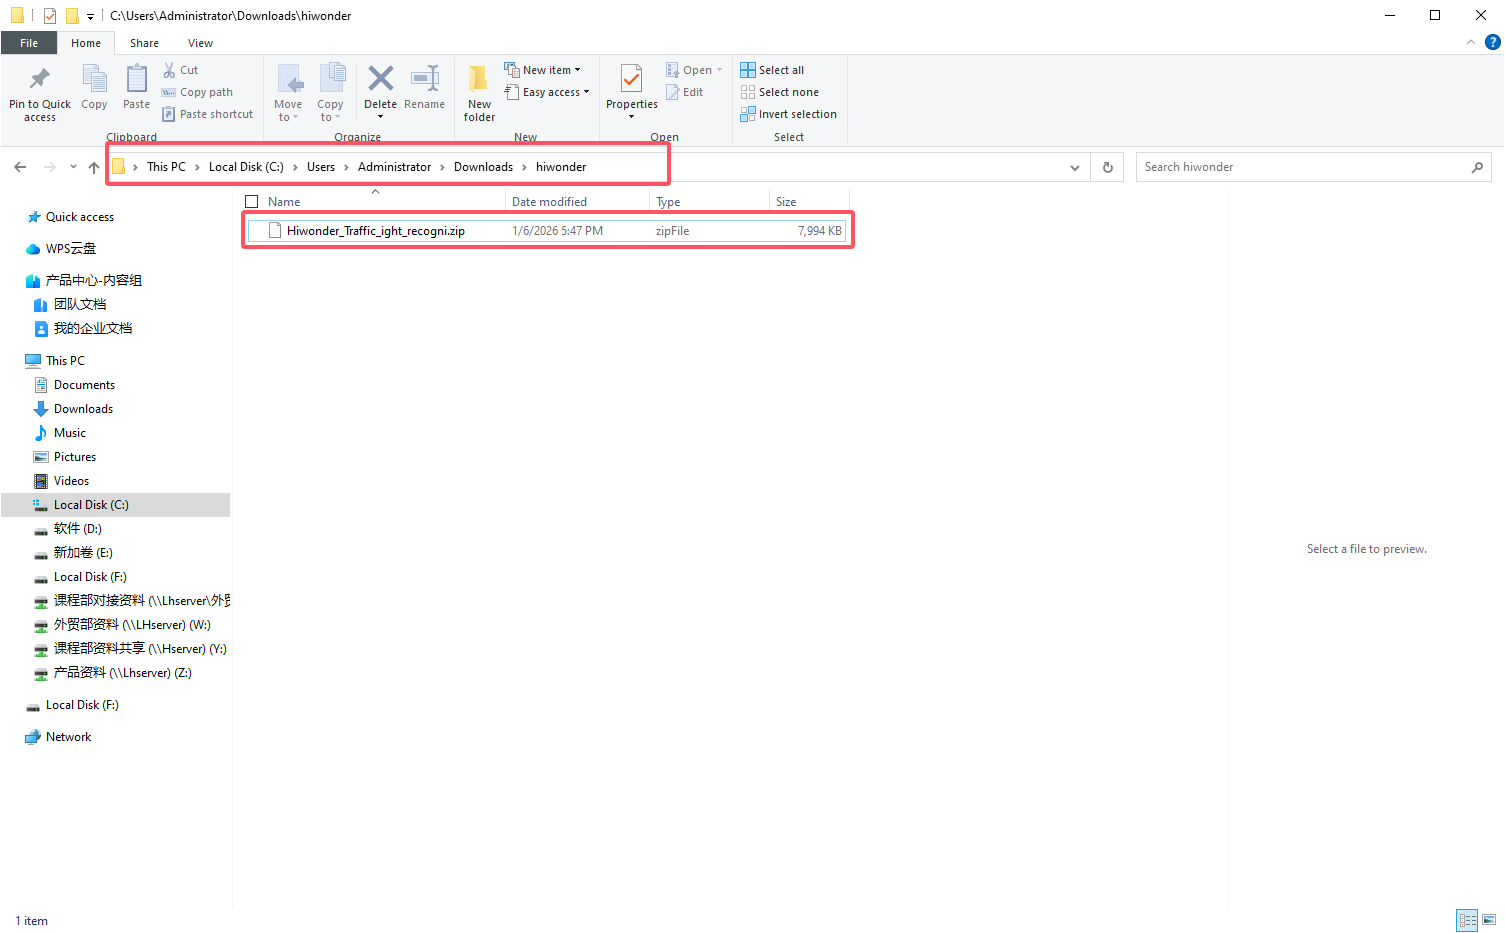
The detailed directory structure of the archive is as follows.
**_image_1_2_2.py # 1.2.2 firmware image inference script, full code
**_video_1_2_2.py # 1.2.2 firmware video inference script, full code
**_image_1_3.py # 1.3 firmware image inference script, highly encapsulated
**_video_1_3.py # 1.3 firmware video inference script, highly encapsulated
README.pdf # Official tutorial document
det_results # Verification test results
mp_deployment_source # micropython deployment resource directory
|- *.kmodel # kmodel file
|- deploy_config.json # Deployment configuration file
Extract the downloaded archive to a local directory. Focus exclusively on the sample program, as well as the model and configuration files located within the
mp_deployment_sourcedirectory.

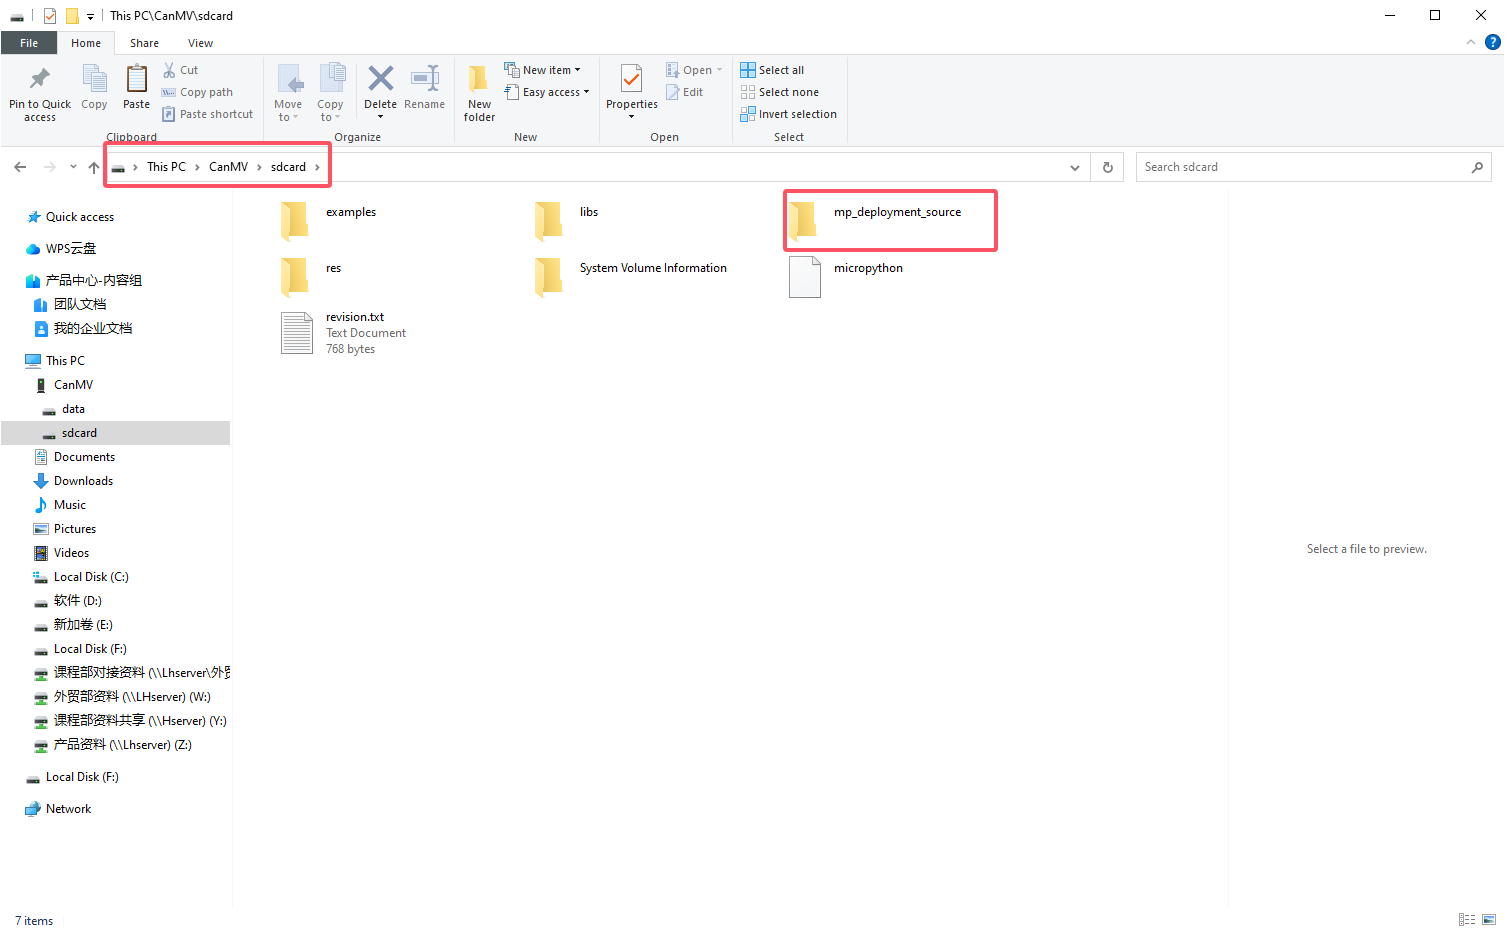
Copy the entire
mp_deployment_sourcefolder to theThis PC\CanMV\sdcarddirectory on the K230 development board SD card.
Using the video inference program as an example, drag the decompressed
det_image_1_2_2.pyinto the CanMV IDE.

The program requires minor modification regarding the corresponding path.
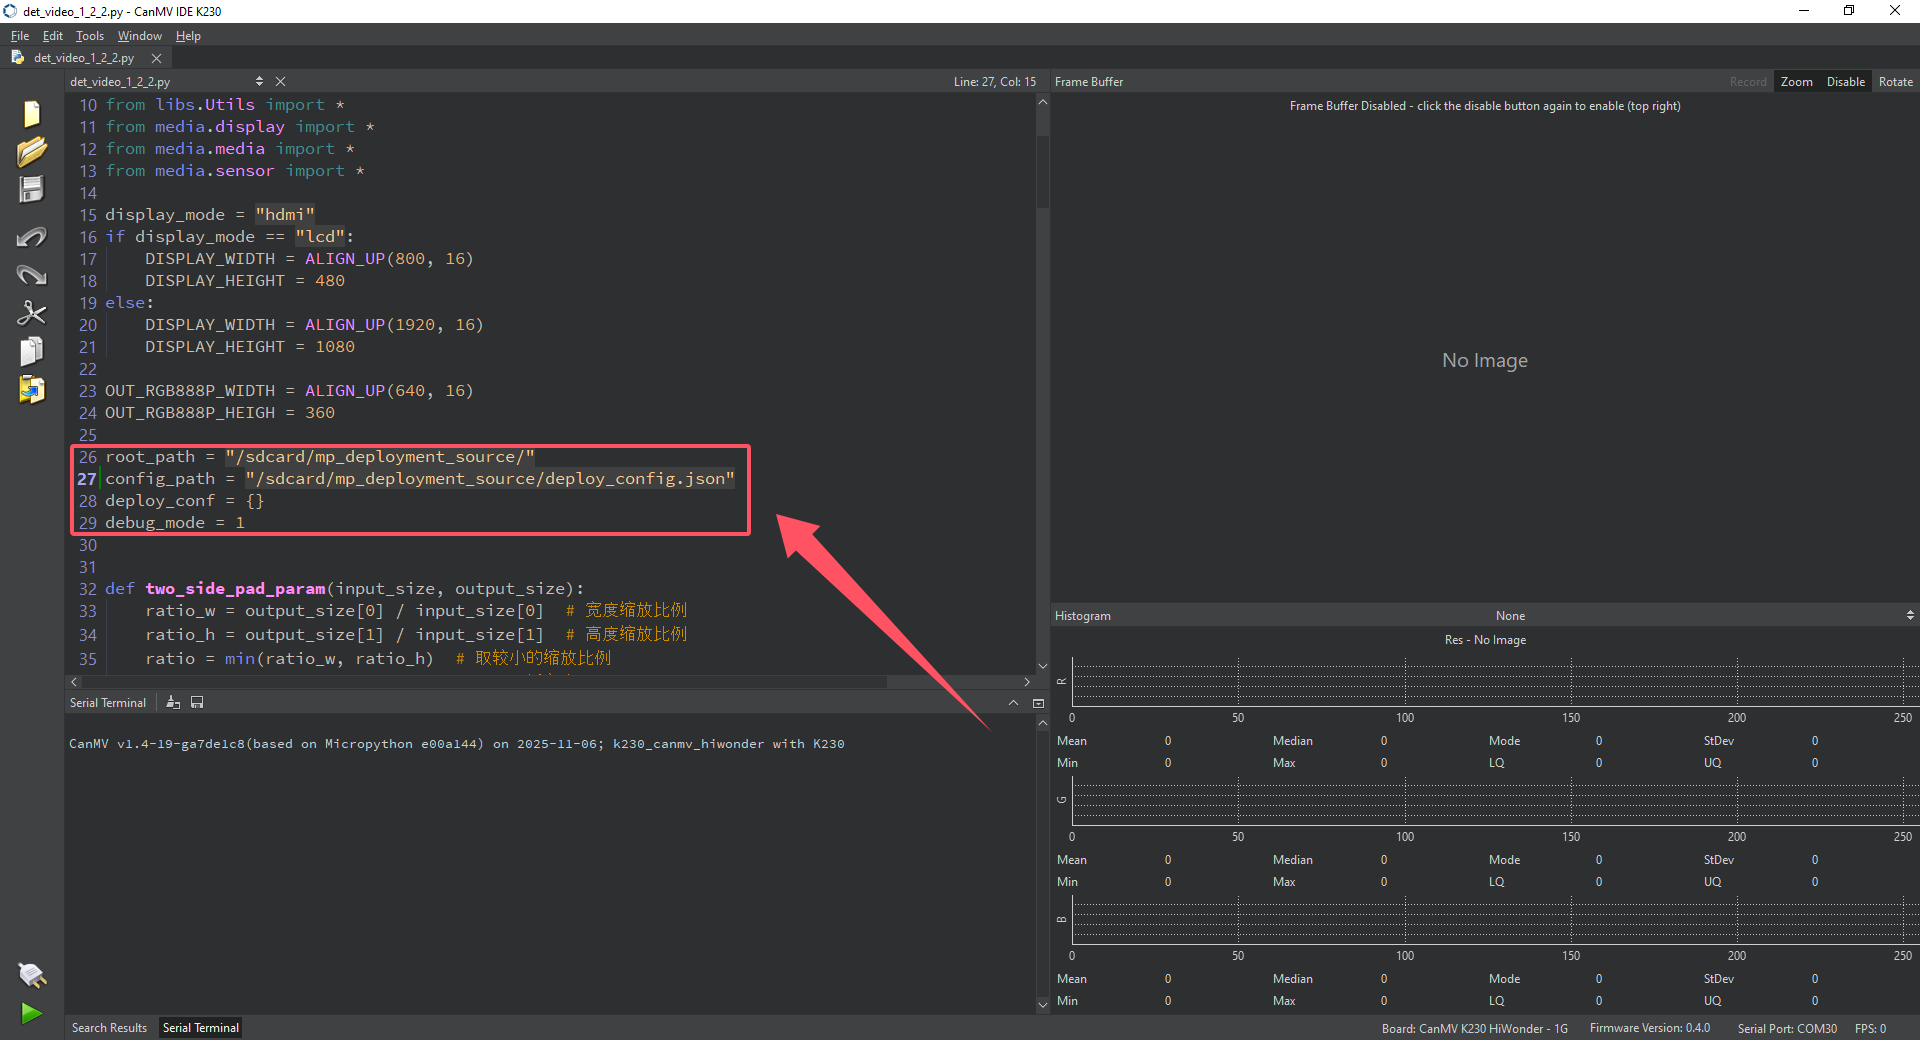
Slightly modify the import path in the det_image_1_2_2.py program.
Original program:
root_path = "/sdcard/mp_deployment_source/"
config_path = root_path + "deploy_config.json"
deploy_conf = {}
debug_mode = 1
Modified to:
root_path = "/sdcard/mp_deployment_source/"
config_path = "/sdcard/mp_deployment_source/deploy_config.json"
deploy_conf = {}
debug_mode = 1
The display mode can also be selected.
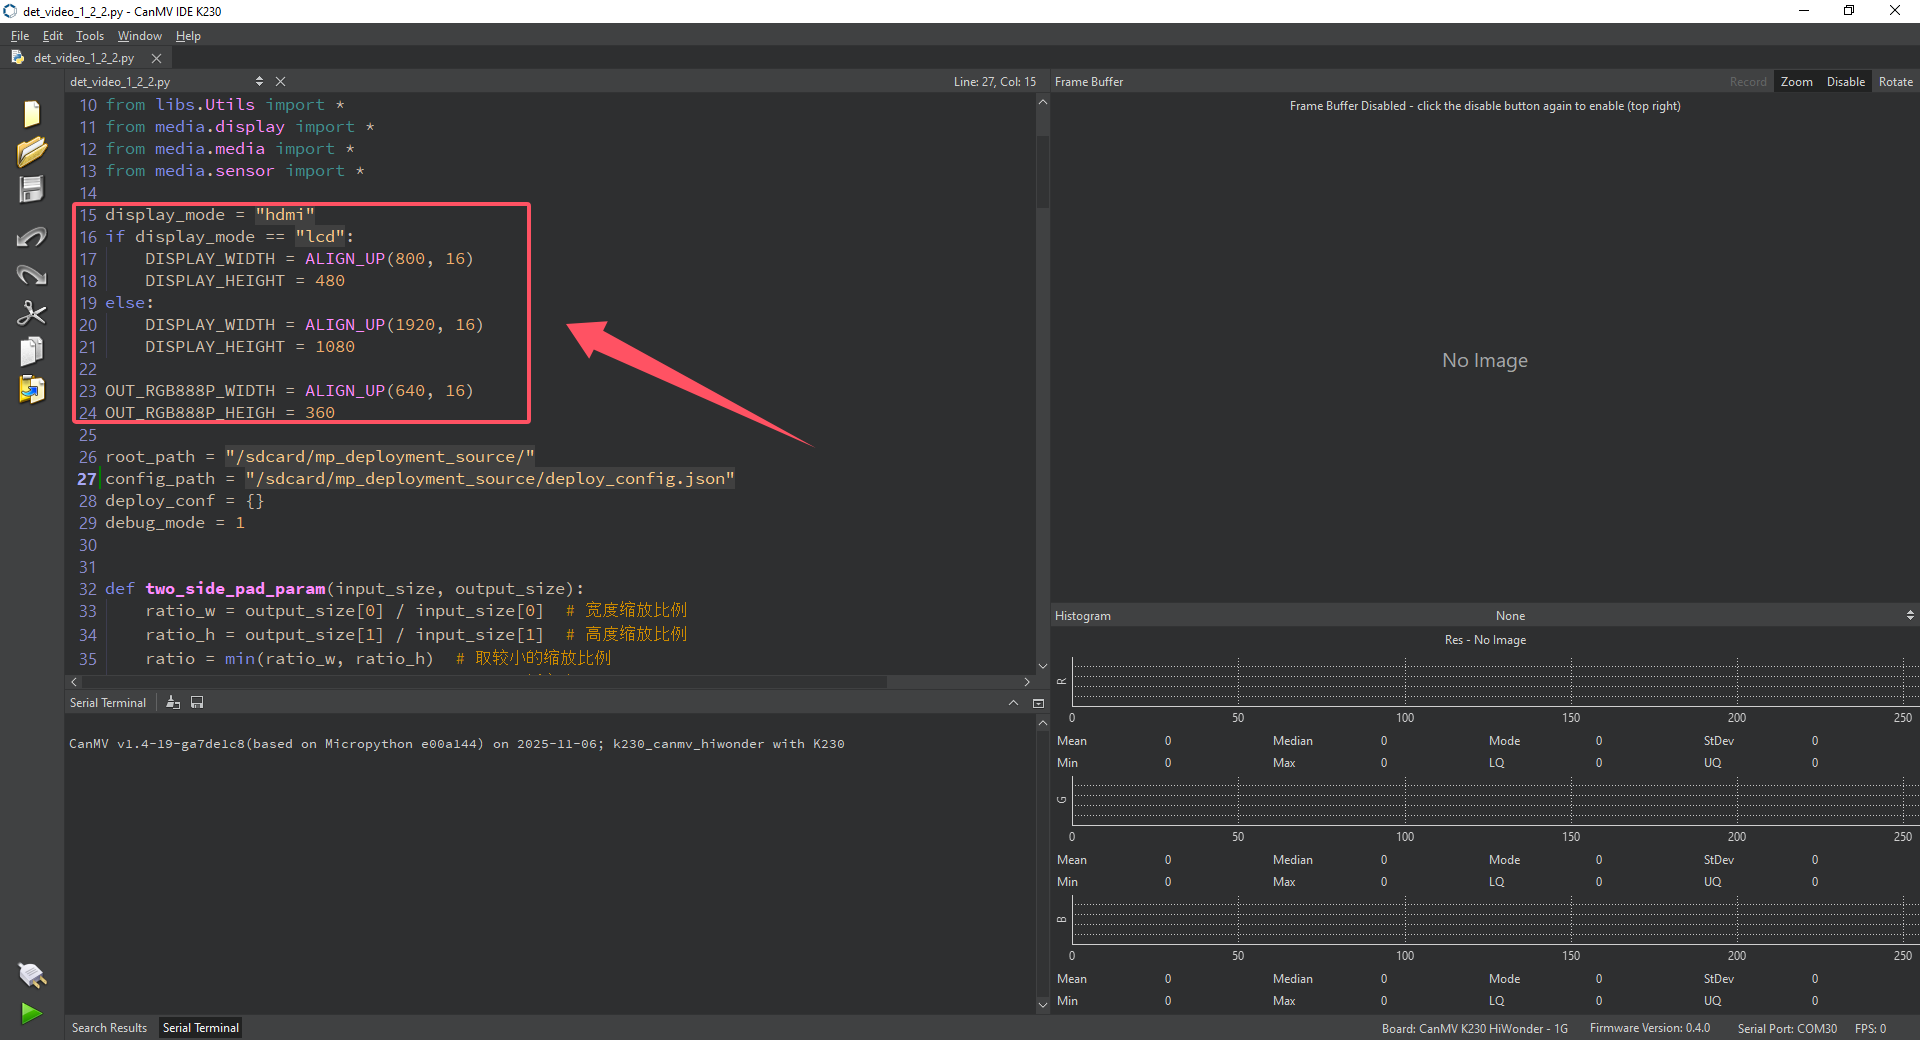
Select the display mode by slightly modifying the display section of the det_image_1_2_2.py program.
LCD display mode:
display_mode = "lcd"
if display_mode == "lcd":
    DISPLAY_WIDTH = ALIGN_UP(800, 16)
    DISPLAY_HEIGHT = 480
else:
    DISPLAY_WIDTH = ALIGN_UP(1920, 16)
    DISPLAY_HEIGHT = 1080
OUT_RGB888P_WIDTH = ALIGN_UP(640, 16)
OUT_RGB888P_HEIGH = 360
HDMI display mode:
 display_mode = "hdmi"
 if display_mode == "lcd":
  DISPLAY_WIDTH = ALIGN_UP(800, 16)
     DISPLAY_HEIGHT = 480
    else:
  DISPLAY_WIDTH = ALIGN_UP(1920, 16)
     DISPLAY_HEIGHT = 1080
    OUT_RGB888P_WIDTH = ALIGN_UP(640, 16)
 OUT_RGB888P_HEIGH = 360
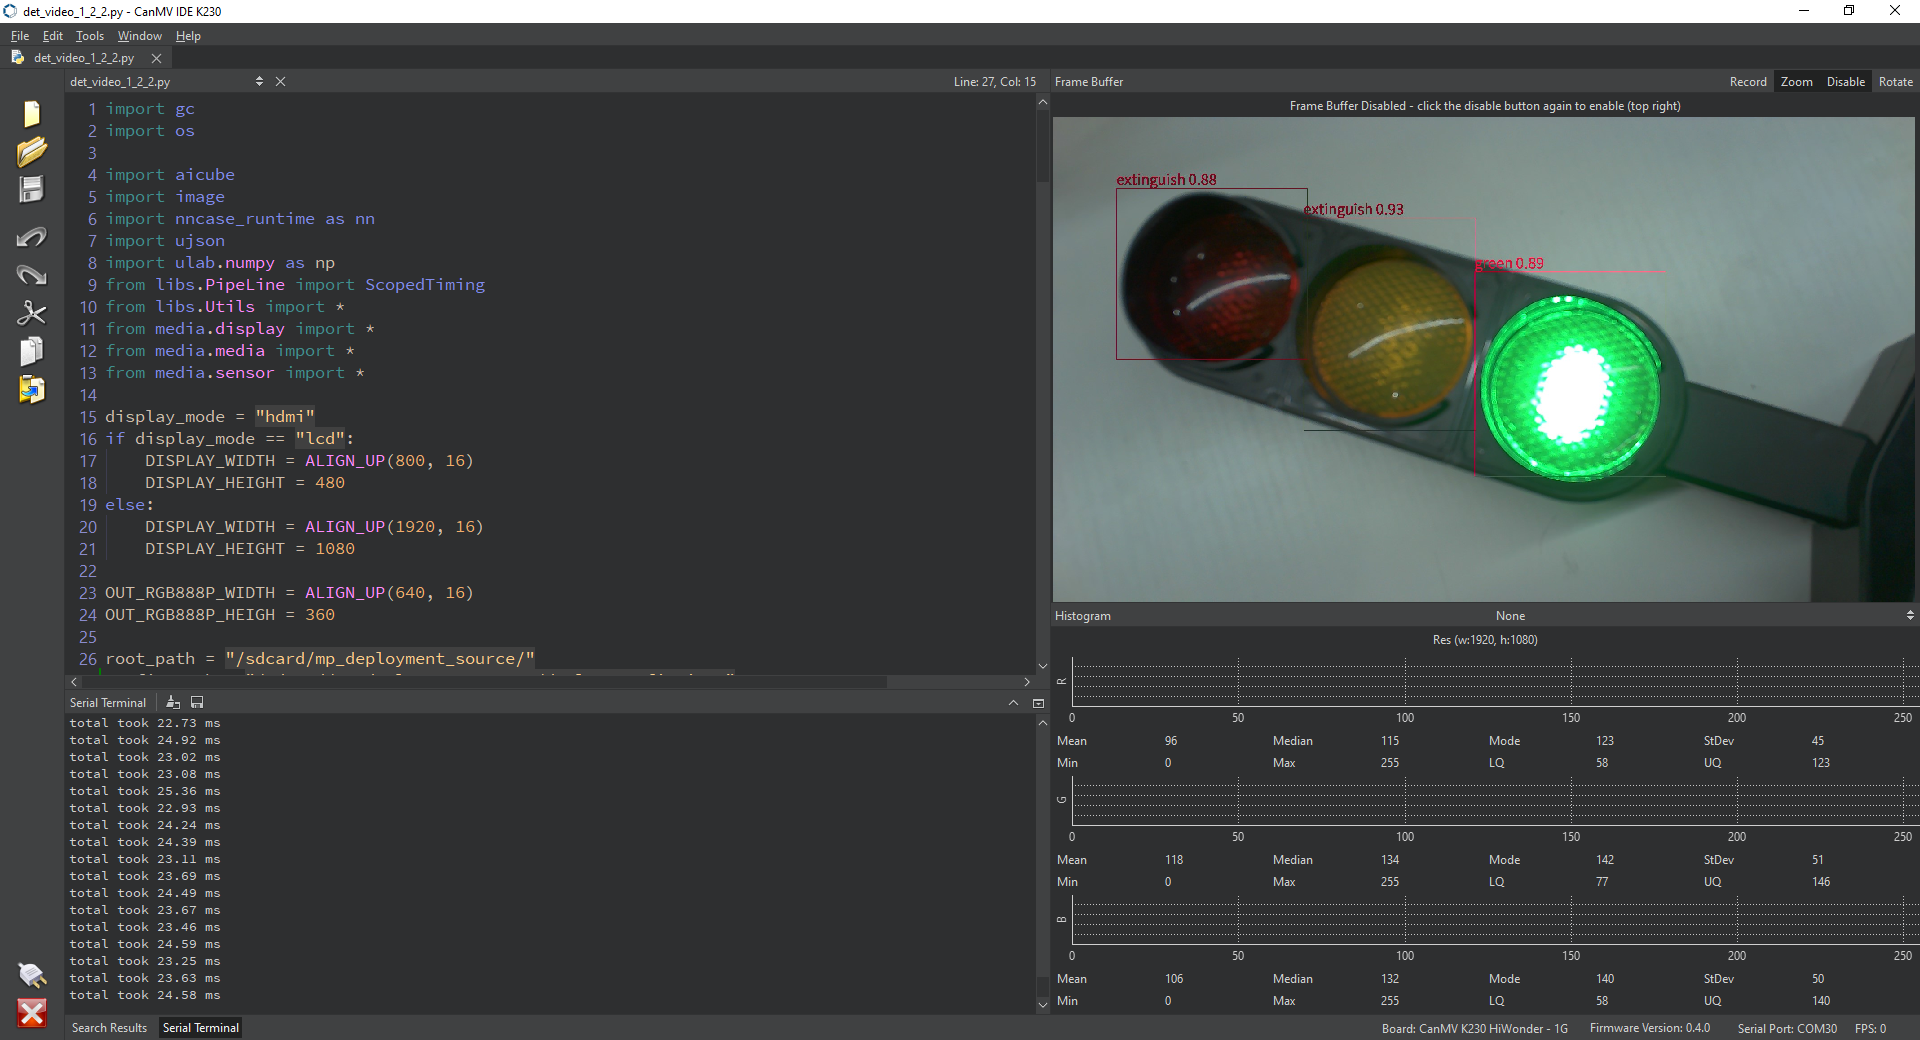
The achieved effect is shown in the figure below.